To remove a microprocessor and heat sink, complete the following steps:
Procedure
1. Read the safety information that begins on page “Safety” on page vii and
“Installation guidelines” on page 32.
2. Turn off the server (see “Turning off the server” on page 22) and all attached
peripheral devices. Disconnect all power cords; then, disconnect all external
cables as necessary to replace the device.
3. Remove the server top cover (see “Removing the server top cover” on page
258).
4. Rotate the hot-swap rear hard disk drive cage up (see “Rotating the hot-swap
rear hard disk drive cage up” on page 168.
5. Remove the PCI riser-card assembly (see “Removing a PCI riser-card
assembly” on page 206).
6. Remove the air baffle (see “Removing the air baffle” on page 261).
7. Disconnect any cables that impede access to the heat sink and microprocessor.
8. If you are removing microprocessor 1, remove the memory modules from
DIMM connectors 4 and 5. If you are removing microprocessor 2, remove the
memory modules from DIMM connectors 12 and 13. See “Removing a
memory module” on page 186 for instructions.
9. Remove the heat sink:
Attention: Do not touch the thermal material on the bottom of the heat sink.
Touching the thermal material will contaminate it. If the thermal material on
the microprocessor or heat sink becomes contaminated, you must wipe off the
contaminated thermal material on the microprocessor or heat sink with the
alcohol wipes and reapply clean thermal grease to the heat sink.
a. Loosen the four screws on the corners of the microprocessor retainer.
Note: Please use Phillips screw driver No.0 to loosen screws.
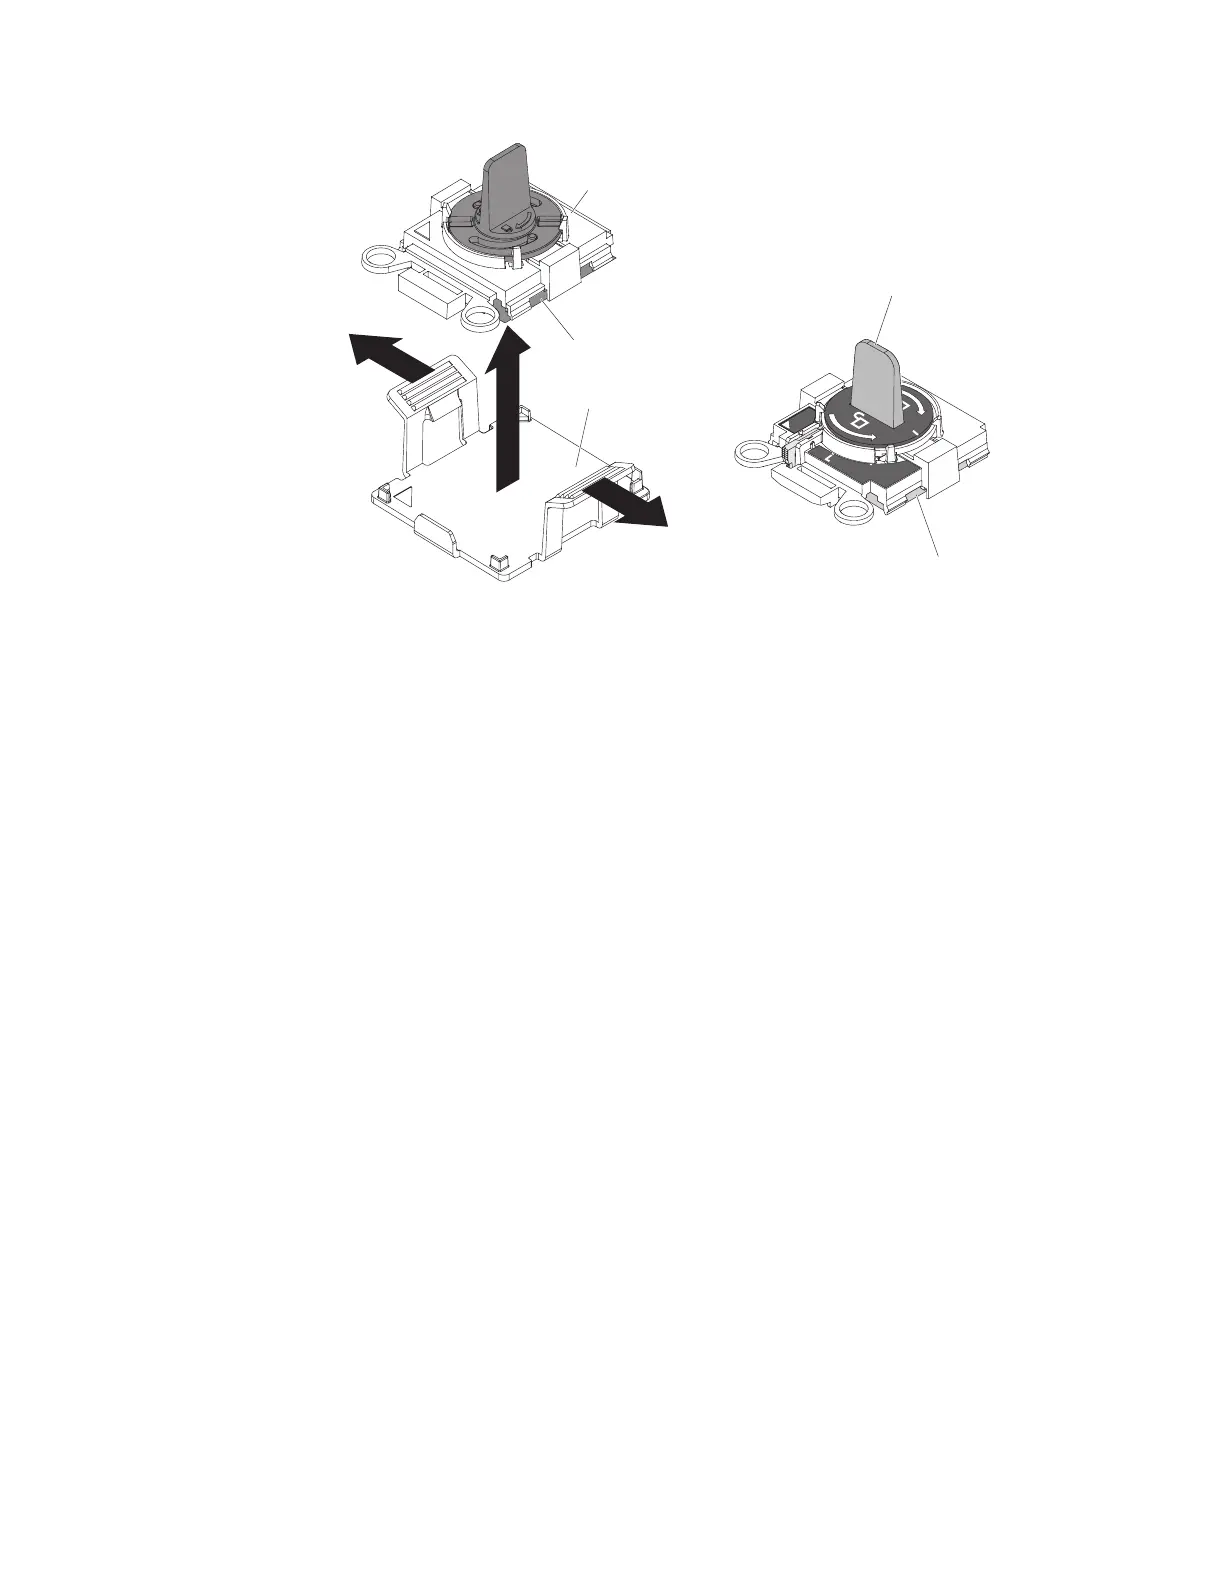
H
Microprocessor Installation Tool A Microprocessor Installation Tool B
Installation tool
Microprocessor
Installation tool
Microprocessor
Cover
Figure 158. Microprocessor installation tools
Chapter 6. Removing and replacing components 239
 Loading...


