8. Disengage the cables from any retention-clips.
9. Note where each cable is connected; then, disconnect all cables from the
system board.
Attention: Disengage all latches, release tabs or locks on cable connectors
when you disconnect all cables from the system board. Failing to release them
before removing the cables will damage the cable sockets on the system board.
The cable sockets on the system board are fragile. Any damage to the cable
sockets may require replacing the system board.
10. Remove any of the following components (in addition to others that might not
be listed) that are installed on the system board and put them in a safe,
static-protective place:
v Adapters (see “Removing an adapter” on page 266).
v DIMMs (see “Replacing a memory module” on page 274).
v Battery (see “Removing the system battery” on page 279).
v USB embedded hypervisor flash device (see “Removing the USB embedded
hypervisor flash device” on page 227).
11. Remove the seven screws that secure the system board to the chassis.
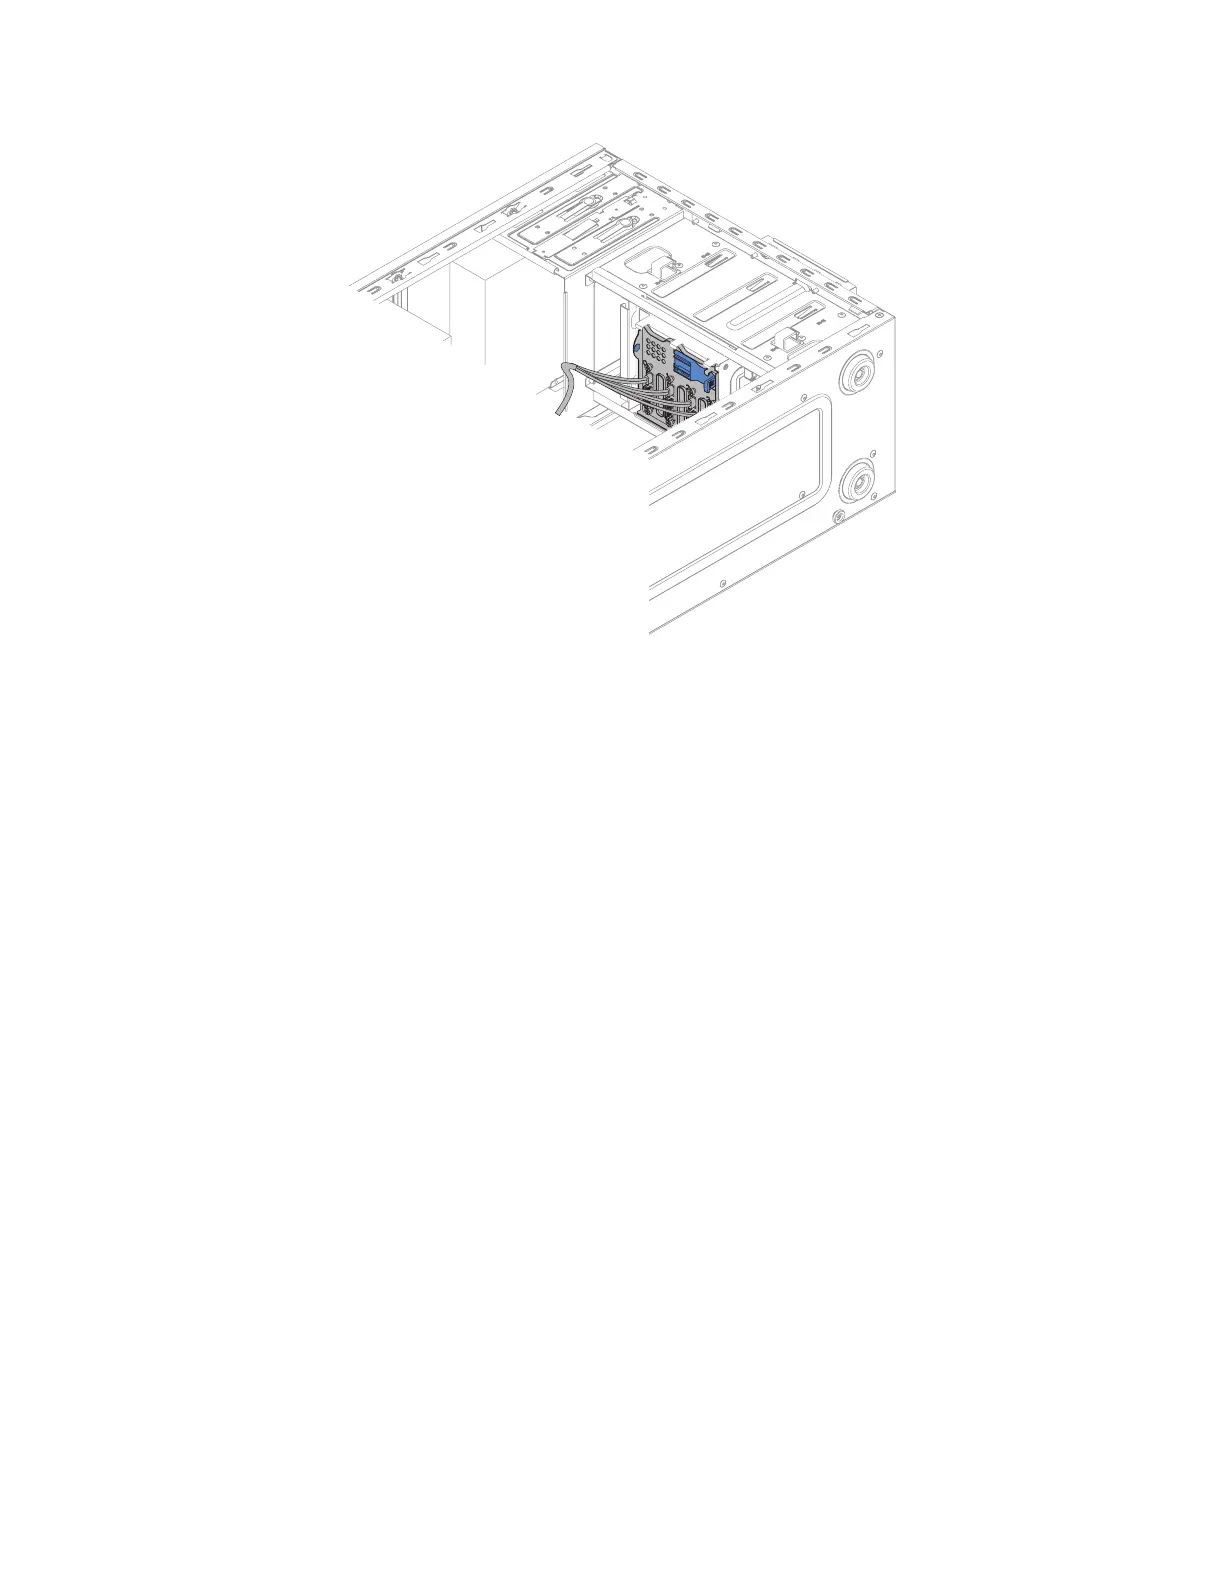
Figure 229. Pulling hard disk drive cage half out of chassis for 4U server model with
non-hot-swap power supplies
Chapter 6. Removing and replacing components 311
 Loading...


