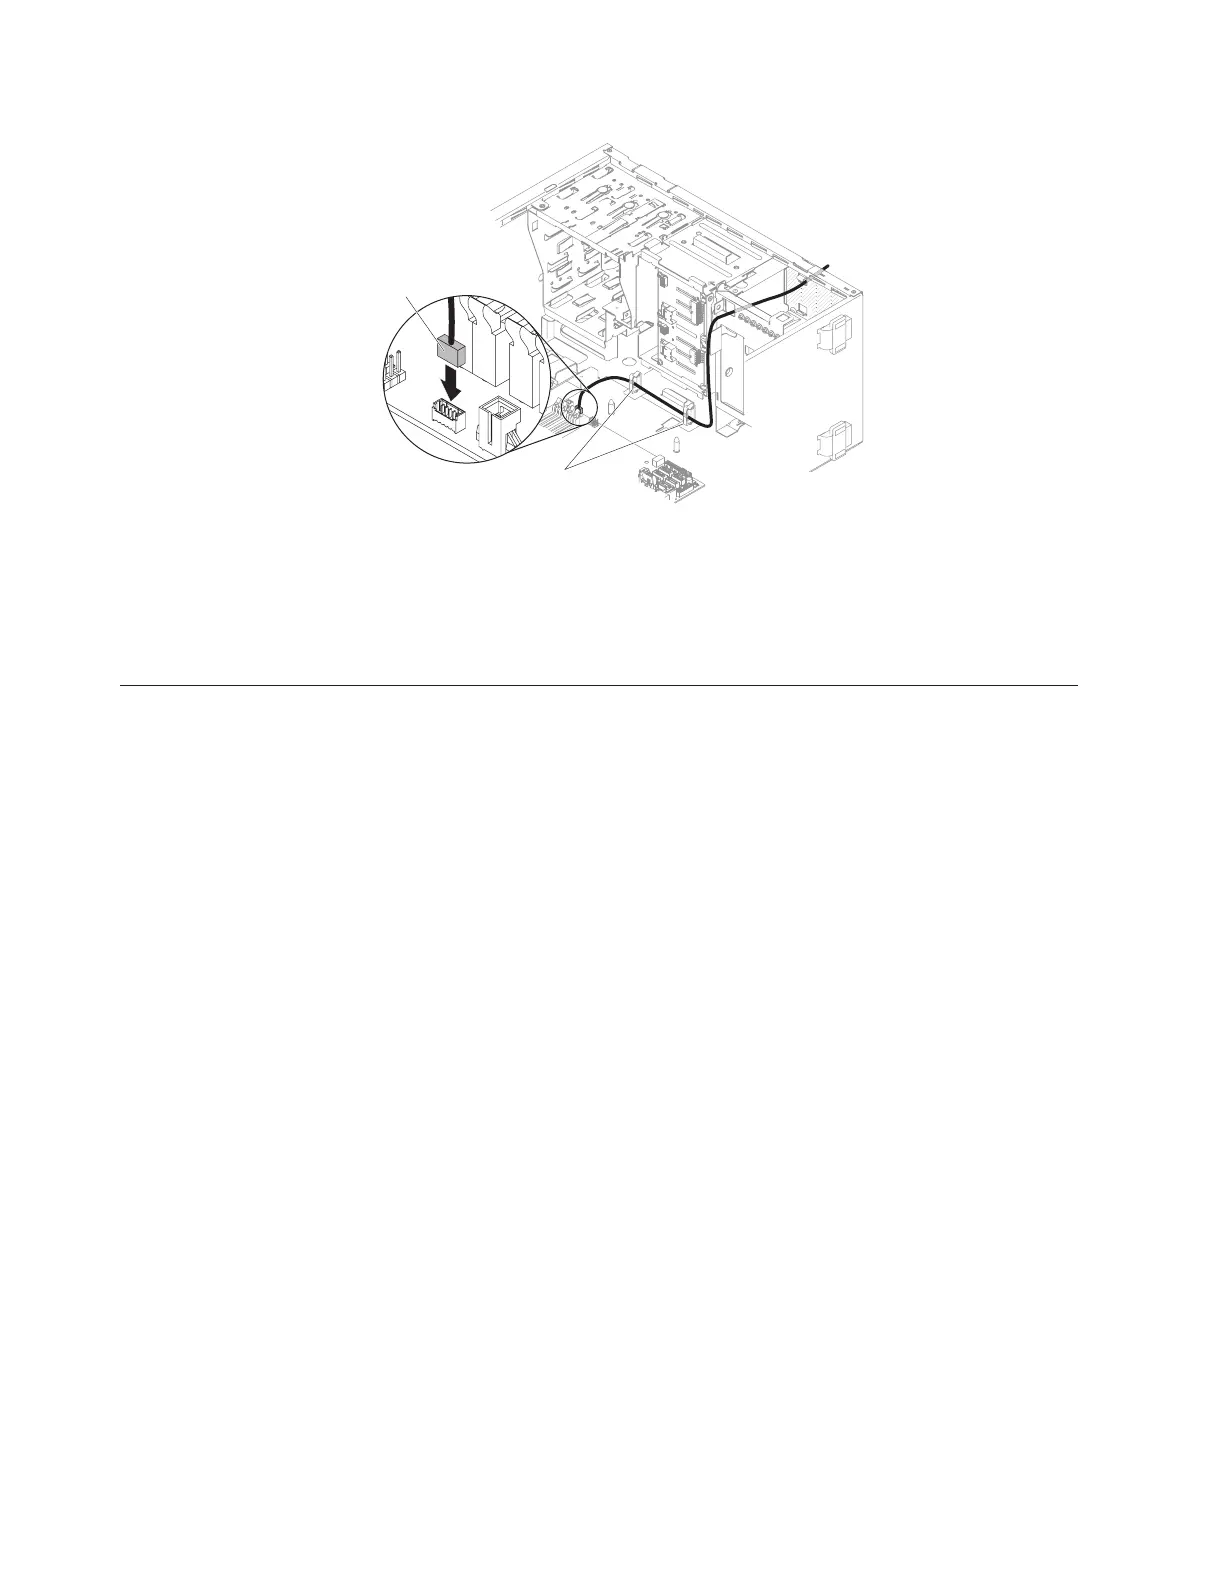
7. Connect the thermal sensor connector to the system board.
8. If you have other devices to install, do so now. Otherwise, go to “Completing
the installation.”
Completing the installation
Use this information to complete the installation.
About this task
To complete the installation, complete the following steps:
Procedure
1. If you removed the air baffle, reinstall it (see “Replacing the bezel” on page 83).
2. If you removed the air baffle, reinstall it (see “Replacing the lower bezel” on
page 84).
3. If you removed the air baffle, reinstall it (see “Replacing the upper bezel” on
page 84).
4. If you removed the air baffle, reinstall it (see “Replacing the air baffle” on page
85).
5. If you removed the side cover, reinstall it (see “Replacing the side cover” on
page 87).
6. Reconnect the cables and power cords (see “Connecting the cables” on page
89).
7. Update the server configuration (see “Updating the server configuration” on
page 91).
8. Start the server. Confirm that it starts correctly and recognizes the newly
installed devices, and make sure that no error LEDs are lit.
9. (IBM Business Partners only) Complete the additional steps in “Instructions for
IBM Business Partners” on page 28.
Thermal sensor
connector
Cable clips
Figure 58. Thermal sensor board installation for 5U server model with hot-swap power
supplies
82 System x3100 M5 Type 5457: Installation and Service Guide
 Loading...