Previous view
v
QUICK REFERENCE GUIDE
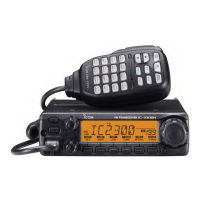
D Antenna installation
• Antenna location
To obtain maximum performance from the transceiver,
select a high-quality antenna and mount it in a good
location. When you use a magnetic mount, use a non-
radial antenna.
Roof-mount antenna
(Drill a hole or use a magnetic mount.)
Gutter-mount antenna
Trunk-mount
antenna
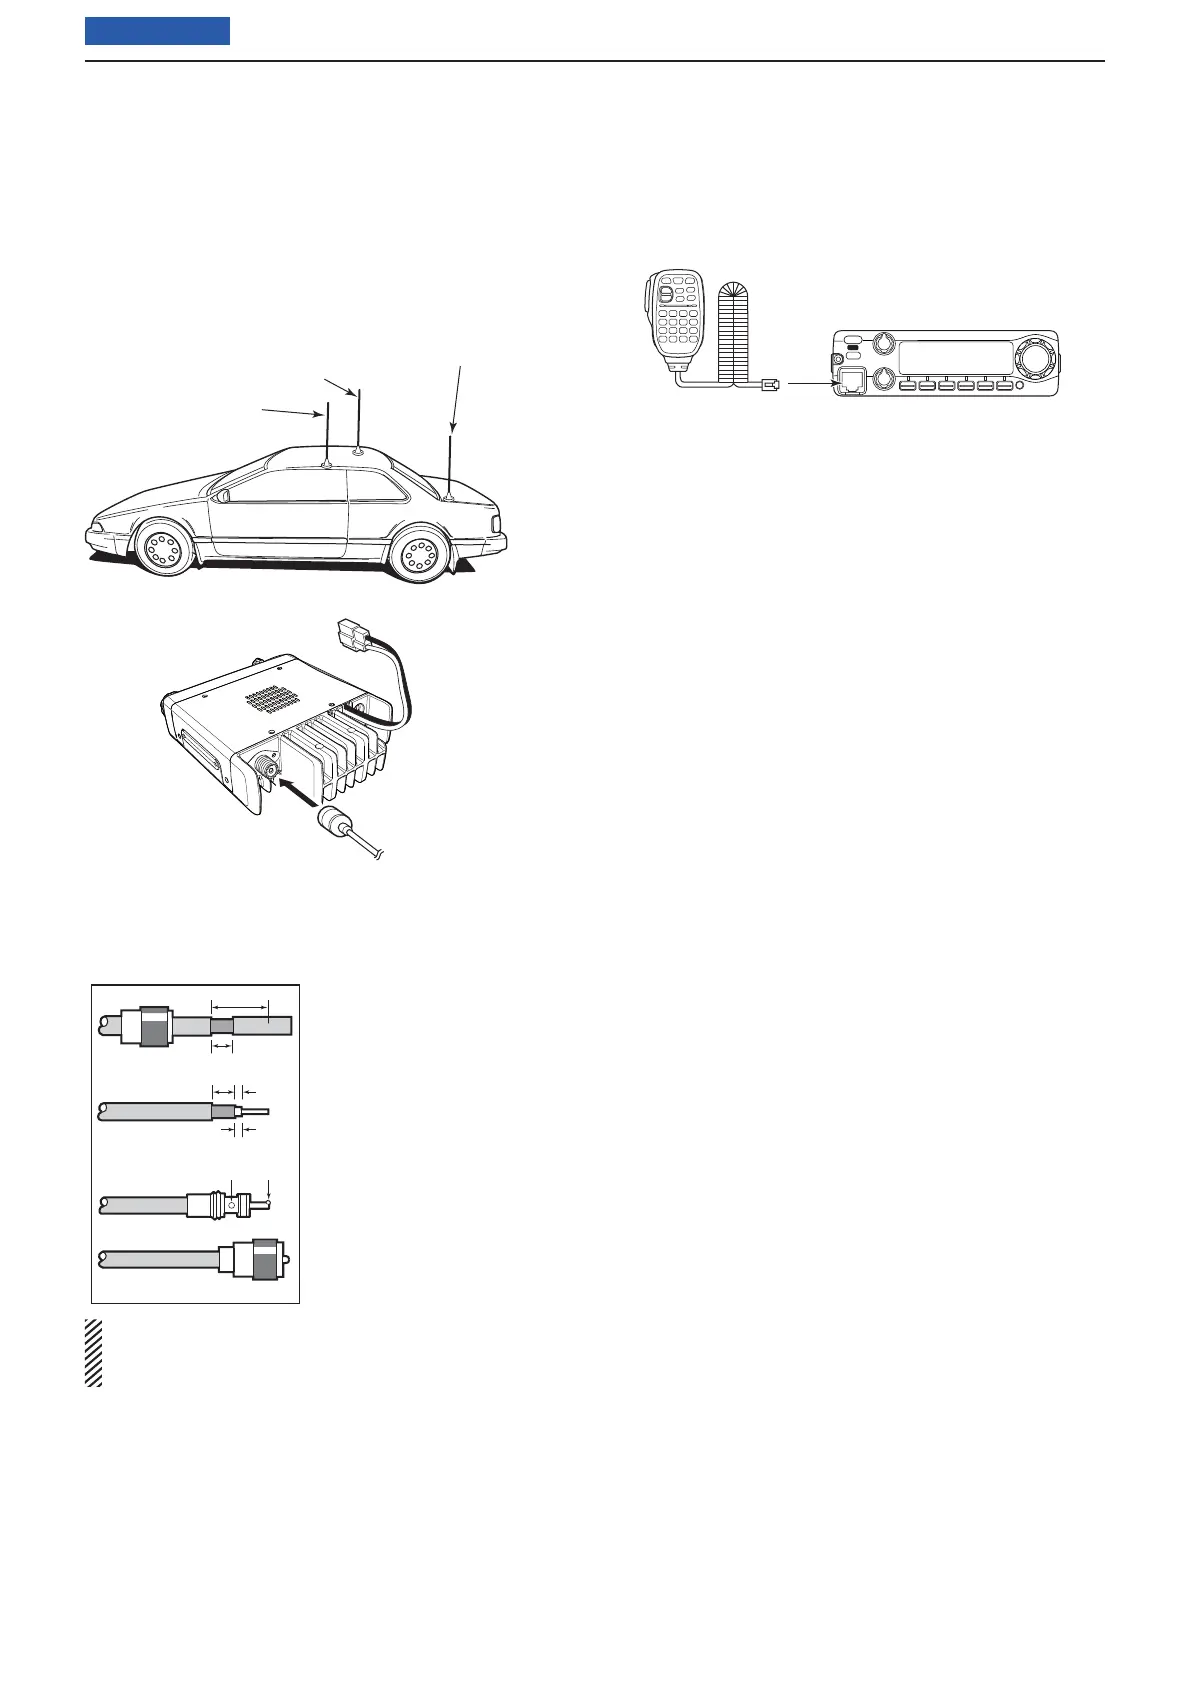
• Installing the antenna connector
The antenna uses a PL-259 connector.
• PL-259 CONNECTOR
NOTE: There are many publications covering proper
antennas and their installation. Check with your local
dealer for more information and recommendations.
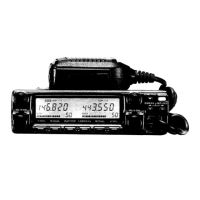
D Connecting the microphone
Connect the microphone to the eight-pin modular sock-
et on the front panel of the transceiver.
30 mm
10 mm (Tin)
10 mm (Tin)
1–2 mm
solder solder
Coupling ring
(10 mm=0.4 inch)
q Slide the coupling ring down.
Strip the cable jacket and
tin the ground shield.
w Strip the cable as shown at
left. Tin the center conduc-
tor.
e Slide the connector body
on and solder it.
r Screw the coupling ring
onto the connector body.
 Loading...