27
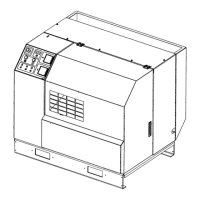
4.15 COOLER CORES/CLEANING
Inspection
Visually check the cooler cores for build up of dirt,
dust, lint or other foreign material.
Using an OSHA approved air gun, blow air through the
cooler cores in the opposite direction of normal air
flow.
Remove cooler box rear panel and clean all loose
material that blew from the coolers into the fans.
Reinstall the cooler box rear panel.
Start unit and verify proper operation.
4.16 MOTOR BEARING MAINTENANCE-
STORED UNITS
THE MOTOR BEARINGS ARE PERMANTLY LUBRI-
CATED AND DO NOT REQUIRE RE-LUBRICATION.
To ensure that complete contact is maintained
between the motor bearings and the bearing grease
on units to be placed in storage for extended intervals,
the following motor maintenance procedure should be
adhered to:
1. Prior to placing a unit in storage, rotate the motor
several revolutions by hand in the proper direction of
rotation.
2.Thereafter, rotate the motor as described in Step 1
at three month intervals until such time as the unit is
placed in service.
6. Replace cover and start the retaining bolts.
7.Torque bolts evenly to 80 ft.-lb (109 N-m).
8. Replace connections removed in step 1.
9. Start unit and check for leaks.
4.14 SEPARATOR TANK SCAVENGE
CHECK VALVE/SCREEN/ORIFICE
Tools Required
Open end wrench
Screwdriver
Procedure
Disconnect tubing at each end of check valve/screen/
orfice assembly.
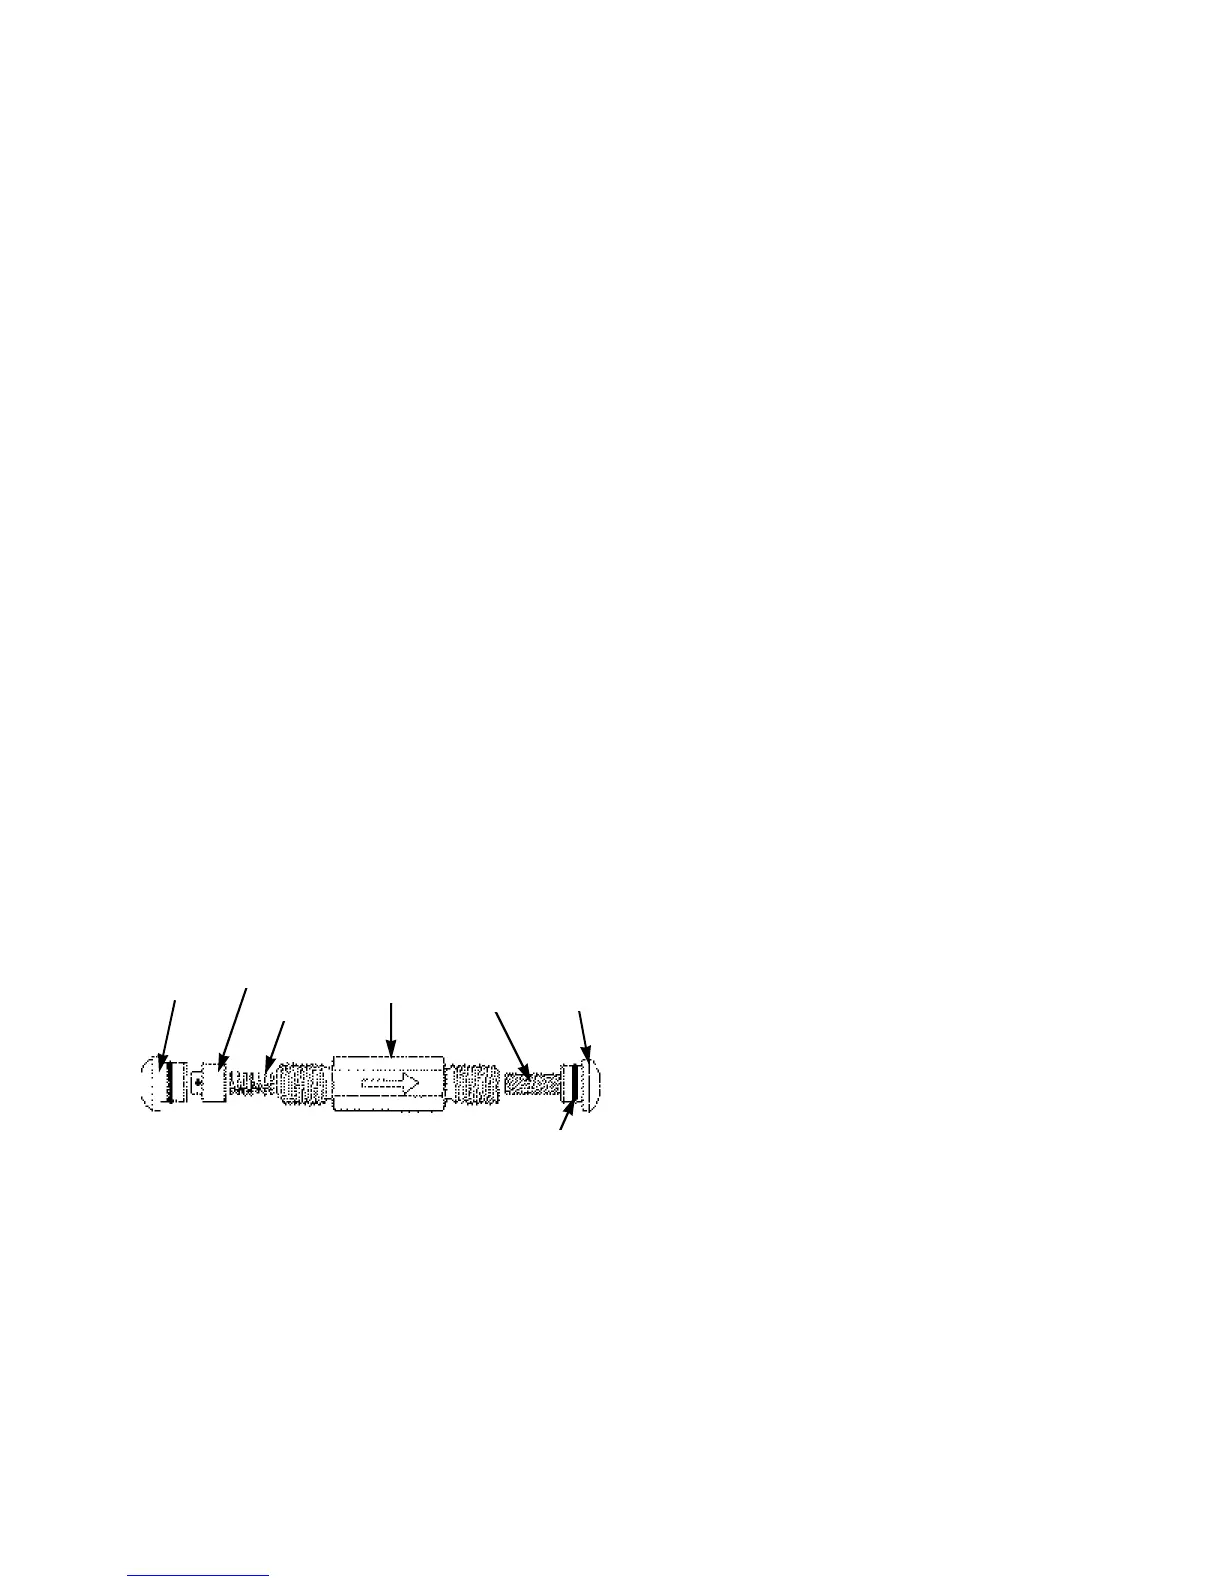
Check orifice and clean if required. Use suitable tool
and remove screen/orifice end from its housing (See
Figure 4.14-1). Be careful not to damage flared end of
fitting or O-ring. Wash screen and housing in safety
solvent and blow dry.
Press the check valve/screen/orifice into fitting block.
Assemble the check valve/screen/orifice assembly to
the tubing lines.The fitting must be re-installed with
the screen on the upstream side of the orifice as indi-
cated by the flow arrow (See Figure 4.14-1).
FIGURE 4.14-1 SEPARATOR TANK SCAVENGE
CHECK VALVE/SCREEN/ORIFICE
INLET
SPRING
HOUSING
CHECK
VALVE
SCREEN
ORIFICE
VITON
O-RING
 Loading...