1-16 (No.MB368)
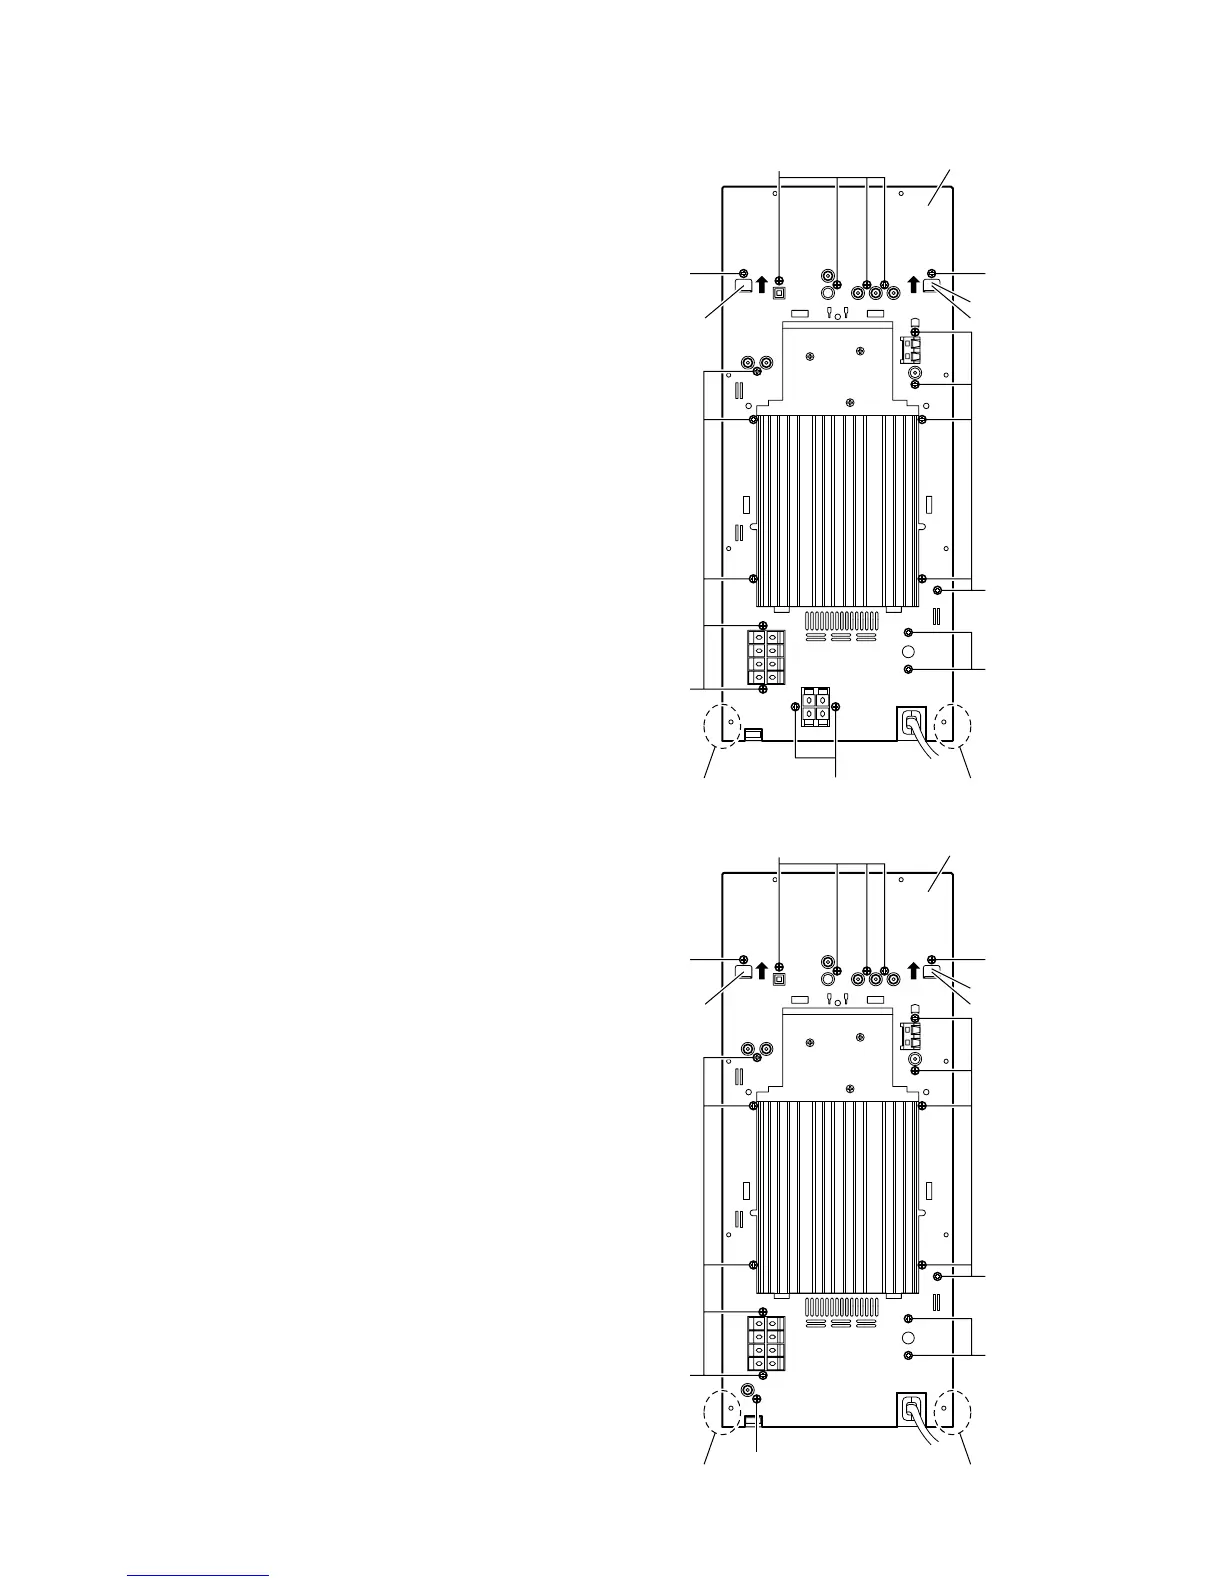
3.1.7 Removing the rear panel
(See Fig.15)
• Remove the metal cover and fan.
(1) Remove the two screws J and eighteen screws K attaching
the rear panel. [For DX-T9, DX-T7]
(2) Remove the two screws J and seventeen screws K attach-
ing the rear panel. [For DX-T5]
(3) Release the sections f of the rear panel and remove the
joints g of the mecha chassis in the direction of the arrow.
(4) Remove the rear panel from the main body.
Fig.15
Mecha chassis
Rear panel
g
ff
g
K
K
K
K
K
K
J
[DX-T9, DX-T7]
[DX-T5]
Mecha chassis
Rear panel
g
ff
g
K
K
K
K
K
J
K
 Loading...