(No.MB368)1-21
3.1.14 Removing the surround terminal board
(See Fig.22.) [For Dx-T9, DX-T7]
• Remove the metal cover, tuner, fan, rear panel, main board,
amplifier 1 board, amplifier 2 board, primary board and bridge
board.
(1) Remove the screw T attaching the surround terminal board
on the bottom chassis.
(2) Remove the surround terminal board from the section (p,
q) of the bottom chassis.
(3) Take out the surround terminal board from the main body.
3.1.15 Removing the power transformer
(See Fig.22)
• Remove the metal cover, tuner, fan, rear panel, main board,
amplifier 1 board, amplifier 2 board, primary board and bridge
board.
(1) Remove the four screws U attaching the power transform-
er.
(2) Take out the power transformer from the main body.
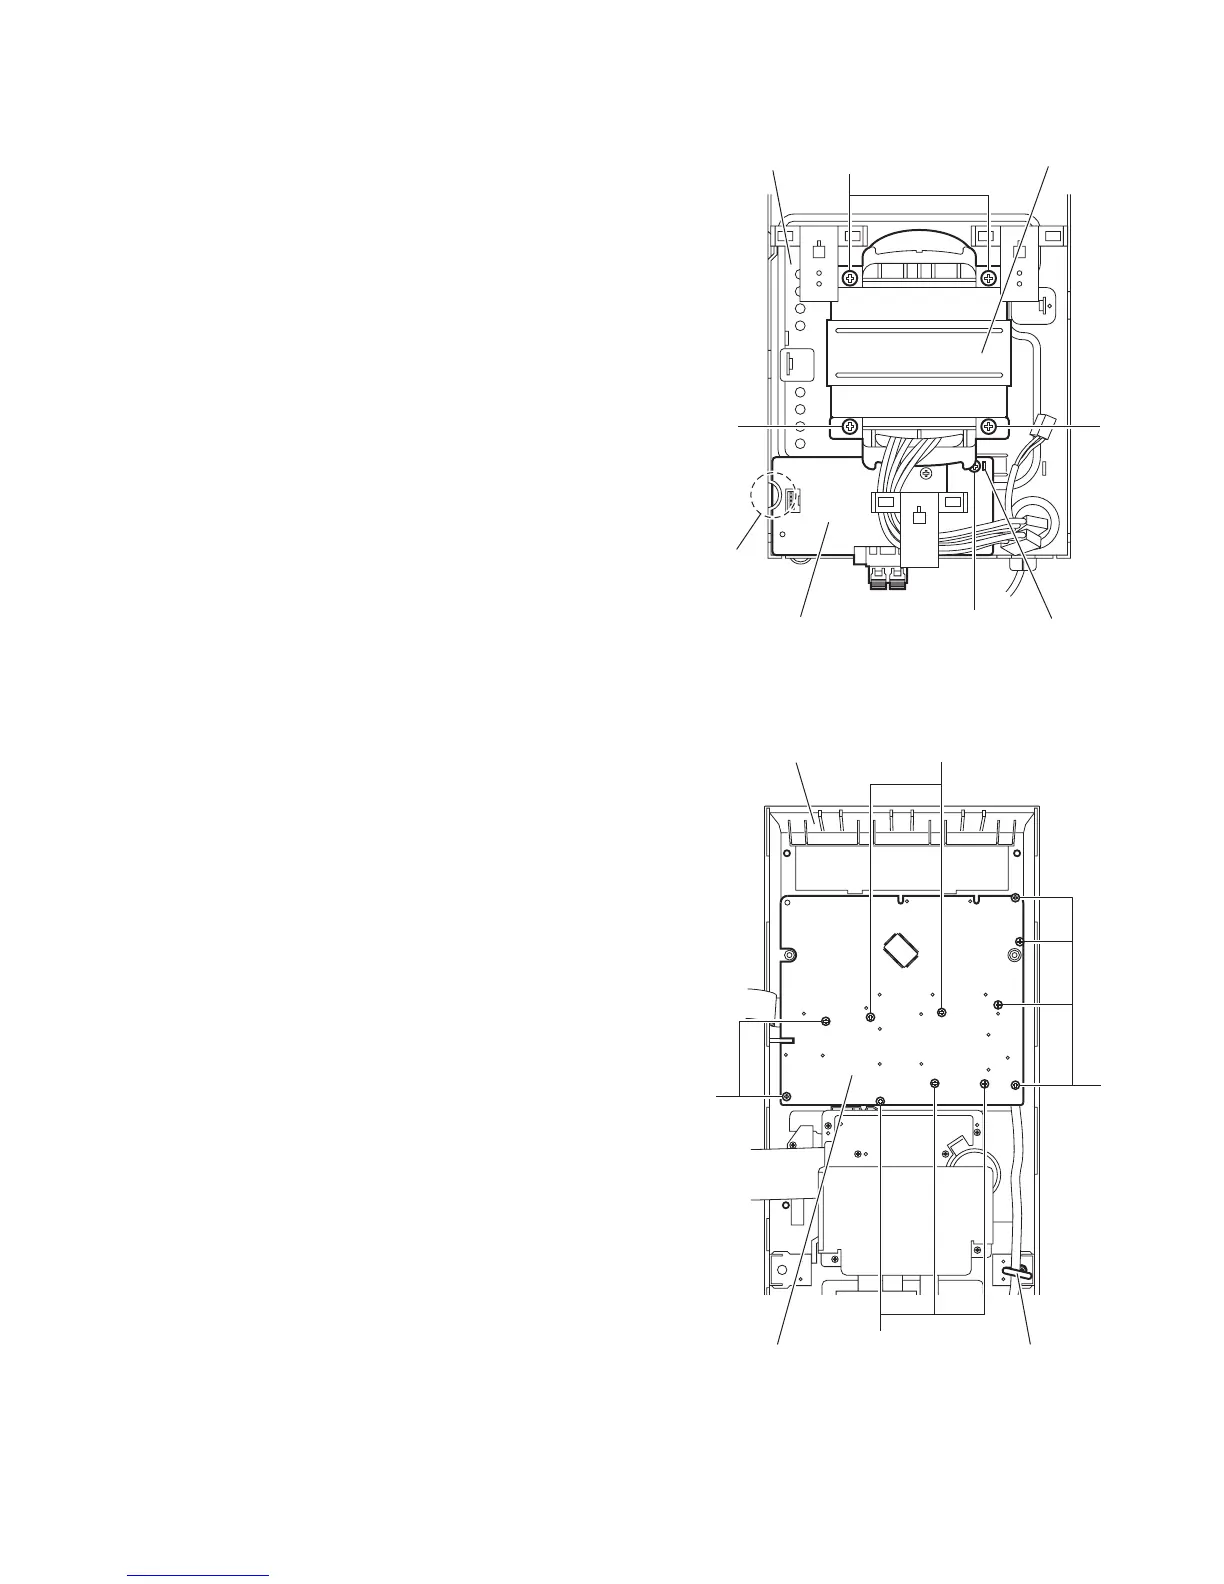
Fig.22
3.1.16 Removing the FL board
(See Fig.23)
• Remove the metal cover and front panel assembly.
(1) From the inside of the front panel assembly, remove the
parallel wire from the wire holder.
(2) Remove the eleven screws V and take out the FL board.
Fig.23
Bottom chassis
Power transformer
Surround terminal board T
UU
U
q
p
Front panel assembly
FL board
Wire holder
V
V
V
V
 Loading...