46
Additional Information
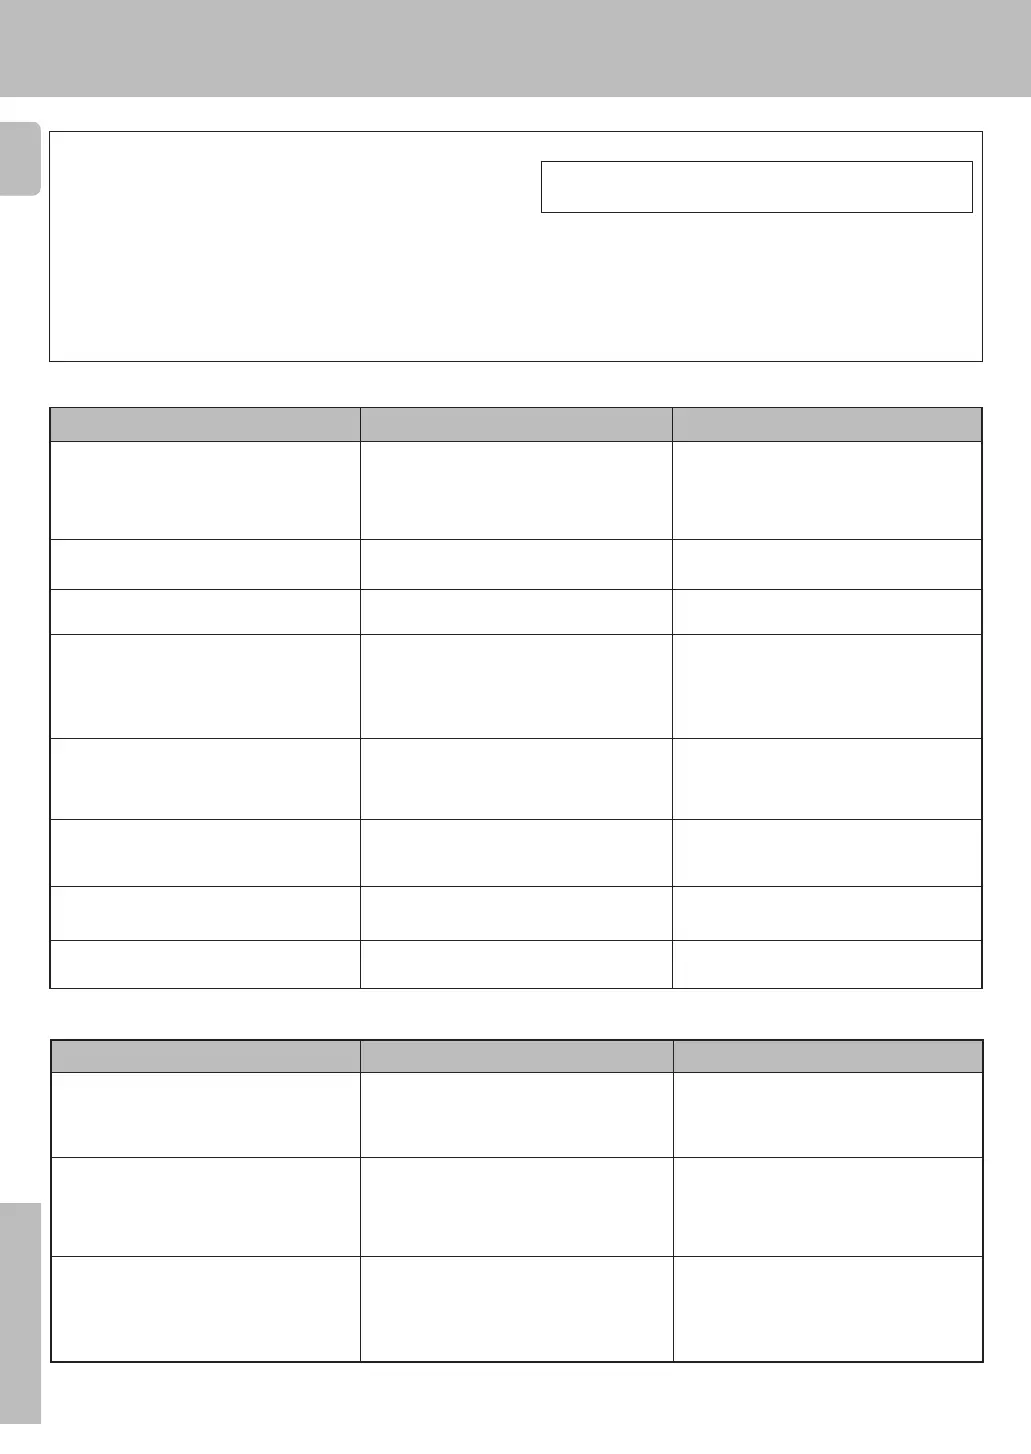
In case of difficulty
Resetting the Microcomputer
If the microcomputer may malfunction (unit cannot be operated,
or shows an erroneous display) if the power cord is unplugged
while the power is ON, or due to some other external factor. If this
happens, execute the following procedure to reset the micro-
computer and return the unit to its normal operating condition.
Unplug the power cord from the wall outlet, then plug it
back in while holding down the STANDBY key.
• Please note that resetting the microcomputer will clear the contents
of the memory and returns the unit to the state it was in when it left the
factory.
Amplifier
Cause
• The speaker cords are disconnected.
• VOLUME is set to the minimum position.
• MUTE is ON.
• The SPEAKERS switches are set to OFF.
• Speaker cords are short-circuited.
• The speaker cord is disconnected.
• The surround speaker cords and/or the center
speaker cord is disconnected.
• A surround mode has not been engaged.
• The surround and/or center volume controls are
set to the minimum level.
• The audio cord from the turntable is not con-
nected to the PHONO jacks.
• The turntable is not grounded.
• There are many possible causes for this prob-
lem, depending on the type of DVD player used.
• The input mode is set to digital manual.
• The software is copy-guarded.
Remedy
• Connect them properly referring to “Connecting
the speakers”. #
• Adjust the volume to a proper level.
• Turn OFF the MUTE. £
• Set the SPEAKERS switch(es) to ON. )
• Turn the power off, eliminate the short-circuit-
ing, then turn on the power again.
• Connect it properly referring to “Connecting the
speakers”.
• Connect it properly referring to “Connecting the
speakers”.
• Select a surround mode.
• Adjust the speaker levels using the test tone.
¡
• Insert the audio cord plugs securely into the
PHONO jacks.
• Connect the grounding wire to the GND termi-
nal on the rear panel.
• Set the input mode to digital manual before
starting playback of the Dolby Digital source.
7
• Press the INPUT MODE key to select to digital
auto mode. 7
• Copy-guarded video software cannot be re-
corded.
Tuner
Cause
• No antenna is connected.
• The broadcast band is not set properly.
• The frequency of the desired station is not
tuned.
• Noise due to ignition noise from an automobile.
• Noise due to interference from an electric appli-
ance.
• Noise due to a nearby TV set.
• The preset station belongs to a frequency that
cannot be received.
• The preset memory was cleared because the
power cord had been unplugged for a long
period of time.
Remedy
• Connect an antenna. %
• Set the broadcast band properly.
• Tune the frequency of the desired station.
∞
• Install the outdoor antenna away from the road.
• Turn off the power to the appliance.
• Install the receiver farther away from the TV.
• Preset a station with a receivable frequency.
• Preset the station again.
Symptom
Radio stations cannot be received.
Interference.
A station which was preset cannot be re-
ceived by pressing the corresponding nu-
meric key.
Symptom
No sound from the speakers.
The standby indicator blinks and sound is
not output.
Sound is not output from one of the speakers.
Sound is not output from the surround
speakers and / or the center speaker, or their
sound is very small.
A humming noise is generated when the
PHONO input selector is selected.
When playing a Dolby Digital source signal
using a DVD player, the sound is cut off soon
after it starts.
No sound is produced during playback from
a DVD player.
A video source cannot be recorded
normally.
*509/40-48/EN 3/15/01, 2:17 PM46
 Loading...