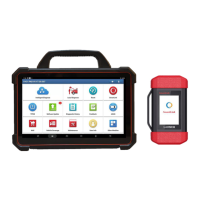
LAUNCH X-431 PAD III User Manual
75
through connection to AC outlet.
5
Battery clamps cable
To supply power to the Sensorbox
through connection to vehicle's battery.
6
Electronic control converting
cable 1
7
Electronic control converting
cable 2
9.3 Sensor Simulation
9.3.1 Connections
1. Firstly, power the tablet on.
2. Connect the B-shaped terminal of USB cable to the B-shaped port of the
Sensorbox, and the other end to the USB port of the diagnostic tool.
3. Plug one end of the sensor test cable (black) into the “COM” interface of the
sensorbox, and then the other end to the test probe or electronic control
converting cable.
4. Connect one end of the sensor test cable (red) into the “VΩHz” interface of
the sensorbox, and then the other end to the test probe or electronic control
 Loading...