2. Installation DA2DVI-DL – User's Manual 6
2
Installation
The chapter is about the installation of the device and connecting to other
appliances, presenting also the mounting options and further assembly steps:
Î
Î
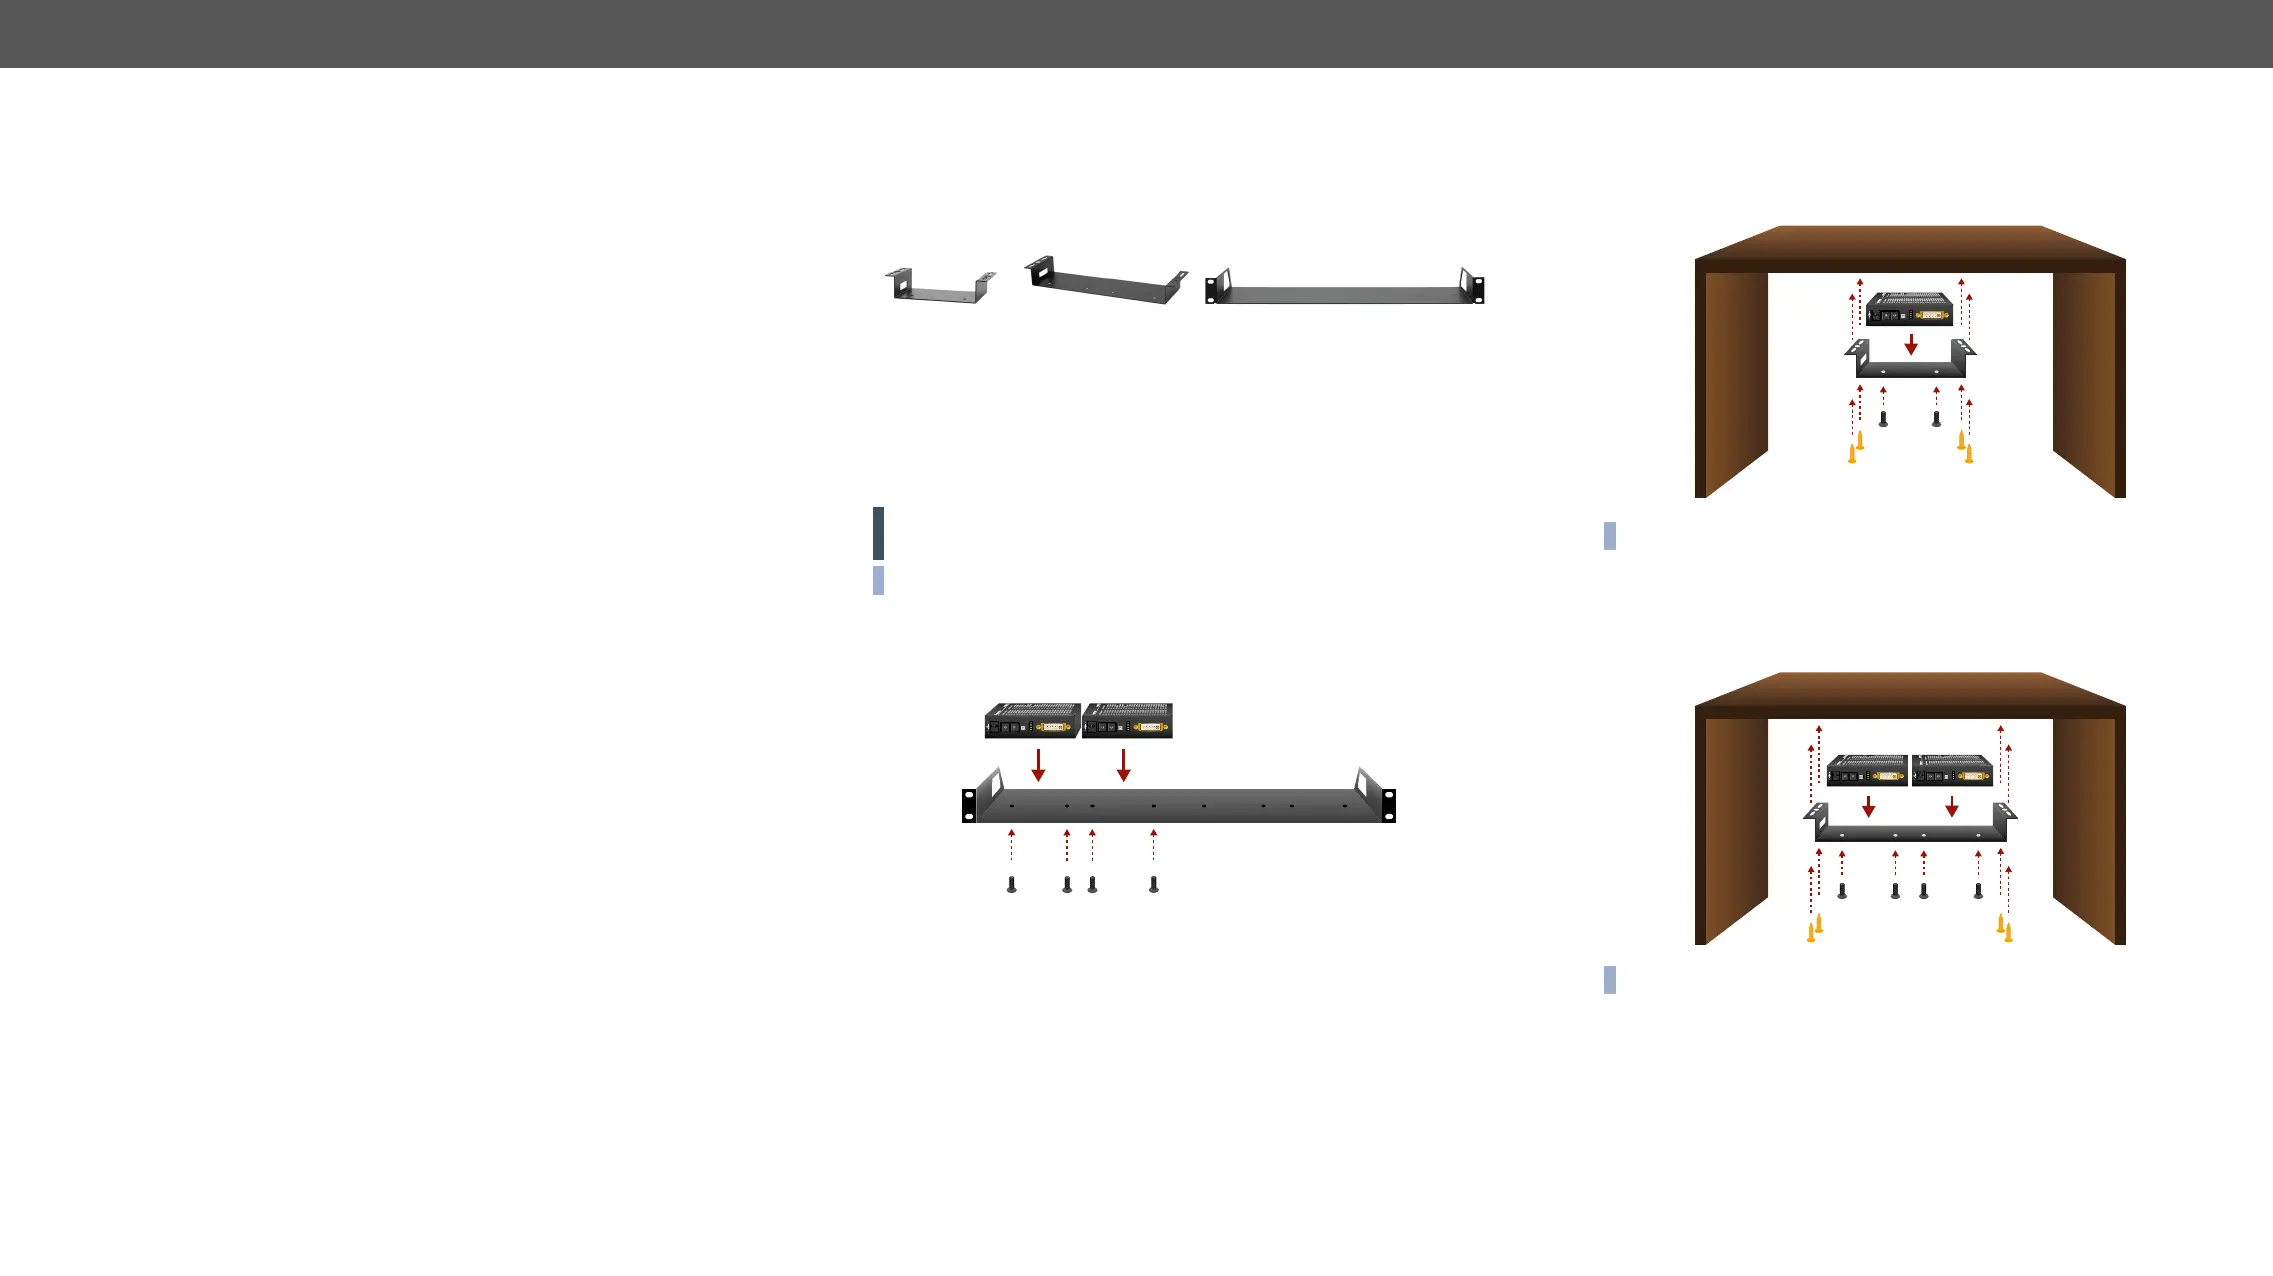
Mounting Options
To mount the extenders Lightware supplies optional accessories for
different usage. There are three kinds of mounting kits with similar
Under-desk
mounting kit
Under-desk double
mounting kit
1U high rack shelf
The device has two mounting holes with inner thread on the bottom
side; see the bottom view in the Mechanical Drawings section. Fasten
the device by the screws enclosed to the accessory.
To order mounting accessory kits please contact .
WARNING! Always use the supplied screws. Using different (e.g.
longer) ones may cause damage to the device.
1U High Rack Shelf
units.
1U high rack shelf provides mounting holes for fastening two half-
fastened on the self.
EDID ST
ATUS
EDID
LEARN
N
Y
SRC +5V
HPD
EDID ADDRESS
DVI-DL INPUT
5
V 1A
PIN: 2.35mm
00
11
22
33
44
55
66
77
88
99
00
11
22
33
44
55
66
77
88
99
EDID STA
TUS
EDID
LEARN
N
Y
SRC +5V
HPD
EDID
ADDRESS
DVI-DL INPUT
5
V 1A
PIN: 2.35mm
00
11
22
33
44
55
66
77
88
99
00
11
22
33
44
55
66
77
88
99
Under-desk Mounting Kit
INFO: The chipboard screws are not supplied with the mounting kit.
Under-desk Double Mounting Kit
The UD-kit double makes it easy to mount a single transmitter or
INFO: The chipboard screws are not supplied with the mounting kit.
EDID STA
TUS
EDID
LEARN
N
Y
SRC +5V
HPD
EDID
ADDRESS
DVI-DL INPUT
5
V 1A
PIN: 2.35mm
00
11
22
33
44
55
66
77
88
99
00
11
22
33
44
55
66
77
88
99
EDID STA
TUS
EDID
LEARN
N
Y
SRC +5V
HPD
EDID
ADDRESS
DVI-DL INPUT
5
V 1A
PIN: 2.35mm
00
11
22
33
44
55
66
77
88
99
00
11
22
33
44
55
66
77
88
99
EDID STA
TUS
EDID
LEARN
N
Y
SRC +5V
HPD
EDID
ADDRESS
DVI-DL INPUT
5
V 1A
PIN: 2.35mm
00
11
22
33
44
55
66
77
88
99
00
11
22
33
44
55
66
77
88
99
 Loading...