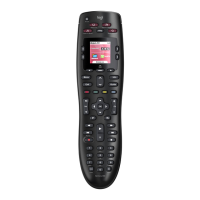
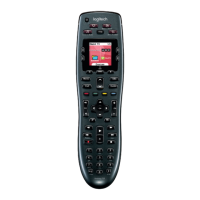
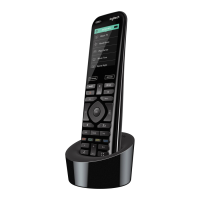
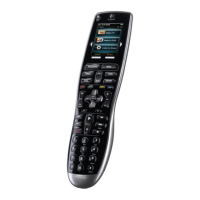
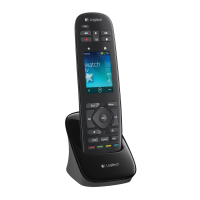
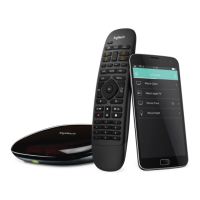
Logitech Harmony Ultimate
32
2. Select an Activity or device from the pull-down menu for the area of the remote you would like to create
a sequence for—screen or buttons, and click Go.
3. Click the Sequences tab on the right side of the screen
4. Click on Add Sequence. The Add Sequence page opens.
5. Enter a name for your sequence. Try using a name for your sequence that will represent what you are
programming it to do.
6. Add steps or delays to your sequence as desired.
7. Click Save when finished. Your Sequence will appear in the list.
8. Assign your button sequence to a single button as described in the next section, Customizing buttons
and on-screen commands.
Customizing buttons and on-screen commands
Harmony allows you to customize the commands that each button sends, or what commands appear in your
Activity list. These button mappings may be unique for each of your Activities. This allows each button or screen to
have different functions based on context. For example, in your Watch a DVD Activity, the yellow button may
perform the eject command, while in your Listen to Music Activity this same yellow button may be used to pull up
your Favorite preset.
When customizing your Harmony remote you may find that commands have slightly different names than those of
your original remote. For example, Select, OK, and Enter often perform the same action, but may be named
differently based on the original manufacturer.
Activities mode
When you select an Activity to map buttons for, the buttons only perform the assigned functions while the activity
is in progress for which they were mapped. If you want to assign a button function for all Activities, you will need to
do it for each individual Activity.
How to map buttons to your remote
1. Select the Buttons tab on the left hand side of the screen.
2. Select an Activity for the area of the remote you would like to create a sequence for (screen options or
remote buttons) and click Go.
3. Select a button on the illustration of the remote. You can scroll the illustration to see buttons at the
bottom of the remote.
4. Hover over a command to assign to that button and click on Long Press, Short Press, or Both to make
the selection.
5. Click OK.
NOTE: Each button on your remote can be assigned more than one command. For example, the Fast
Forward button on the top of your remote can be set up so that quickly pressing it (short press)
activates the Fast Forward function and holding it (long press) activates the Skip Forward function.
Device Mode
It is recommended that you do not map buttons while in Device Mode because the mapping will not carry over into
any of your Activities. Instead, select an Activity to map buttons for.
Controlling Phillips hue wireless lighting systems
Harmony Ultimate is able to communicate with Philips hue wireless lighting systems when your Harmony is
configured to use your home's Wi-Fi network.
Once paired with hue, a light bulb will appear in the lower left corner of your remote allowing you to control your
 Loading...
