90
12.2 TURN LIGHTS / 12.3 INTERNAL LIGHT /12.4 BRAKES / 12.5 TYRES
12.4 BRAKES
Check brake fluid level in reservoir located
under hood once in 2 weeks. Fluid level
should be between “MIN” and “MAX”
marks on side of reservoir. If level is below
“MIN” mark, your brake fluid needs
topping up. To fill reservoir, press cap and
turn it anticlockwise to open, fill reservoir
with DOT-3 brake fluid up to “MAX” level
and close cap.
Front & side Turn Signal Lights
1. Open front hood and fix the stay rod to
mounting groove.
2. Rotate bulb holder for front indicator &
side indicator, pull bulb holder along with
rubber grommet from its seat in head light
assembly.
3. Rotate bulb anticlockwise from its holder
and remove it.
4. Replace bulb with a new one.
5. Install in reverse order of removal.
Rear Turn Signal and Reverse Indicator
Lights
1. Open rear hatch.
2. Remove 2 fixing screws on ‘Rear lamp
assembly’ and pull it from mounted slot.
3. Rotate bulb holder anticlockwise to
remove from assembly.
4. Hold bulb, rotate anticlockwise and
remove it from holder.
5. Replace bulb with a new one.
6. Install in reverse order of removal.
12.3 INTERIOR LIGHT
1. Use small Phillip screw driver and Pull
down at groove on front part of lens to
remove lens cover.
2. To remove bulb, pull it out gently.
3. While replacing bulb, make sure that
contact springs are holding bulb
properly.
4. To install cover, hook its rear end in and
push it up till it locks with click noise.
If frequent drop in fluid level is noticed, have car
brake system inspected for any leaks or worn
brake pads.
12.5 TYRES
For safe driving, tyres must be in good condition
with adequate tread and correctly inflated.
Inflation:
Keeping tyres properly inflated provides best
combination of handling, tread life and riding
comfort. Under inflated tyres, wear unevenly,
adversely affect handling & are more likely to fail
due to overheating. Over inflated tyres can make
your ride bumpy /harder. They are more prone
to damage from road hazards and wear
unevenly.
12.2 TURN LIGHTS
+
+
+
+
Max
Min
Master cylinder
Appearance & care
91
Appearance & care
12.6 WINDSHIELD WASHER / 12.7 WIPER BLADES
We recommend that you visually check your
tyres every week and maintain correct tyre
pressure as recommended in Section on TYRES.
In addition to proper inflation, get wheel
alignment done at intervals that helps to
decrease tyre wear. If you observe tyre is getting
worn unevenly, contact Authorised Service
Centre for wheel alignment.
12.6 WINDSCREEN WASHER
Windscreen Washer fluid tank is located
under hood on left-hand side corner.
Check washer fluid in tank at least once a
month. Top up fluid when necessary.
Absence of washer fluid can damage your
washer motor. It is advisable to always
keep washer fluid topped-up.
Use “anti-freeze” solution in windscreen
washer reservoir. This will help liquid in
Washer unit not be frozen during very
low temperatures.
WARNING
Damage may result if washer motor is
operated whilst fluid is frozen or with no
fluid in washer reservoir, or in case
nozzle is blocked.
CAUTION
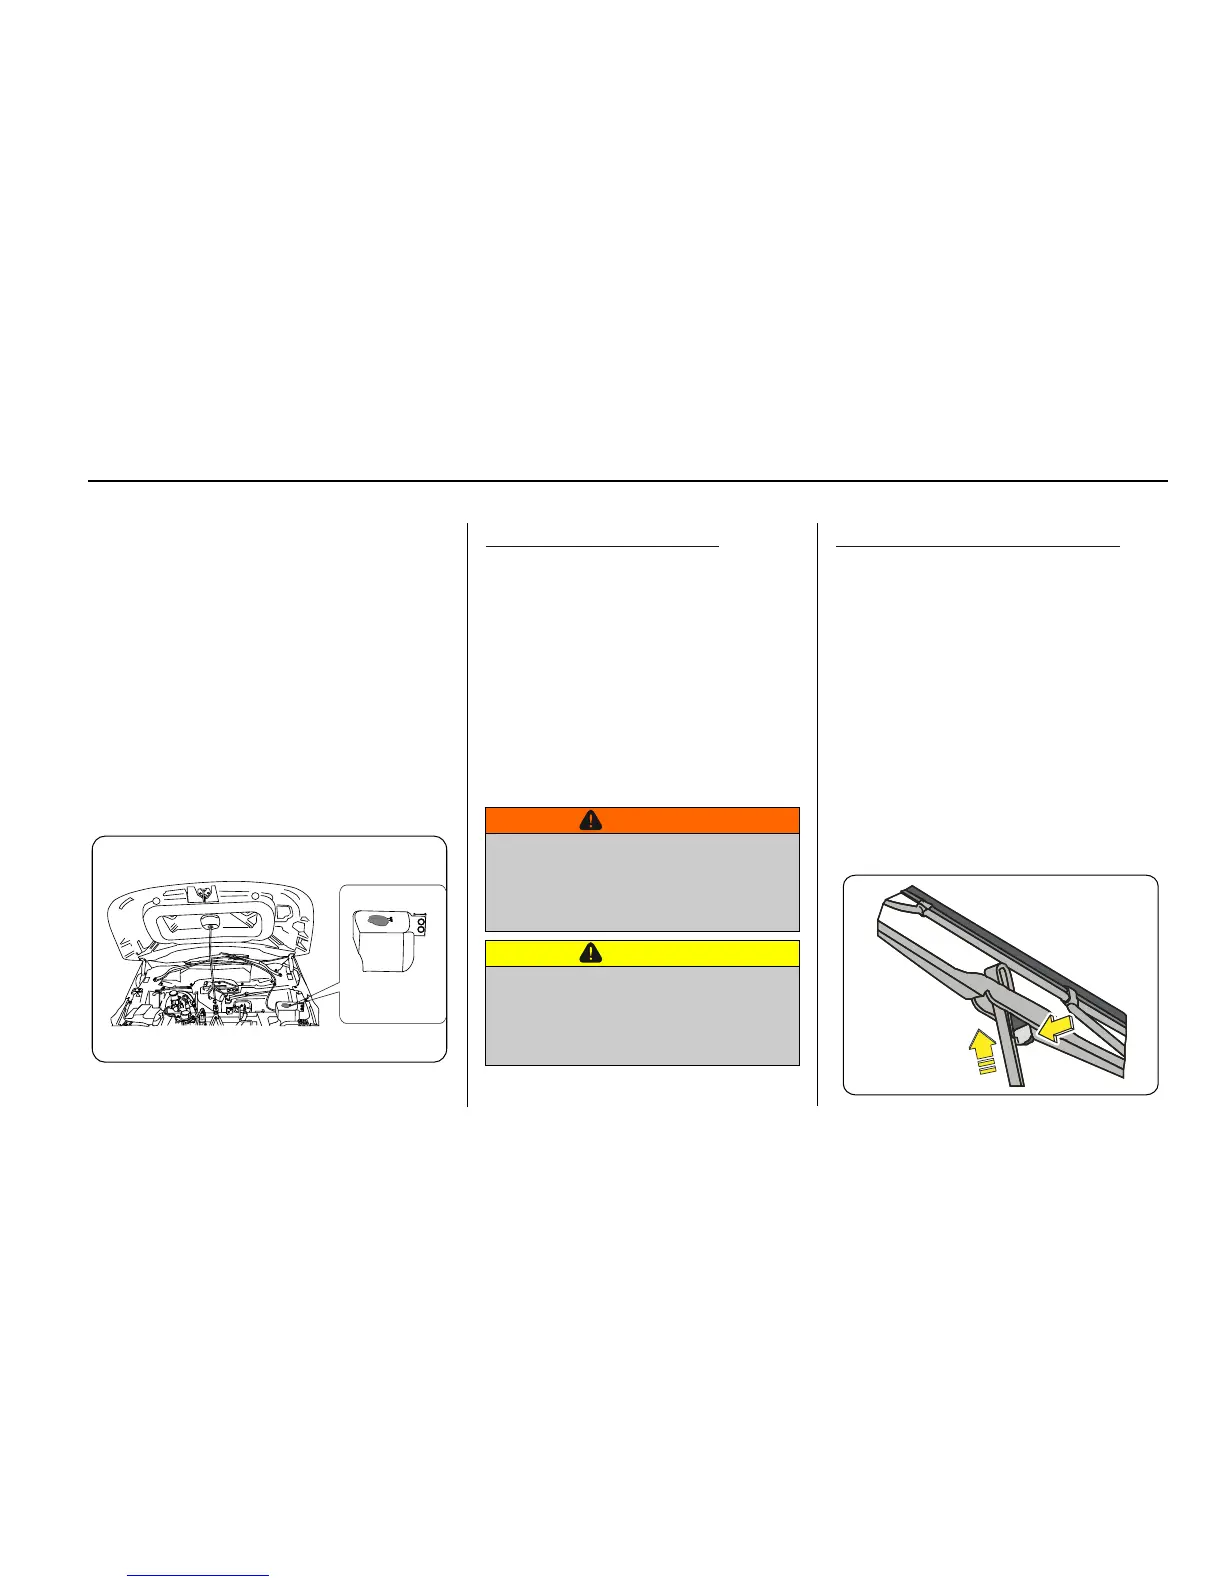
12.7 WIPER BLADE REPLACEMENT
Contamination by dust on either windscreen
or wiper blade with foreign matter can
reduce effectiveness of windscreen wiper. If
blades are not wiping properly, its could be
time to replace them. To replace wiper blade,
press retaining clip and pull the blade off
arm. Push new wiper blade into arm and
hear clicking noise for positive locking of new
blade.
+
+
+
+
+
+
+
Wiper washer
Tank
 Loading...