 Loading...
Do you have a question about the Makita DTD152 and is the answer not in the manual?
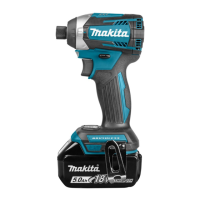
| Power source | Battery |
|---|---|
| Battery voltage | 18 V |
| Battery level indicator | Yes |
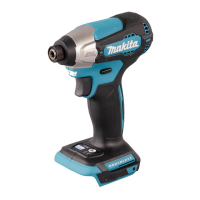
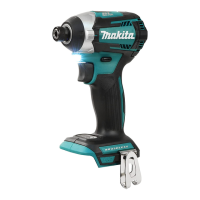
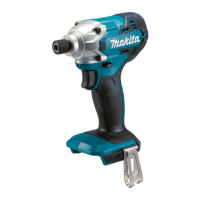
| Product color | Black, Blue |
| Idle speed (max) | 3500 RPM |
| Screw diameter (max) | 16 mm |
| Maximum torque (hard applications) | 165 N⋅m |
| Vibration emission | 10.5 m/s² |
| Depth | 137 mm |
|---|---|
| Width | 79 mm |
| Height | 238 mm |
| Weight | 1500 g |