61
60
CHAPTER 9: PART REPLACEMENT GUIDE
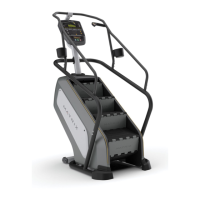
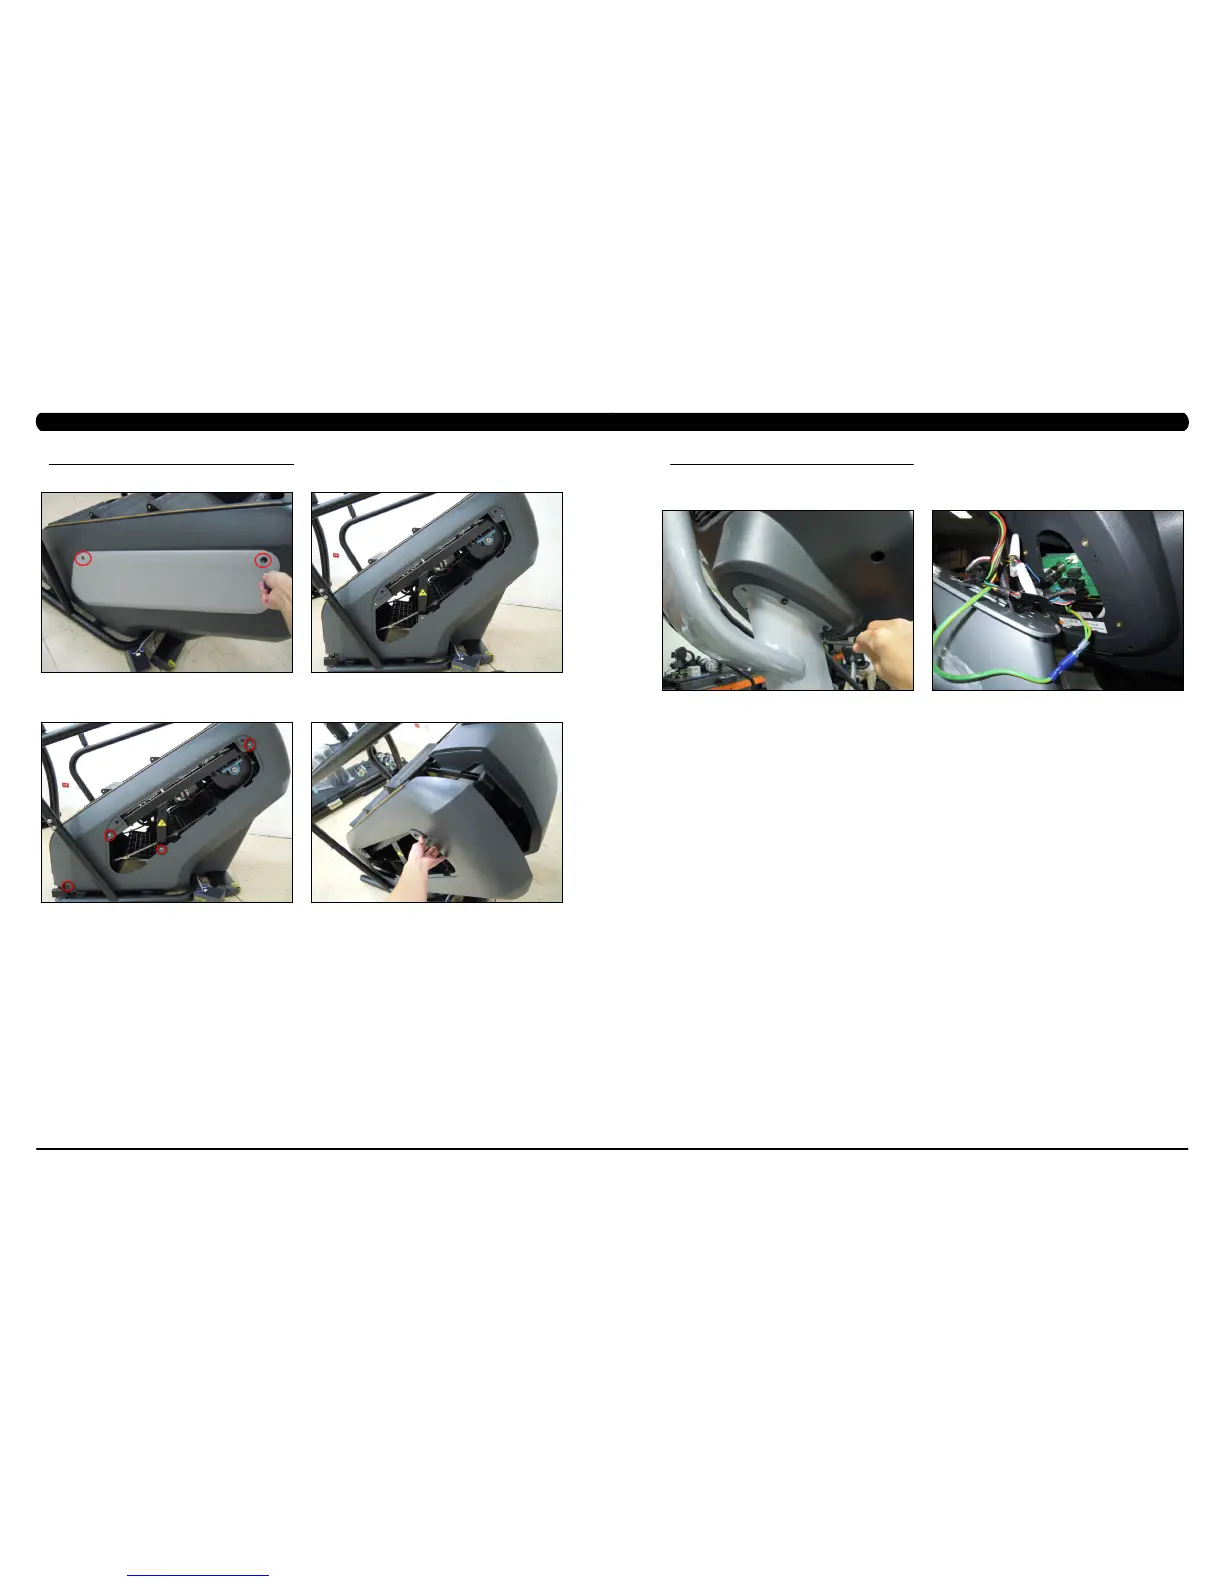
9.1 SIDE COVER REPLACEMENT - CONTINUED
5) Rotate the 2 plastic clips counter-clockwise to remove the Matrix logo cover (Figures E & F).
6) Remove the 4 screws holding the side cover to the frame and pull up on the side cover to remove it (Figures G & H).
7) Reverse Steps 1-6 to install a new side cover.
FIGURE E FIGURE F
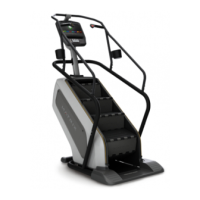
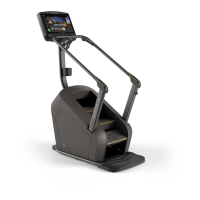
9.2 CONSOLE REPLACEMENT
1) Turn off power and disconnect the cord from the machine.
2) Remove the 5 screws that hold the console to the console mast (Figure A).
3) Disconnect the console cable and other wiring from the console, then remove the console (Figure B).
4) Connect the wiring to the new console.
5) Carefully push the wires into the console and console mast until they are clear of the console / mast connection.
6) Attach the console to the console mast using the screws removed in Step 2.
7) Test the Climb Mill for function as outlined in Section 9.21.
FIGURE BFIGURE A
CHAPTER 9: PART REPLACEMENT GUIDE
 Loading...