101
100
10.5 TV PROGRAMMING INSTRUCTIONS (ID MARKET) - CONTINUED
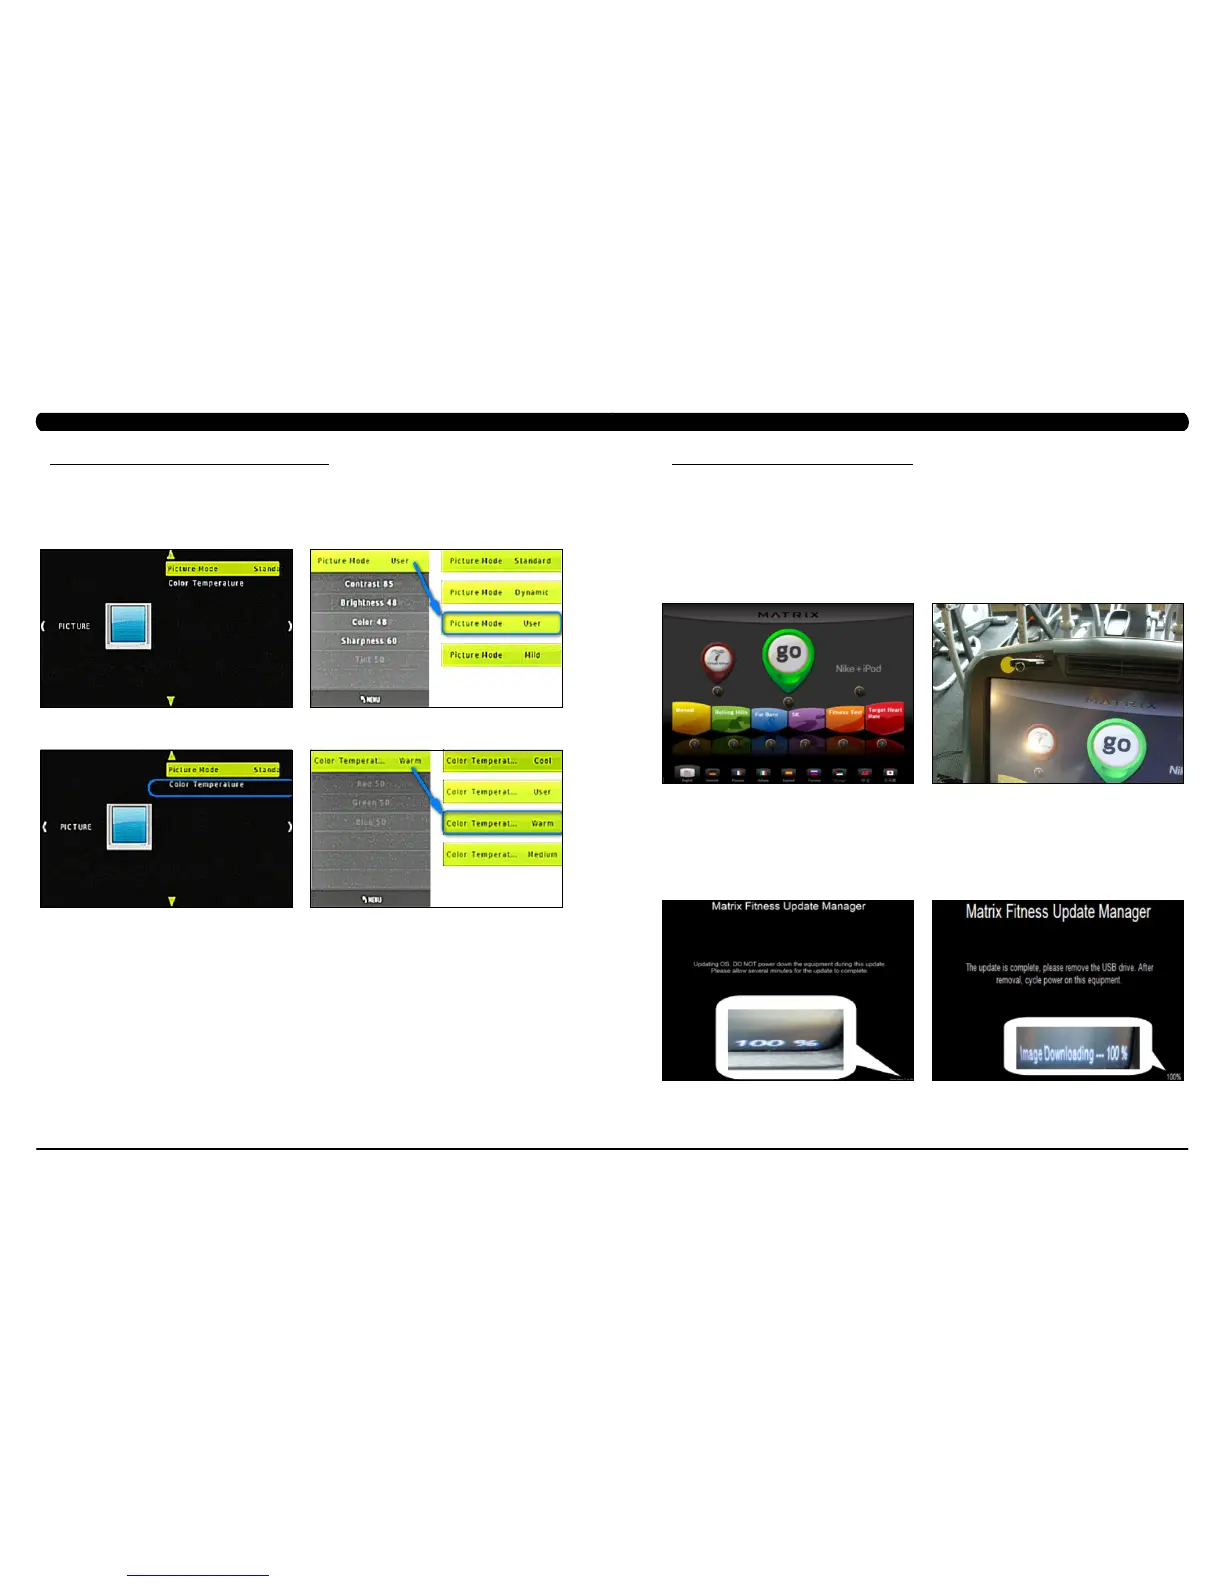
PictureMode-Picture Mode will help to define the TV display setting.
1. Press the – key on the number keypad to return to the main screen. Use the VOUME UP or DOWN keys to select Picture Mode (Figure A).
Press the ENTER key to enter the Picture Mode setting. Use the CHANNEL UP or DOWN keys to select the different settings (Figure B). After
find the correct Picture Mode, press ENTER to confirm and store setting. note: Choice the Picture Mode with User that’s recommended
(Figure B).
2. Follow Steps 1 instruction to access Color Temperature setting (Figure C & D). note: Choice the Color Temperature with Warm that’s
recommended (Figure D).
FIGURE DFIGURE C
FIGURE A
FIGURE B
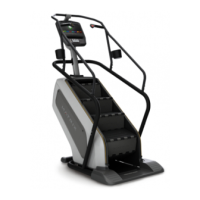
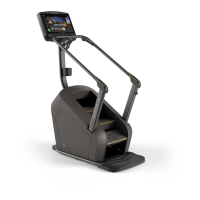
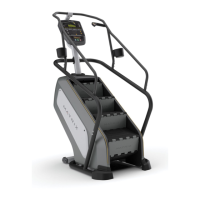
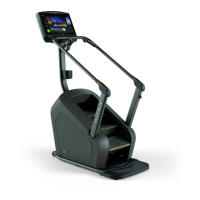
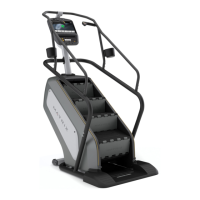
CHAPTER 10: CLIMB MILL SPECIFICATIONS AND ASSEMBLY GUIDE
11.1 SOFTWARE UPGRADE PROCEDURE FOR UCB
CHAPTER 11: SOFTWARE UPGRADE PROCEDURE
FIGURE A FIGURE B
*AnACpowercordisrequiredtoupdatesoftwareinthefield.Plugintheunitpriortobeginningtheupdateprocedure.
**Allpluginsmustberemovedpriortoupdatingsoftware(forexample,noIPodcanbeconnected).Donotusetheconsolewhilean
updateisinprocess.
***IfVAisinstalledontheconsole,waituntiltheVirtualActiveicononthestandarddisplaypictureturnsredpriortoupdatingthe
software.
1) Five files should be present on the USB drive. These are: DrummuDeploy.cab, NK, IO_XXX, updateLMM.confige, and Extract_CE.
2) Turn on the power to the Climb Mill, wait until the standard display picture has been come up (Figure A).
2) Enter Manager Mode by pressing ENTER, 1, 0, 0, 1, ENTER on the lower keypad.
3) Record the Accumulated Mileage, Accumulated Time, and Serial Number. note: The information can be lost during the update procedure
and should be recorded so that the information can be entered into the newly updated console.
4) Press the HOME key to return to the standard display picture.
5) Wait until the Virtual Active icon turns RED. Insert the USB Drive into the USB port in the console (Figure B).
6) After a few seconds, the Climb Mill will auto run the upgrade processing. The achieved percentage of the scheduled process will be
displayed in the bottom right corner of the display (Figure C).
7) When the update is complete, the display will ask you to remove the USB drive (Figure D). Once the USB drive is removed, turn off the
Climb Mill and wait 30 seconds, then turn the Climb Mill back on.
8) Enter Service Mode by pressing ENTER, 3, 0, 0, 1, ENTER on the lower keypad and check that the Machine Type is correctly set for Climb
Mill and that the Service On Boot setting is NO. If the Machine Type is not correct, press ENTER, 3, 0, 0, 2, ENTER. This will do a software
parameter reset. Then change the Machine Type. Once the Machine Type is changed cycle unit and console power. Press the HOME key to
return to the standard display picture if the Machine Type is correct.
9) Also enter the values recorded in Step 3 in Service Mode (if needed).
9) Enter Manager Mode by pressing ENTER, 1, 0, 0, 1, ENTER on the lower keypad. Press SOFTWARE VERSIONS to verify that the new
software version is shown on the screen. Re-load software if any problems are seen.
FIGURE C FIGURE D
 Loading...