73
72
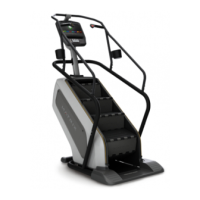
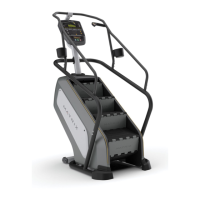
9.9 STAIR REPLACEMENT - CONTINUED
CHAPTER 9: PART REPLACEMENT GUIDE
7) Remove the axle from the lower side of the stairs needing to be replaced following the same procedure as Steps 4-6.
8) Remove the stair set when you have removed both axles (Figure E).
9) Remove the E-shaped clip from the short axle between the 2 portions of the stair set (Figure F). This will allow you to separate the 2 portions
of the stair set.
10) Reverse Steps 1-9 to install a new stair set.
11) Turn the brake bar to the left to unlock the stairs once the replacement is nished.
12) Test the Climb Mill for function as outlined in Section 9.21.
FIGURE FFIGURE E
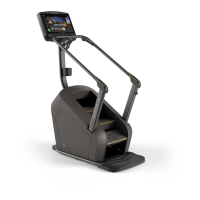
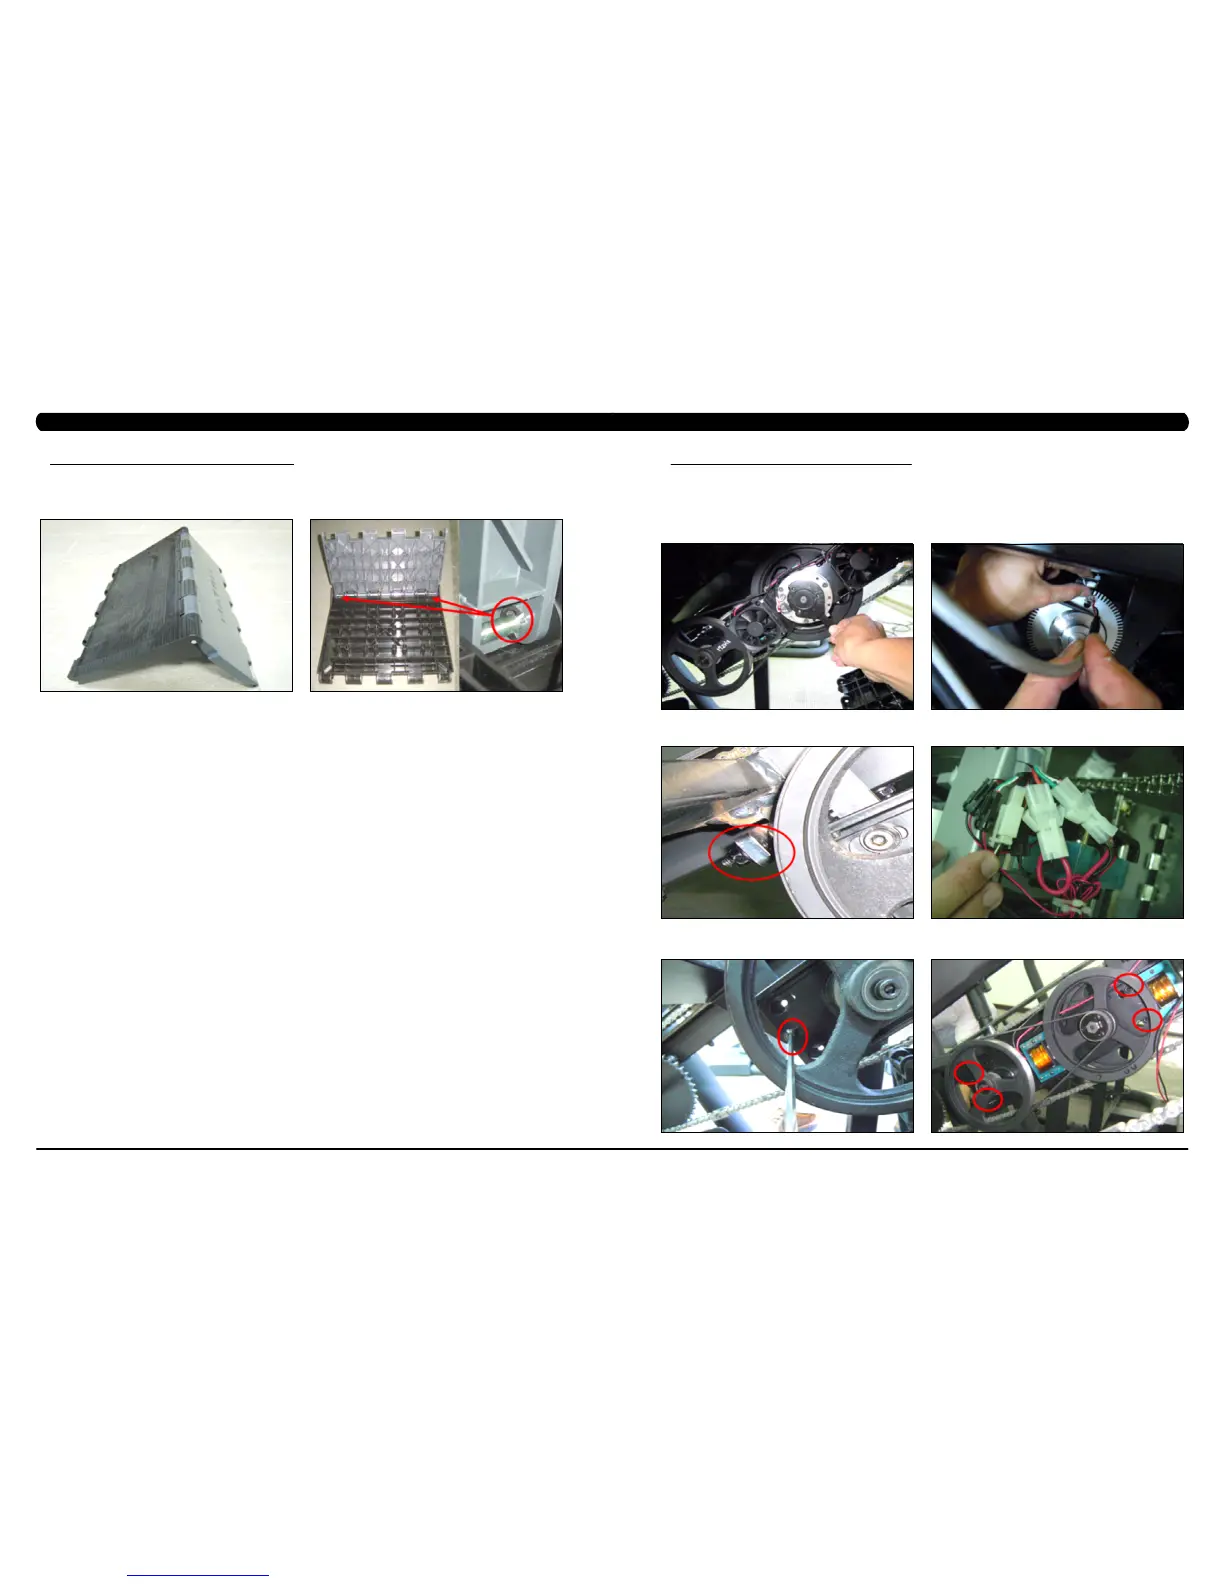
9.10 DRIVE SET REPLACEMENT
CHAPTER 9: PART REPLACEMENT GUIDE
*NOTE:Itisrecommendedthat2techniciansbepresentwhenreplacingorremovingthedriveset.Whileitisnotnecessaryto
removethesidecoversorasetofstairs,itmakesitmucheasiertoremovethedrivesetifthesepartsareremovedforaccessibility.
1) Turn off power and disconnect the cord from the machine.
2) Turn the 2 plastic screws counter-clockwise and remove the Matrix logo covers on both sides of the machine.
3) Turn the brake lever to the right to lock the stairs (Figure A) to prevent movement that could cause injury.
4) Disconnect the speed sensor wire (Figure B). note: Use 2 hands to disconnect the speed sensor wire. Do not pull the socket downwards to
disconnect as it will damage the connector.
5) Loosen the screw that applies tension to the chain (Figure C).
6) Disconnect the 5 wire connectors at the top of the drive set (Figure D). These include 2 fan wires, 2 ECB wires, and a brake wire.
7) Loosen the drive set guide screw if tight (Figure E).
8) Remove the 4 screws that hold the drive set to the frame (Figure F).
FIGURE A FIGURE B
FIGURE DFIGURE C
FIGURE FFIGURE E
 Loading...