Jacking point, front axle
X
Place the jack under the jacking point in front
of the front axle.
X
Vehicles with all-wheel drive: unscrew jack
spindle = counter-clockwise as far as it will
go.
Jacking point, rear axle (example: vehicle type
2500)
Jacking point, rear axle (example: vehicle type
3500)
X
Place the jack under the jacking point in front
of the rear axle.
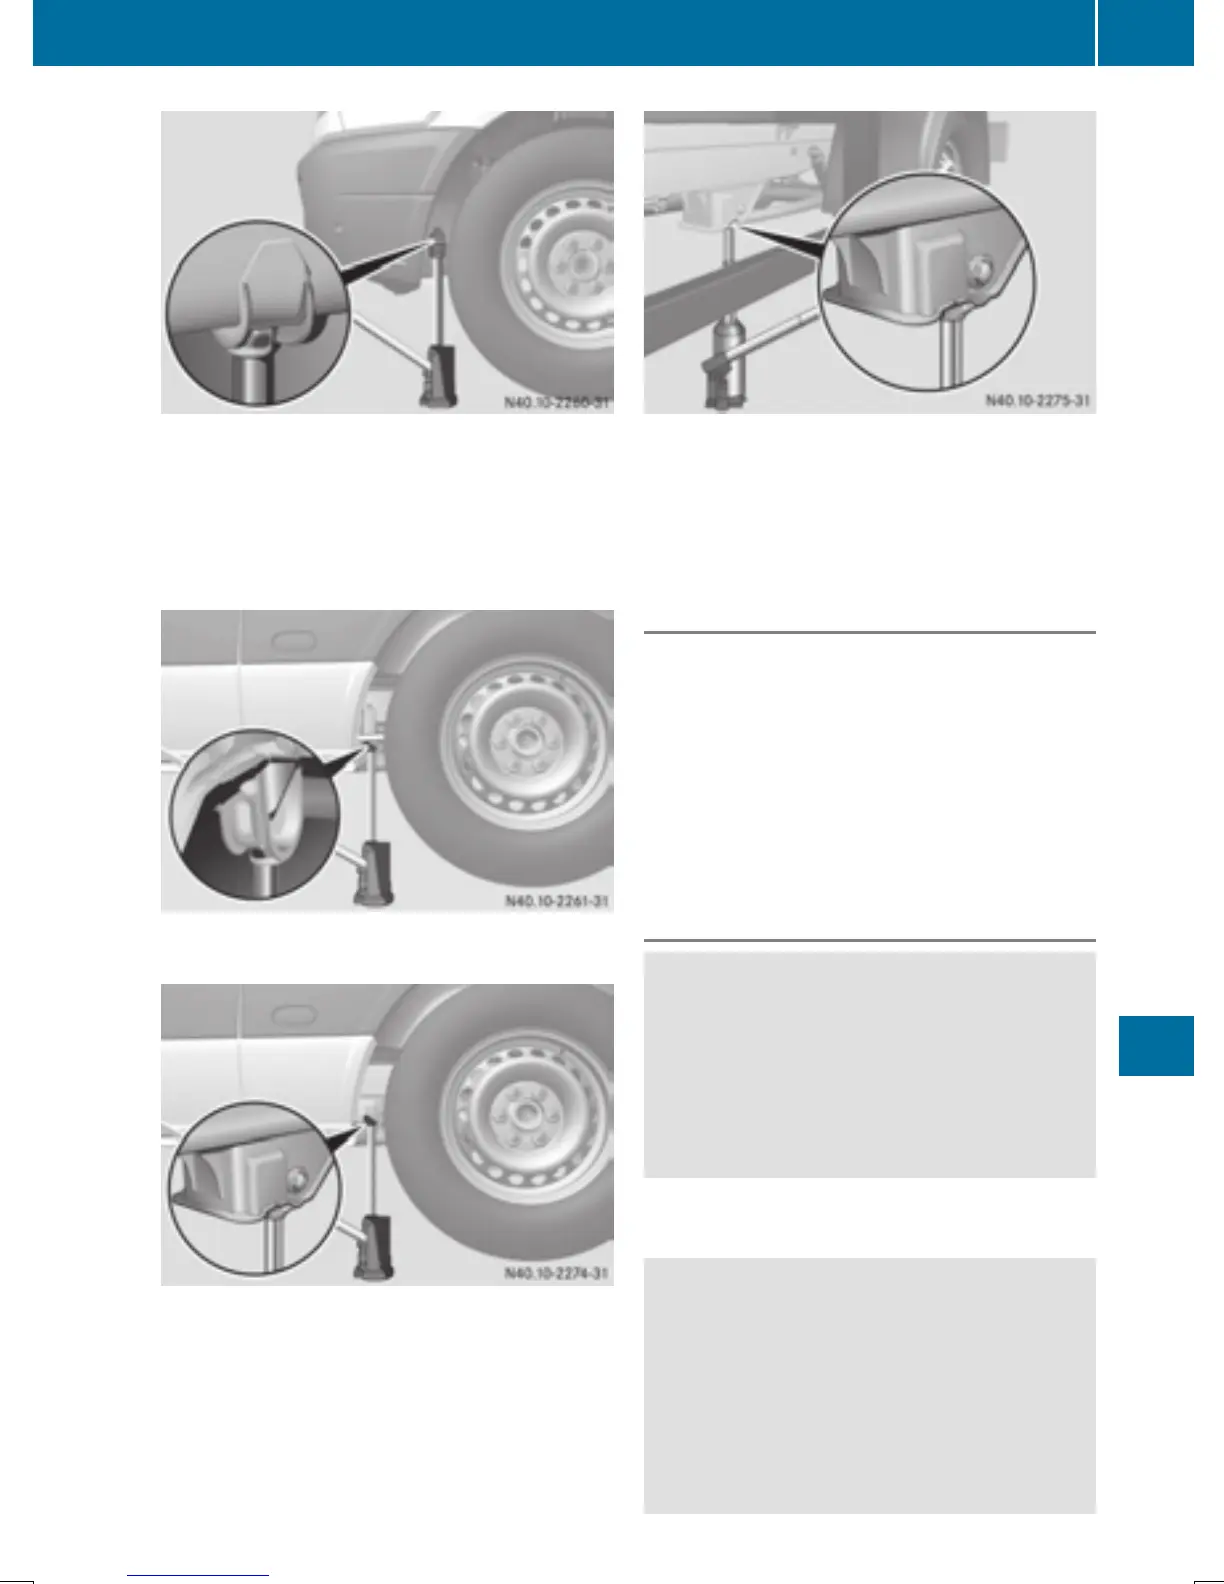
Jacking point, rear axle (example: Cab Chassis)
Jacking point at the rear axle on chassis ver-
sions
X
Place the jack next to the front leaf spring
support beneath the jacking point.
Removing a wheel
!
Do not place the wheel bolts or the wheel
nuts in sand or dirt. The threads of the wheel
bolts and wheel nuts could otherwise be dam-
aged when being tightened.
X
Unscrew the wheel bolts or nuts.
X
On front wheels with wheel nuts, remove the
wheel nut cover.
X
Remove the wheel.
Installing the adapter
G
WARNING
If you tighten the adapter bolts when the vehi-
cle is raised, the jack could tip over. There is a
risk of injury.
Make sure that the vehicle is properly pre-
pared for a wheel change. Tighten the adapter
bolts with particular care and attention.
Always observe the instructions and safety
notes on "Changing a wheel" (
Y page 266).
G
WARNING
If you do not tighten the bolts of the adapter to
the specified tightening torque, the adapter
may come loose with the spare wheel. There
is a risk of an accident.
Tighten the bolts of the adapter to the speci-
fied tightening torque. Have the spare wheel
replaced with a complete wheel and an extra-
Changing wheels
269
Wheels and tires
Z

 Loading...