Annotations and Body Marks 9-3
9.1.5 Modifying (Editing) Annotations
Modifying (Editing) characters
1. In annotation status, tap to select the annotations to be modified.
Tap to select the added annotation, the annotation turns into green in editing status.
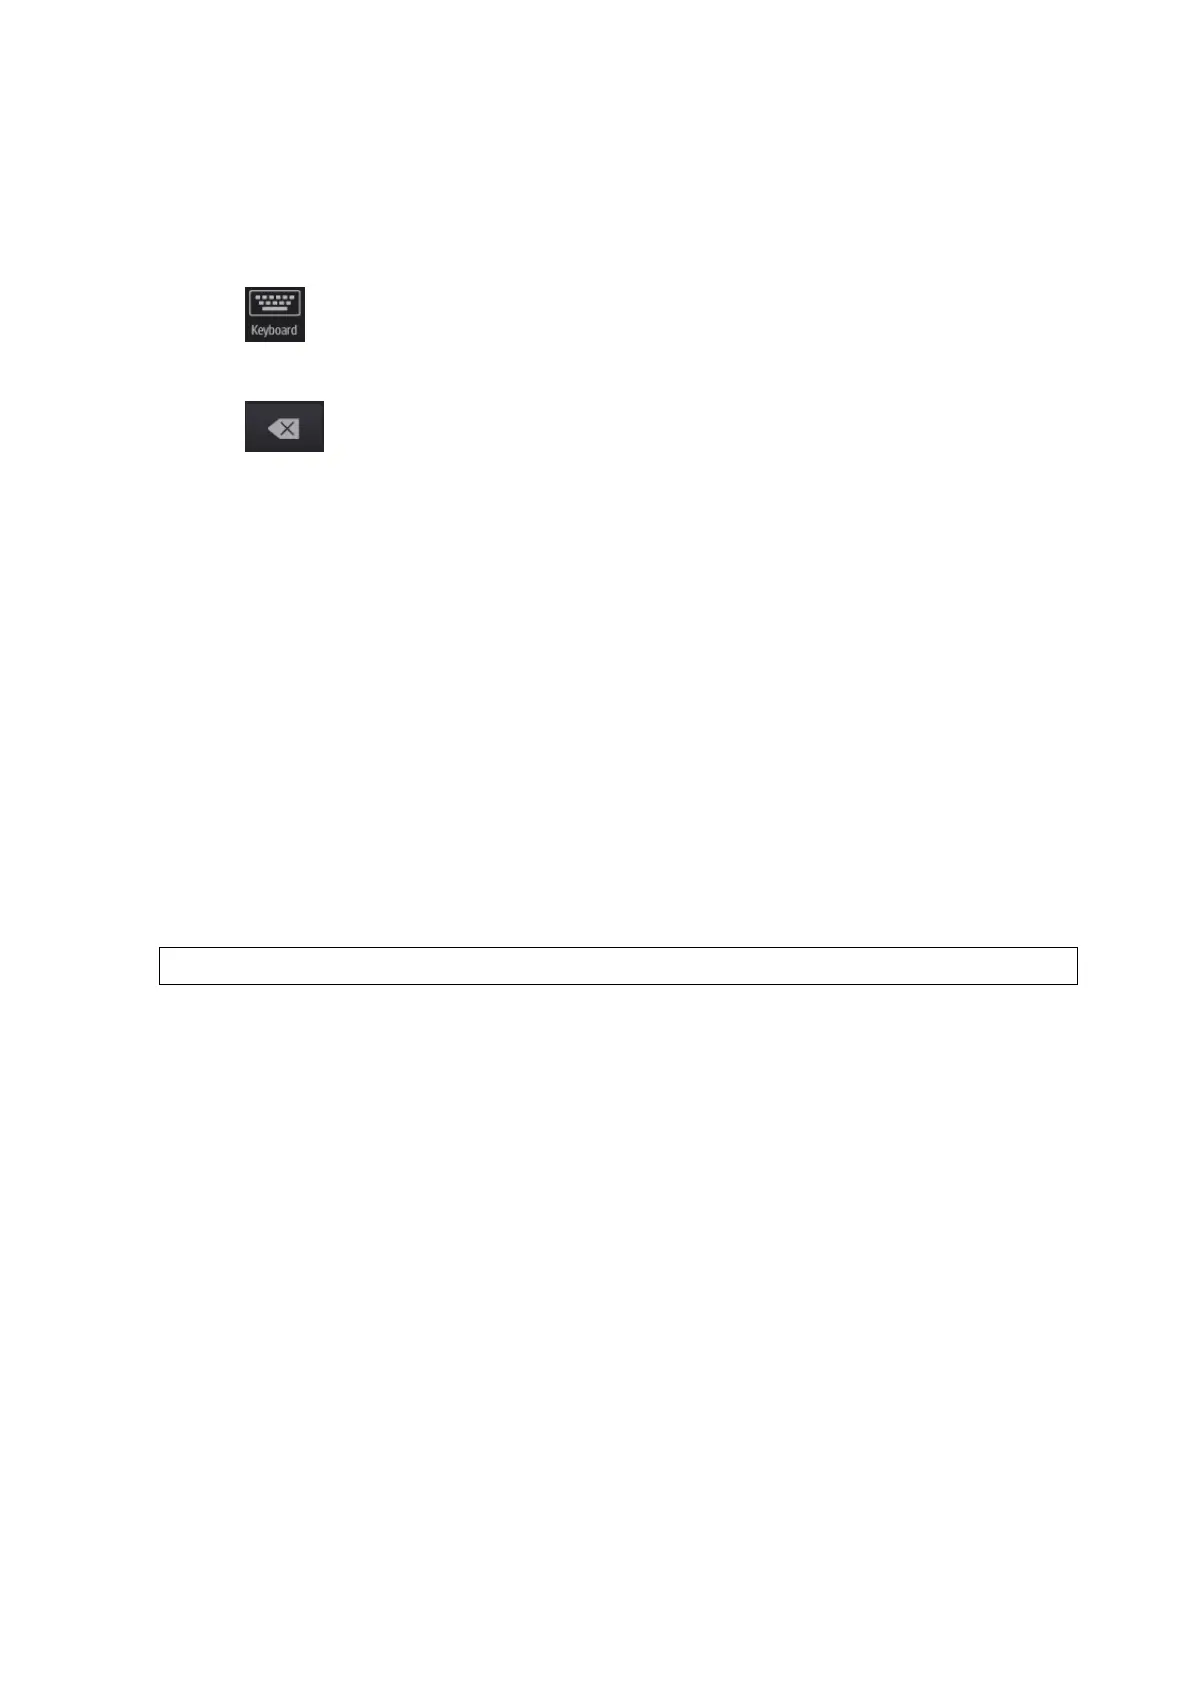
2. Tap to show the soft keyboard and use the direction keys to move the cursor to the
desired location to insert/delete characters. Either type characters by tapping the
corresponding keys or select the new annotation text from the menu directly.
3. Tap to delete the annotation character or text on the left side of the cursor.
4. Tap regions other than the edited comment on the image area to confirm the modification and
exit the edit status. The annotation turns to yellow.
Modifying (Editing) Arrows
1. Tap to select the arrow that needs to be modified, the arrow then turns green. Change the
arrow's position or change the orientation as described in “Adding an Arrow” in “9.1.3Adding
Annotations” chapter.
2. Tap regions other than the modified arrow on the image area to confirm the change.
9.1.6 Deleting Annotations
Deleting annotation characters, texts or arrows
1. Tap to select the annotation to be deleted, a [Delete] button displays on the bottom of the
image area.
2. Tap[Delete] to delete the annotation.
Delete all annotations
Tap [Clear Comment] on the annotation menu to delete all the annotations.
After powering off, the system will clear all annotations on the image.
9.2 Voice Comments
The system supports adding voice comment to the frozen images.
9.2.1 Voice Comment Panel
After the system enters the voice comment status, the voice comment panel will be displayed.
 Loading...