11 | Assembly Instructions
Setup & Connections
POWER UP & PLAY
Using the included 12V DC Power Supply, connect the barrel end to the Mavis power connection jack,
and connect the other end to an AC wall outlet (100–240 Volts AC/50–60 Hz).
When the red LFO RATE LED on the Front Panel lights up, your synthesizer is powered on and you are
ready to build your first patch!
NOTE: There is no power switch on your Mavis. Once connected to the power supply, the unit is On. Mavis is an
analog instrument and should be allowed to warm up before use. In cases where it has been left in a cold car
overnight, for example, it may take even longer for the oscillator tuning to stabilize. For optimized tuning, do
not operate your Mavis in direct sunlight.
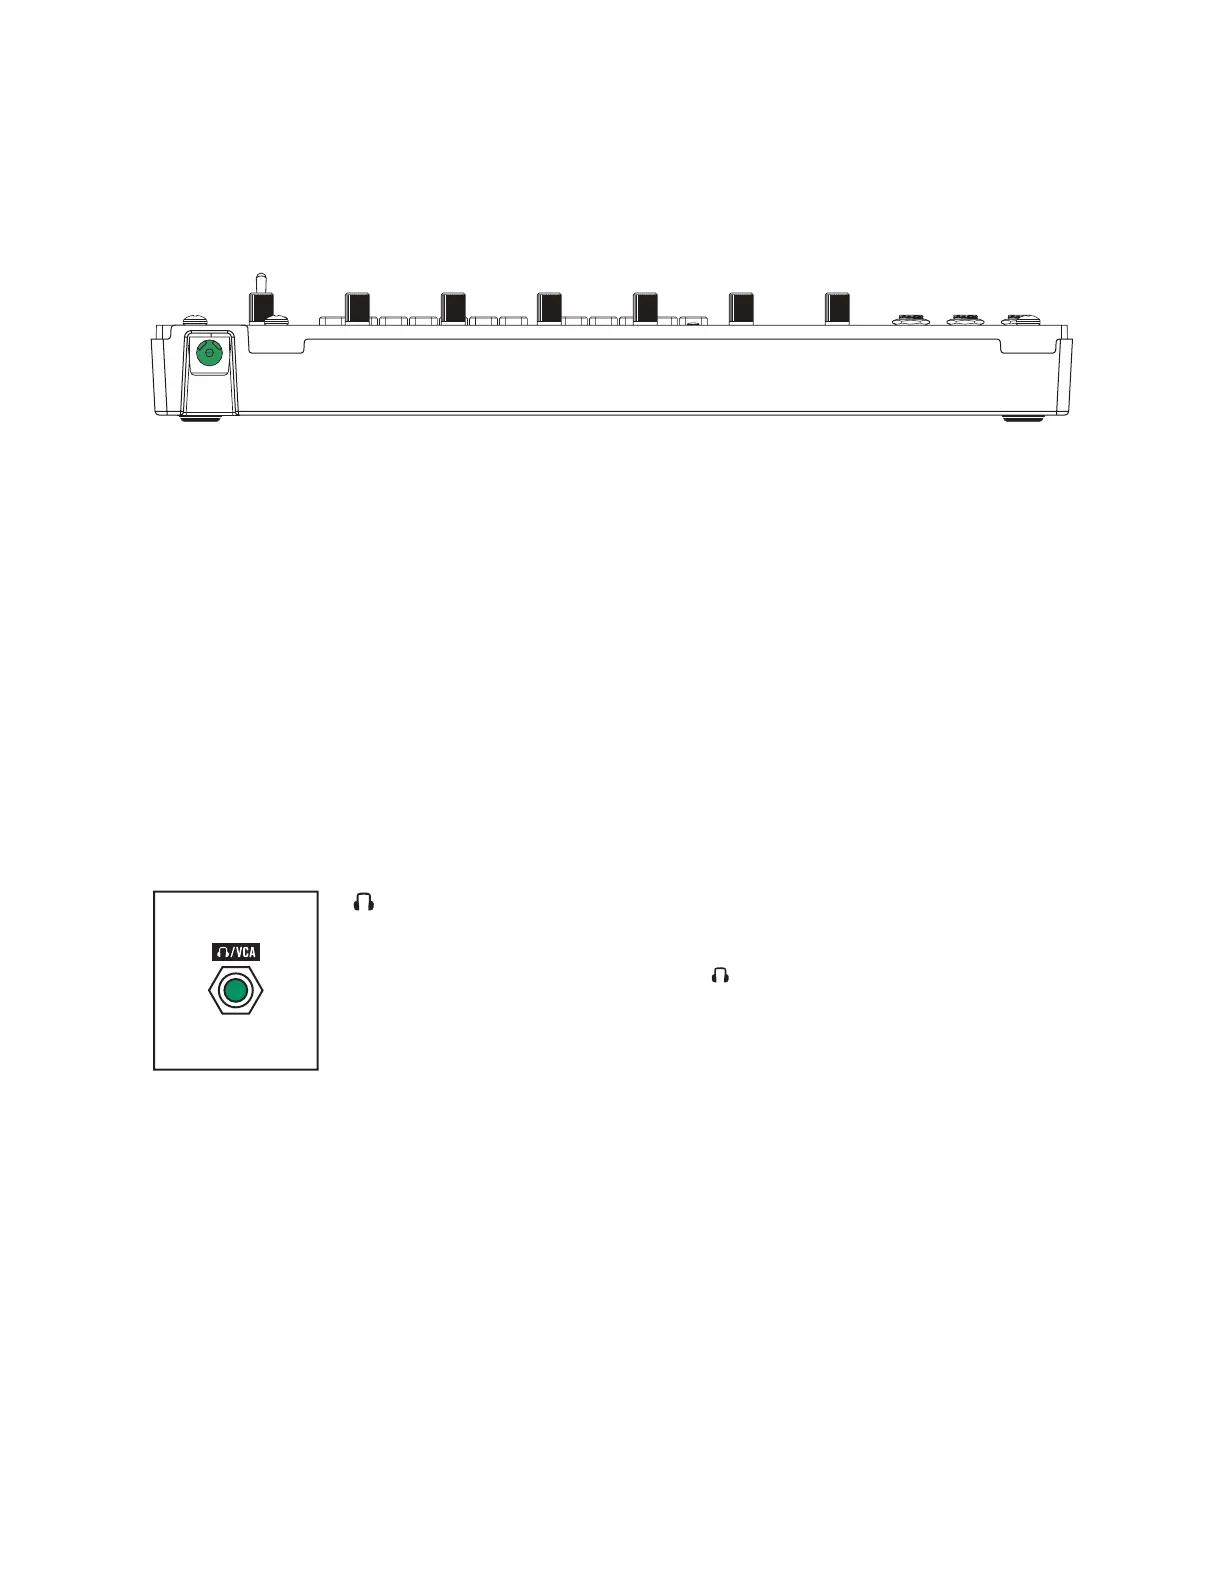
/VCA
With the Mavis VOLUME knob turned all the way down (counterclockwise),
plug one end of a 3.5 mm cable into the / VCA jack on the patchbay. Then
plug the other end into an amplified speaker or mixing console input, using a
3.5 mm-to-1/4" adapter if necessary. This jack can also be used with a set of
mono or stereo headphones, providing the same signal to each ear. Now, raise
the VOLUME knob (clockwise) to bring the sound to an appropriate level.
 Loading...