15
WORKING WITH SYNTHS (Continued)
The active Synth can be turned On or Off using the ON button located in the Keyboard Control
module. In addition, each Synth can be quickly zone-limited to a specic area of the keyboard. To do
this, press the LOW RANGE button (the LED will light) and then press a key on the keyboard to set the
lowest playable note for the selected Synth (the LED goes dark). Next press the HIGH RANGE button
(the LED will light) and press a key on the keyboard to set the highest playable note for the selected
Synth (the LED goes dark). Additional visual conrmation is provided on the HOME page, where the
keyboard range for each Synth is shown in red if Keyboard Control is ON, and greyed-out if it is Off.
TIP: Pressing both the LOW RANGE button and the HIGH RANGE button at the same time will expand
the zone of the active Synth to its full note range of G0 to C10 (MIDI Note 0 - 127).
TIP: Press any SYNTH button while holding SHIFT to solo the selected synth. Repeat to return to
standard behavior.
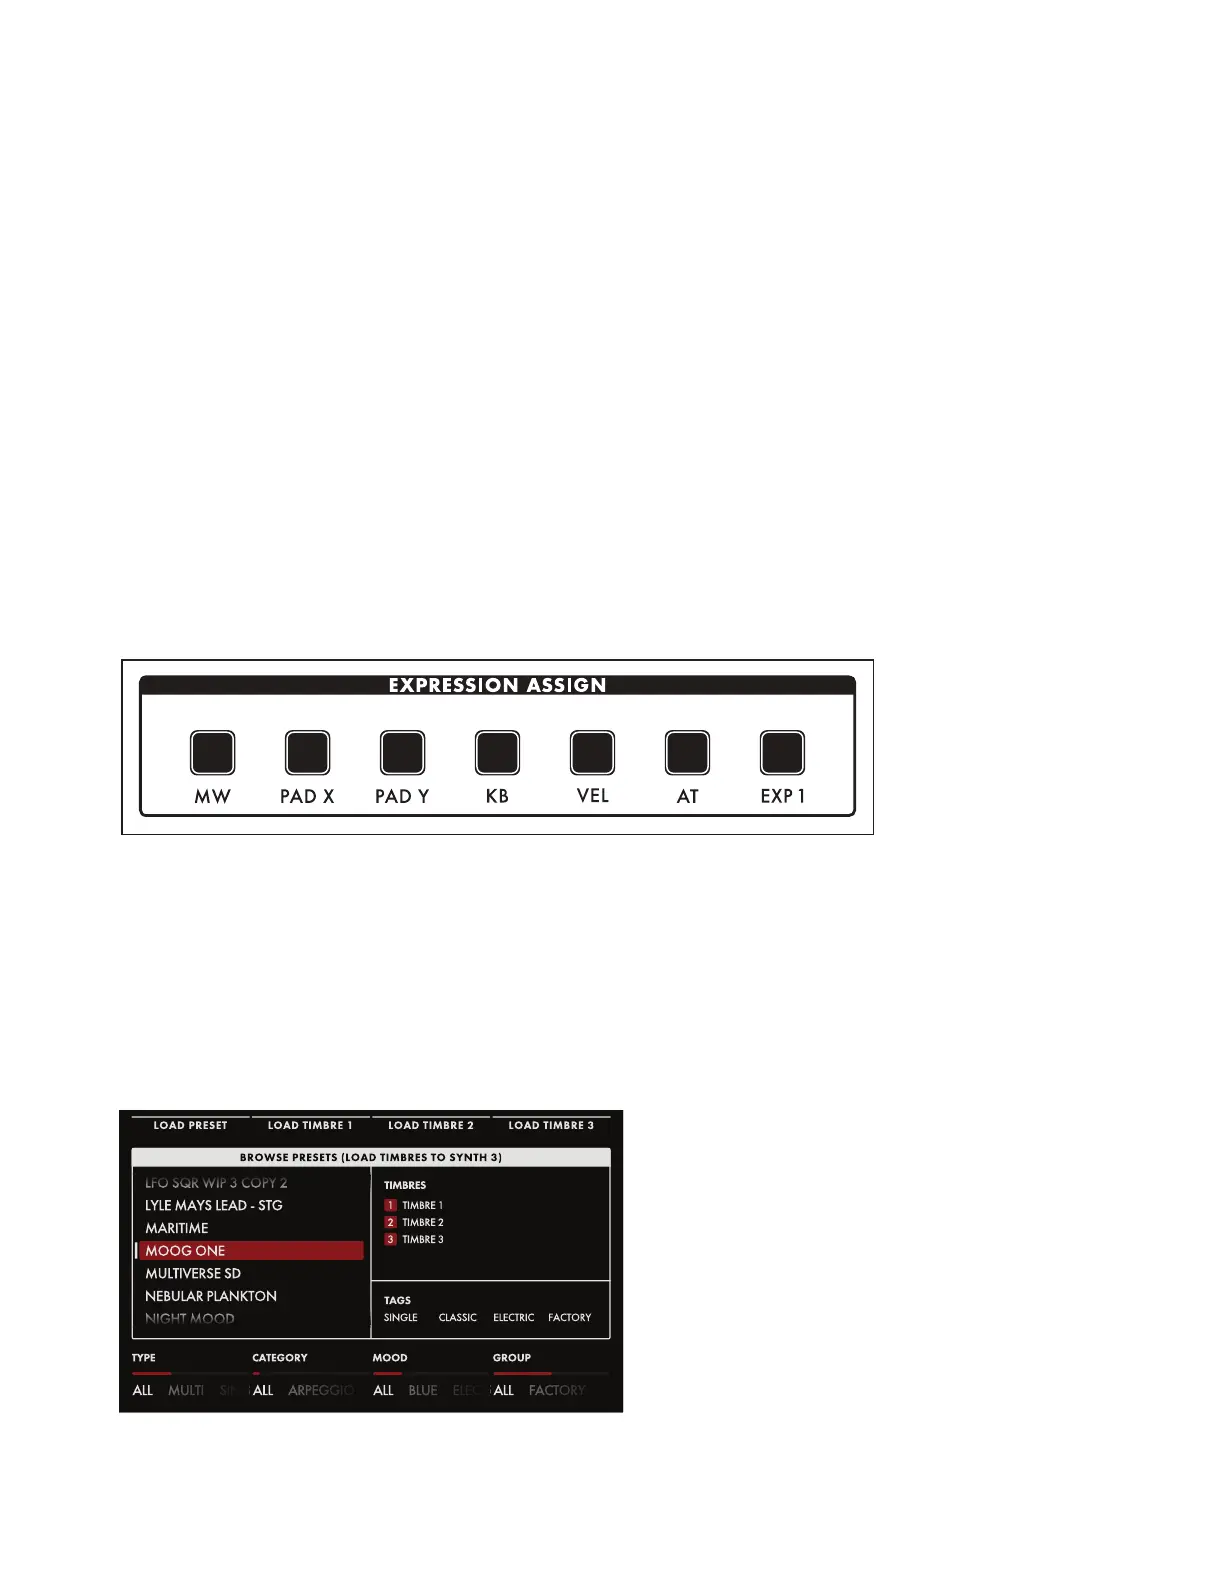
ADDING EXPRESSION
The Expression Assign buttons provide a convenient way to instantly assign a controller as a
modulation source to a specic parameter. Simply press any Controller button in the Expression Assign
module, and then tweak a knob or press a button to link the selected controller to that parameter.
Once a modulation path has been created, the Quick Assign modulation screen will appear in the
Center Console Display. Additional parameters may be accessed here.
The available controllers are:
• MW (Mod Wheel)
• PAD X (Pad Position X Axis - horizontal motion)
• PAD Y (Pad Position Y Axis - vertical motion)
• KB (Keyboard Note Value)
• VEL (Keyboard Velocity)
• AT (Aftertouch)
• EXP 1 (Expression Pedal input 1)
SELECTING A PRESET
Moog One can store a nearly innite
number of Presets that may be searched
and ltered in a variety of ways. From
the HOME screen, press the BROWSE
PRESETS Soft Button at the upper left of
LCD to open the Preset Browser.

 Loading...