14
SAVE
The SAVE button begins the Save process that allows you to store the current
settings of the instrument as a Preset. During the Save process, you will also
have the ability to add names to the individual Timbres (1, 2, and 3) that are
contained within the Preset.
NOTE: A full explanation of the save process can be found in the “Saving A
Preset” section on page 118.
NOTE: The SAVE button will light dimly if any parameters have been altered from their originally saved
value, reminding you to save your changes if you wish to make them permanent.
COMPARE
Pressing the COMPARE button places a copied version of the current Preset
parameter settings in a separate buffer, so you can tweak one version of a
Preset and always compare it to the saved version as you edit.
NOTE: Pressing SHIFT and COMPARE simultaneously (SHIFT + COMPARE) creates
a new initialized Preset using the Moog One default sound parameters and settings.
SHIFT
The SHIFT button is most often used in conjunction with another controller or
function. For example, holding the SHIFT button while operating a Soft Knob
parameter allows the value to be edited at a ner level of resolution. SHIFT
operations can be performed by holding down the SHIFT button as you operate
the controls. Alternatively, you can enter SHIFT mode by pressing and releasing
the SHIFT button. The button will blink, and any operation performed will
behave as if the SHIFT button is being held. Moog One will remain in this state
until the SHIFT button is pressed again, and the blinking has stopped.
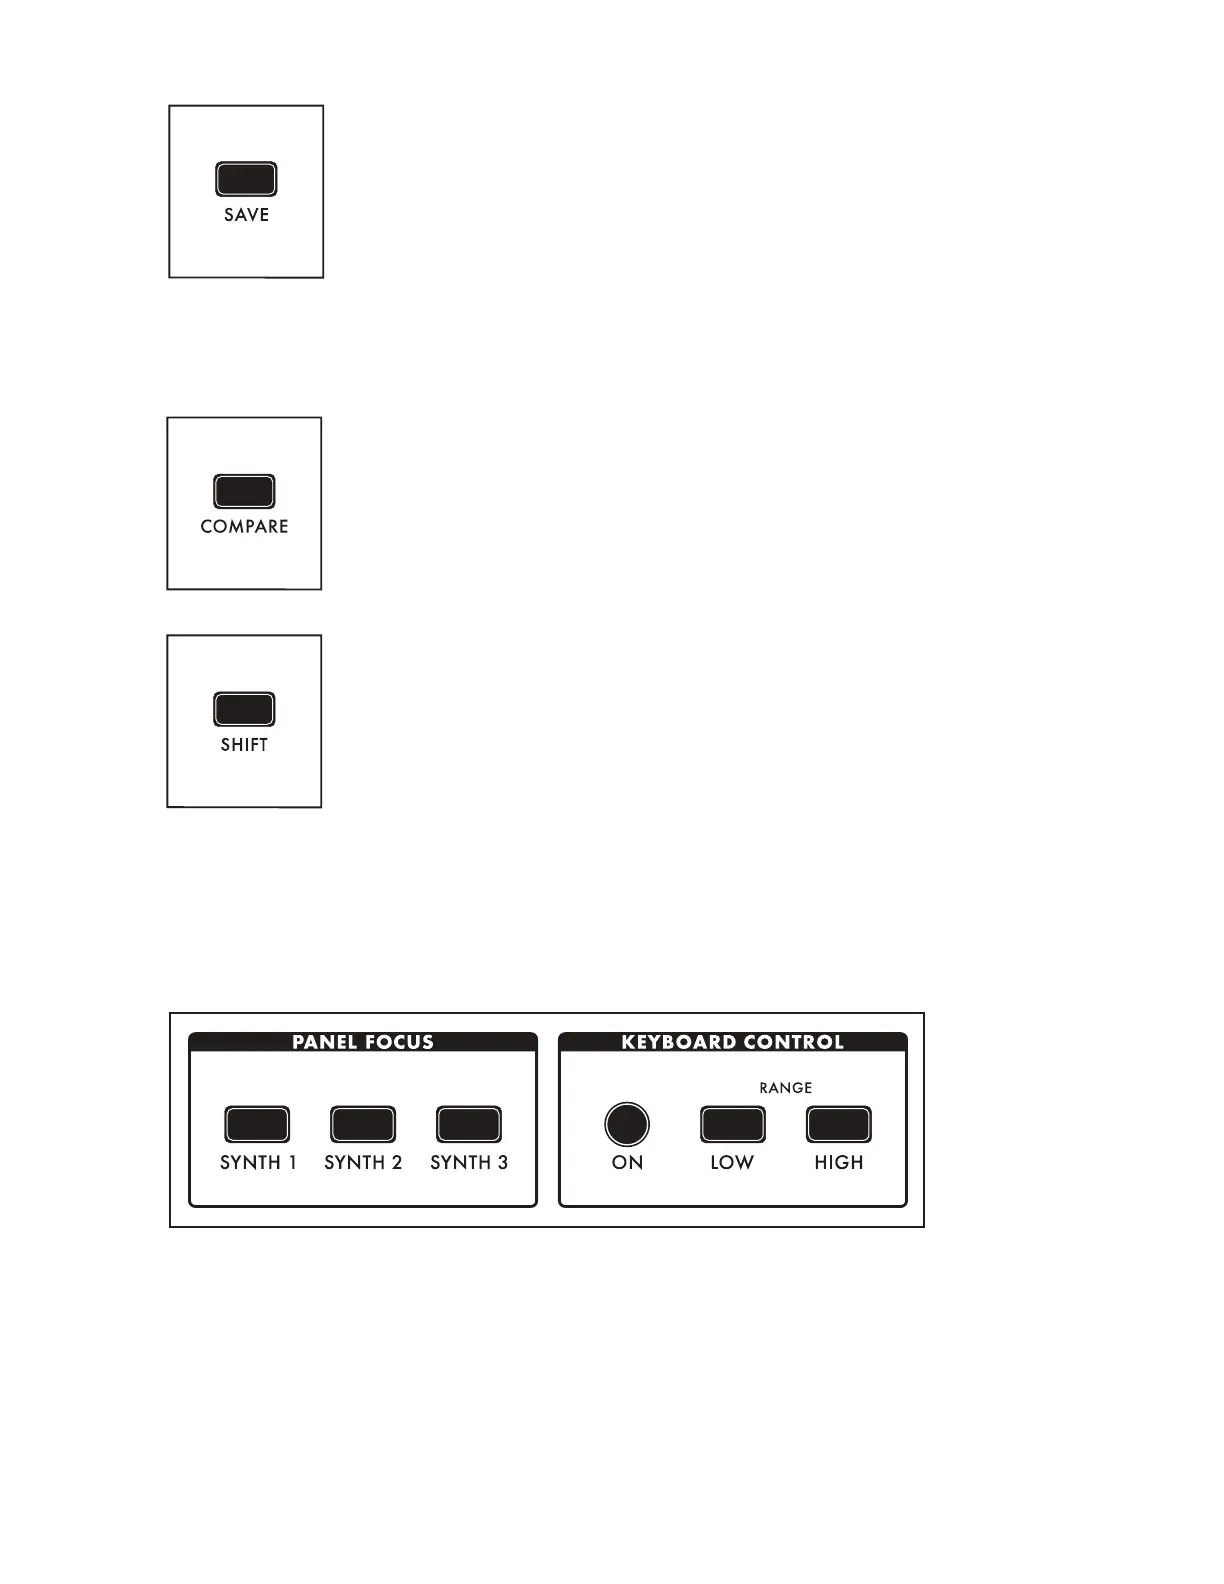
WORKING WITH SYNTHS
Tweaking knobs and pressing buttons has a direct effect on the sound of Moog One. But what exactly
is the Front Panel controlling? Remember, a Preset is comprised of up to three Synths -- and one Synth
(or more) is always assigned to the Front Panel.
The active Synth is selected using the SYNTH 1, 2 and 3 buttons in the Panel Focus module, which
allows the Front Panel knobs and buttons to only affect the currently selected Synth(s). Pressing any
SYNTH button by itself will select just that one Synth. Holding one SYNTH button while pressing
additional SYNTH buttons will select multiple Synths, and allow any tweaks or edits to be applied to all
of the selected Synths simultaneously.
NOTE: When multiple Synths are selected, the MORE pages and the sound engine status LEDs in the
LFO, Sequencer, and Arpeggiator modules will reect the status of the most recently selected Synth.
This SYNTH button will be illuminated at full brightness, while the initially held SYNTH buttons will be lit
at a lesser brightness.

 Loading...