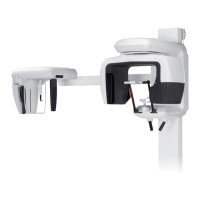
Panorama Exposures
(4) Patient Positioning
Press the Ready key. The arm will automatically move into
position for patient positioning.
The green Ready LED will stop blinking and stay on. The
Frankfort plane, Mid-sagittal, Image layer and AF beams will
light up.
Usage Note
♦ Before pressing the Ready key, make sure the temple
stabilizers are closed all the way.
CLASS 2 LASER PRODUCT: A class 2 laser is used for
the positioning beams.
The laser beams could damage the eyes.
Do not stare into the positioning beams. Warn the patient
not to look at the positioning beams.
The beams go off automatically after 3 minutes.
Press either one of the beam on and off keys to turn them back
on again.
* The Image layer beam will not light up if the Ready key has
not been pressed.
• Have patients remove glasses, earrings and any other
accessories that might interfer with making a good
exposure.
• Keep fingers away from gaps and openings for moving
parts such as the cassette and its holder and the
temple stabilizers as well as the holes on the support
column for threaded bolts.
• Do not let patients touch the switches on the Frame
Operation Panel.
• Take care that the patient’s does not get caught in the
cassette or other moving parts.

 Loading...