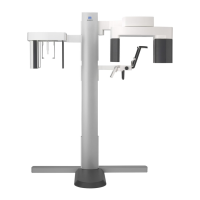
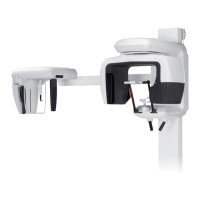
Cephalo Exposures
Cephalo Exposures (option)
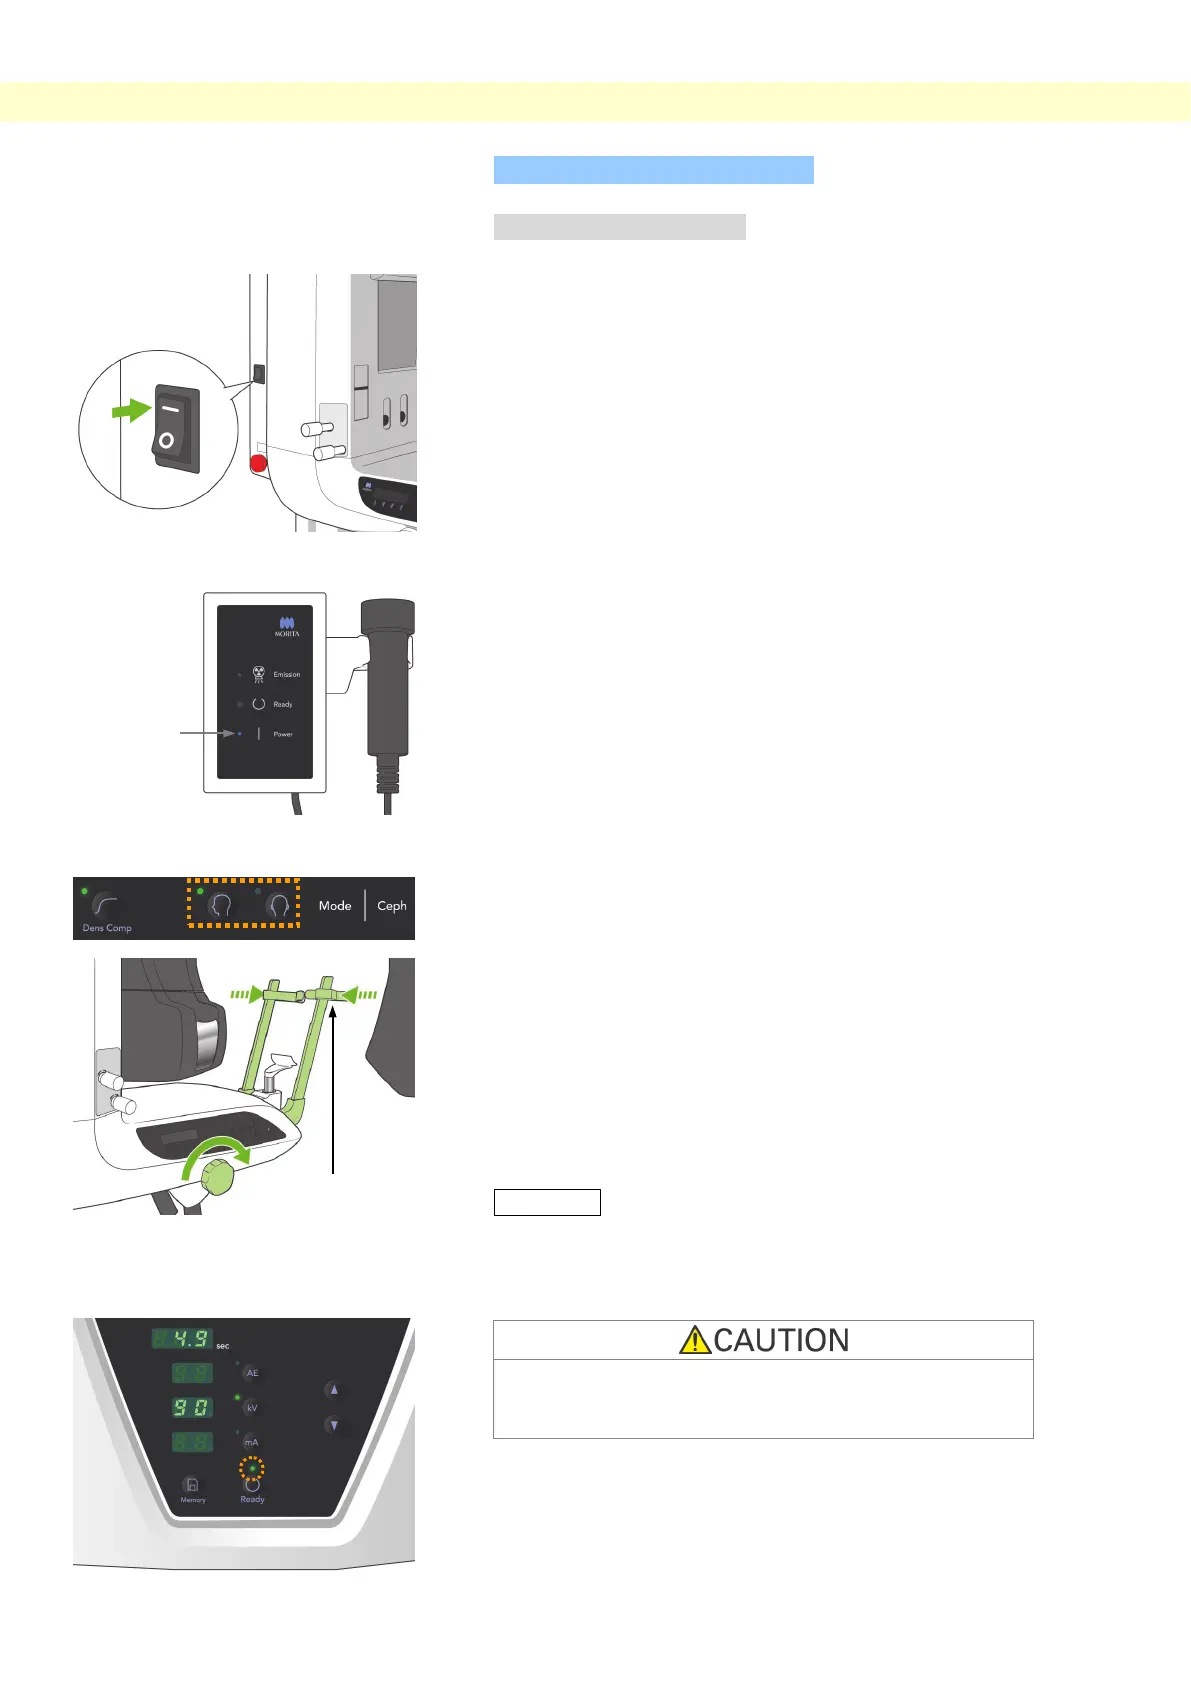
(1) Turn Main switch On
1. Press the top (
|
) of the main switch. The blue main LED
will light up to show that the unit is on.
2. Press either the LA (Lateral) or PA (posteroanterior) key to
set the unit for cephalo exposure.
3. Before pressing the Ready key, make sure the temple
stabilizers for panorama exposures are completely closed.
4. Press the Ready key.
The X-ray head will turn to its cephalo direction, and the
arm will rotate.
The arm and head automatically go into and lock in their
cephalo positions.
Usage Note
♦ If the temple stabilizers are not closed or the patient has
not exited after the exposure, the LCD on the patient
frame will display “Err. 42.”
Make sure a patient is no longer near the unit, before
pressing the Ready key; otherwise he could be hit by the
arm.
5. The green Ready LED will light up.
 Loading...