- 87 -
5. Scan
Create a shared folder and register to the machine as a destination.
Up to 50 profiles can be registered.
1
Press [Device Settings] on the touch panel.
2
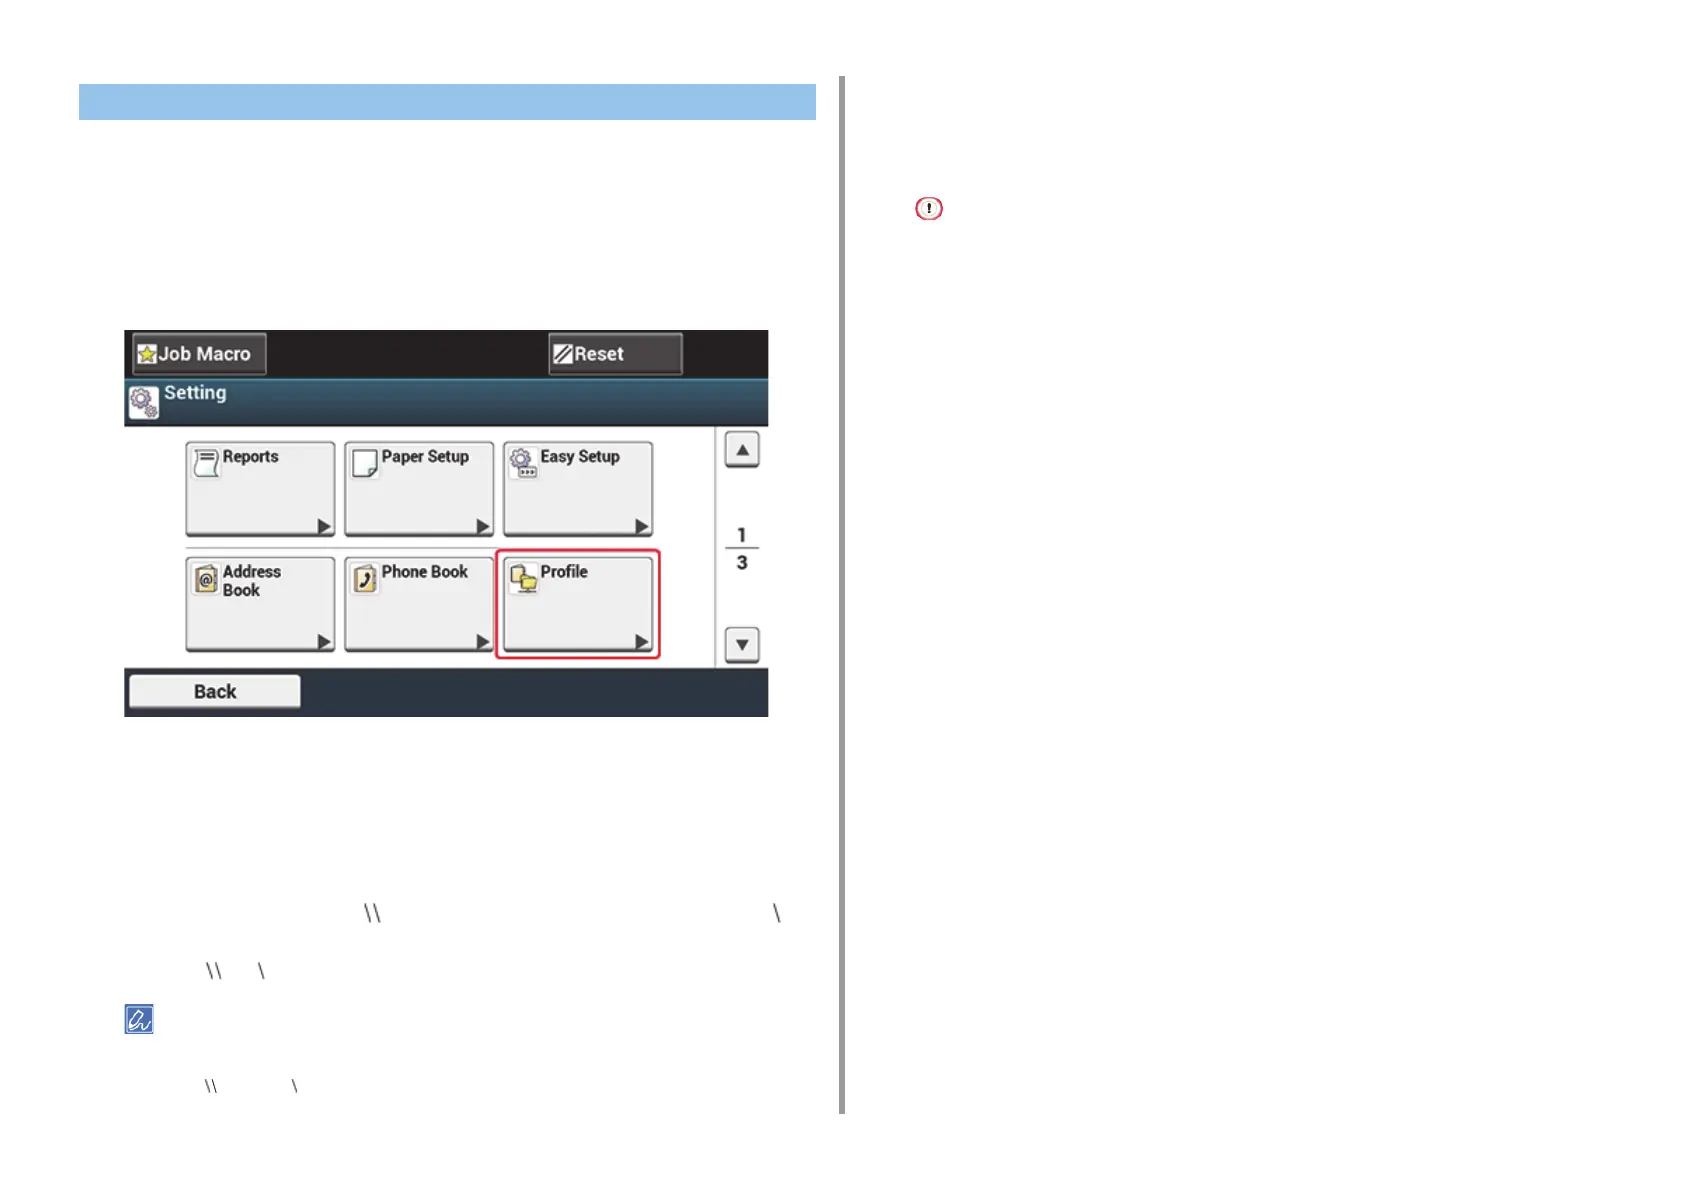
Press [Profile].
3
Select a number, and then press [Register].
4
Enter a profile name, and then press [Next].
5
Select a setting, and then press [Next].
6
Enter the values of the transmission destination computer name and the
shared folder name in the " the transmission destination computer name the
shared folder name" format.
Example: PC1 share
• If there is no DNS server in the network, you cannot specify the computer with the computer name (the
transmission destination computer name). In such a case, use the IP address of the computer to set.
Example: 192.168.0.3 share
7
Press [Next].
8
If access privileges are set to the shared folder, enter the user name and
password in [User Name] and [Password].
• If domain management is performed, enter "User name@domain name".
• If domain management is performed and you cannot establish a connection even after entering "User
name@domain name", delete "@domain name".
• Also, access the Web page of this machine, select [Admin Setup] > [Network Menu], and then set the NetBIOS
domain name in [Workgroup name] in [NBT].
- For the domain name, check with your network administrator.
9
Press [Close].
10
Set other items if necessary.
11
Press [OK].
Registering a Destination (Profile)
 Loading...