EasyManua.ls Logo

Olympus PT-EP14 User Manual

Olympus PT-EP14
171 pages
Go to English
To Next Page IconTo Next Page
To Previous Page IconTo Previous Page
Page #11 background imageLoading...
Page #11 background image
JP 11
JP
ディフューザー(別売)を取り付ける
ディフューザーの使い方
カメラに付属のフラッシュをお使いの場合、ディフューザーを取り付けます。
レンズポートに対応したディフューザーをお使いください。
1 ポートアダプターにディフューザーを取り付け
ます。
2 プロテクター本体にポートアダプターのスト
ラップを取り付けます。
3 ディフューザーをレンズポートに取り付けます
レンズポートからディフューザー(ポートアダプター付き)を取りはずす
ポートアダプター部を手前に引っ張るとディ
フューザーを取りはずすことができます。
ディフューザー
ポートアダプター
PT-EP14_JP.Book 11 ペー 016年7月14日 木曜日 午後6時50分

Table of Contents

Question and Answer IconNeed help?

Do you have a question about the Olympus PT-EP14 and is the answer not in the manual?
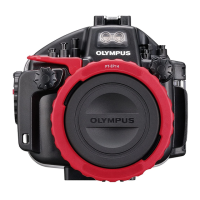
Olympus PT-EP14 Specifications

General IconGeneral
TypeUnderwater Housing
MaterialPolycarbonate
Weight1.5 kg
ColorBlack
Depth Rating60 meters

Summary

Waterproof Function Maintenance

O-ring Care and Lubrication

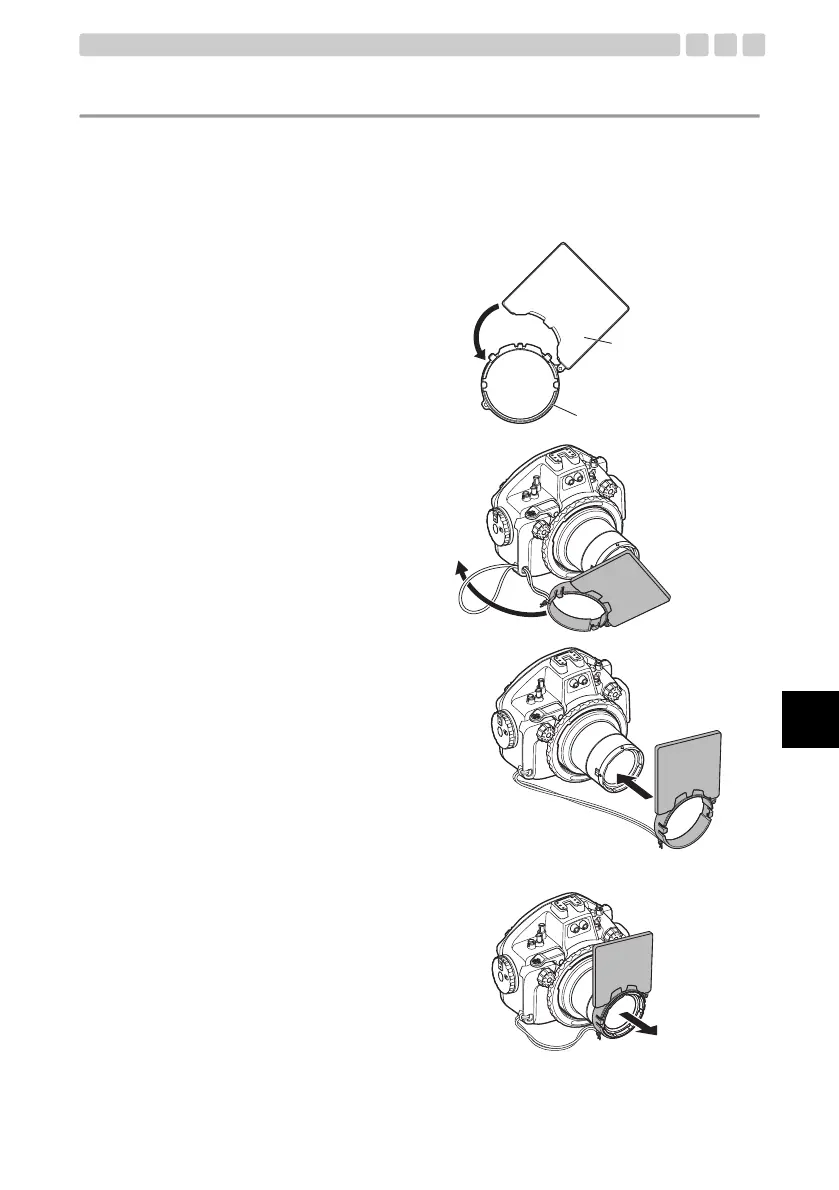
Detailed steps for cleaning, greasing, and installing the O-ring for water tightness.

Preparations

Prepare Digital Camera for Case

Steps to prepare the digital camera, including battery, storage, and settings, before insertion.

Advance Check of the Case

Pre-use Inspection and Cleaning

Detailed guide for inspecting the case and O-ring for damage, dirt, and ensuring cleanliness.

Apply O-ring Grease

Instructions on how to properly apply silicone grease to the O-ring for sealing.

Install the O-ring

Correct method for fitting the O-ring into its groove after greasing.

Installing the Digital Camera

Seal the Case

Instructions on how to securely close and lock the underwater case.

Waterproofness Test Procedure

Final test procedure to ensure the case is waterproof before submersion.

Connecting the Underwater Flash

Taking Pictures Under Water

Related product manuals