81
Using other functions
09
n ! This can be set when MANUAL is selected for V.SPs.
! You can’t use the Virtual Wide mode when the headphones are connected to this receiver or when any of the stereo, Front
Stage Surround Advance, Sound Retriever Air or Stream Direct modes is selected.
! You can only use the Virtual Wide mode if the surround speakers are on and the FW setting is set to NO. It can also not be
used when playing signals containing actual front wide channel information.
! This mode is effective for contents with a sampling frequency of 48 kHz or less.
o ! This mode is effective for contents with a sampling frequency of 48 kHz or less.
! You can’t use the Virtual Depth mode when the headphones are connected to this receiver or Stream Direct modes is
selected.
p ! When Speaker System is set to 7.2ch + Front Bi-Amp, 5.2 Bi-Amp+HDZONE, 5.2ch F+Surr Bi-Amp or 5.2ch F+C Bi-Amp,
the AMP setting is locked at ON and cannot be changed.
! When Speaker System is set to 5.2ch C+Surr Bi-Amp, only ON and Front OFF can be selected for the AMP setting.
Setting the Video options
There are a number of additional picture settings you can make using the VIDEO PARAMETER menu. The
defaults, if not stated, are listed in bold.
Important
! When MAIN/HDZONE is set to HDZONE, the VIDEO PARAMETER menu setting works only for the signal of
the HDMI OUT 1 and HDMI OUT 2 terminals.
Also, when HDZONE is set to ON, VIDEO PARAMETER cannot be set (does not work).
! Note that if an option cannot be selected on the VIDEO PARAMETER menu, it is unavailable due to the current
source, setting and status of the receiver.
! All of the setting items can be set for each input function.
— However, with the audio only input function, VIDEO PARAMETER cannot be set.
— Also, when HDZONE is set to ON, VIDEO PARAMETER cannot be set (does not work).
! Setting items other than V.CONV can only be selected when V.CONV is set to ON.
1 Press MAIN RECEIVER to switch the remote control to the receiver operation mode, and
then press VIDEO P..
2 Use i/j to select the setting you want to adjust.
Depending on the current status/mode of the receiver, certain options may not be able to be selected. Check the
table below for notes on this.
3 Use k/l to set as necessary.
See the table below for the options available for each setting.
4 Press RETURN to confirm and exit the menu.
Video parameter menu
Setting What it does Option(s)
V.CONV
(Digital Video Converter)
<a>
Converts all video input signals so they can be output from the HDMI
OUT 1 and HDMI OUT 2 terminals.
ON
OFF
RES
(Resolution)
<b>
Specifies the output resolution of the video signal (when video input
signals are output at the HDMI OUT terminals, select this according
to the resolution of your monitor and the images you wish to watch).
AUTO
PURE
480p/576p
720p
1080i
1080p
1080/24p
4K
4K/24p
PCINEMA
(PureCinema)
<c, e>
This setting optimizes the operation of the progressive scanning cir-
cuit for playing film materials. Normally set it to AUTO. If the picture
seems unnatural, switch this to ON or OFF.
AUTO
ON
OFF
P.MOTION
(Progressive Motion)
<c, e>
Adjusts the motion and still picture quality when video output is set
to progressive.
c –4 to +4 d
Default: 0
STREAM
(Stream Smoother)
<e>
This improves elements that reduce picture quality mainly noticeable
in network contents, such as mosquito noise and block noise.
When AUTO is selected, this unit’s Stream Smoother function
automatically turns on when network contents are played on the
player supporting Stream Smoother Link and connected to this unit
by HDMI (assuming that integrated operation with the Control with
HDMI function is set). (Stream Smoother Link)
OFF
ON
AUTO
V.ADJ
(Advanced Video Adjust)
Sets the optimum picture quality for the type of monitor that is con-
nected. Select PDP for plasma displays, LCD for liquid crystal moni-
tors, FPJ for front projectors, PRO for professional monitors. If you
want to adjust the picture quality settings to your personal tastes,
select MEMORY.
PDP
LCD
FPJ
PRO
MEMORY
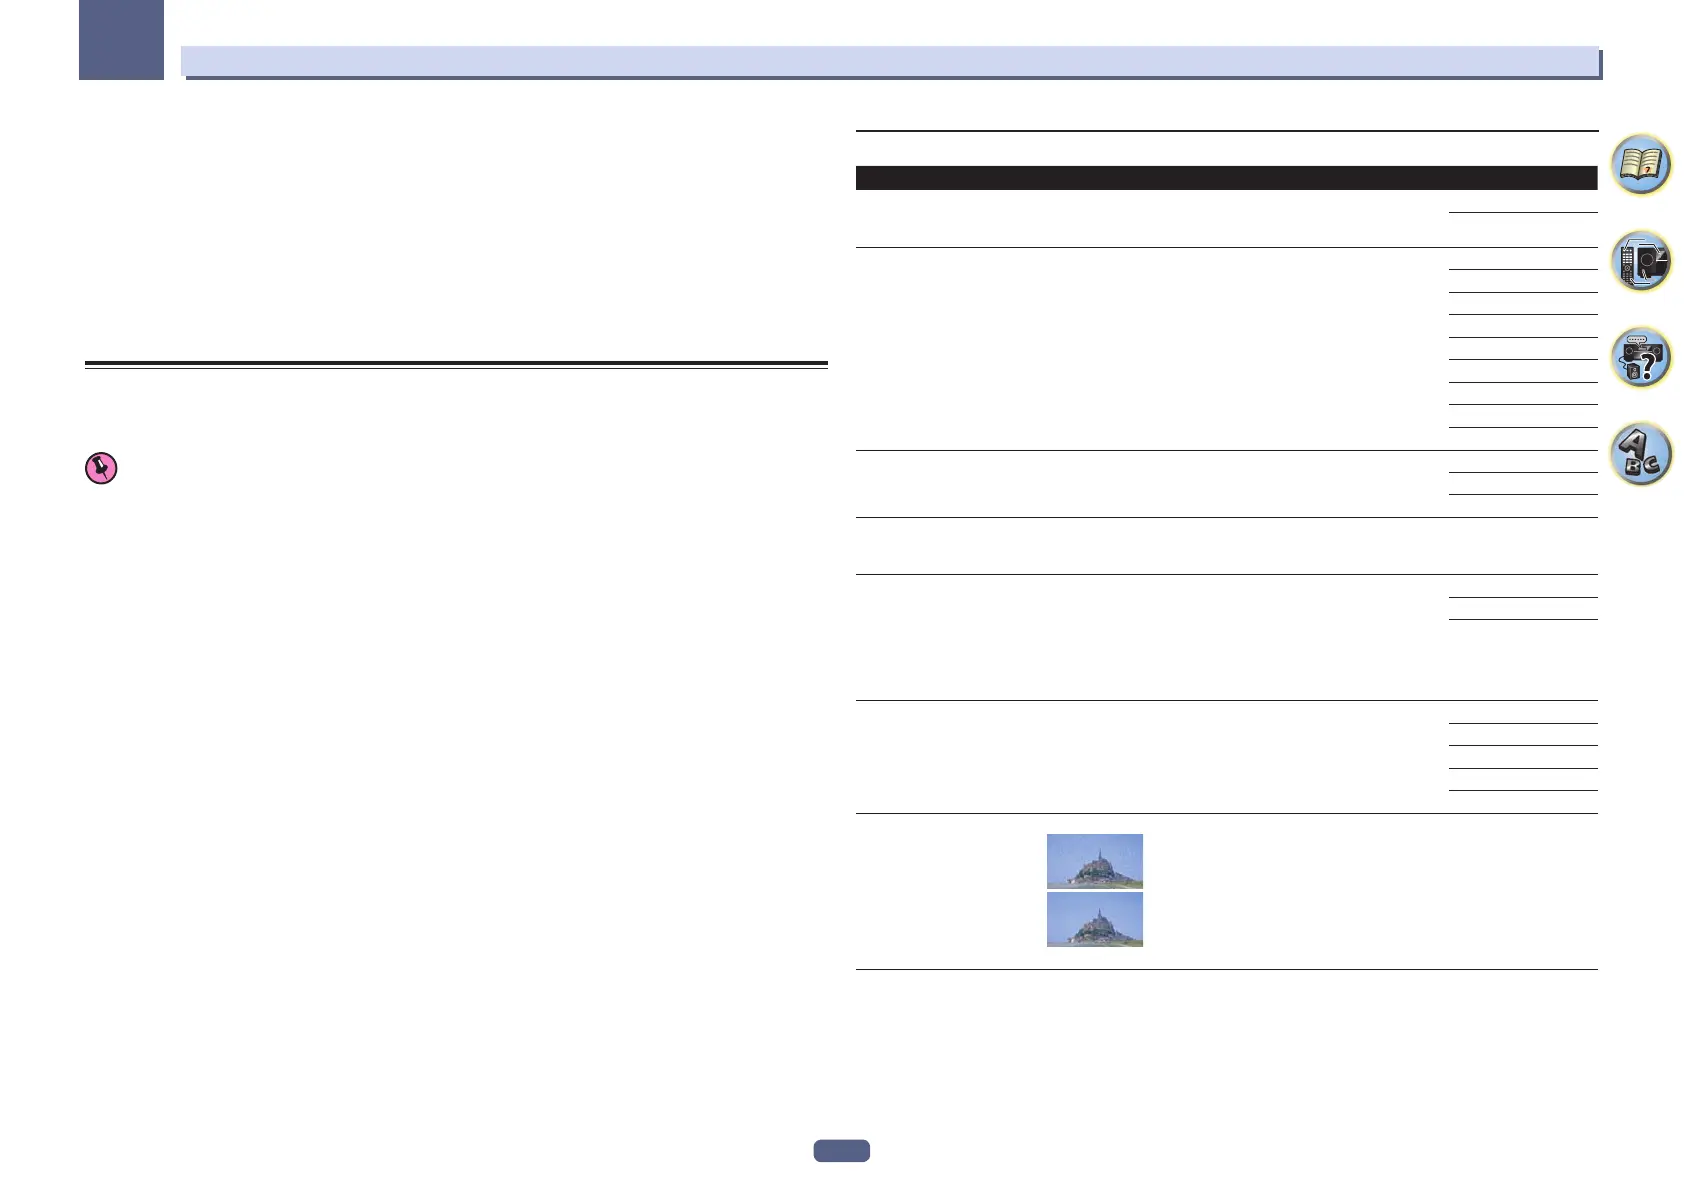
YNR
<d, e>
Reduces noise in the luminance (Y) signal.
c
d
(The image is only an example for checking the effect.)
c 0 to +8 d
Default: 0

 Loading...