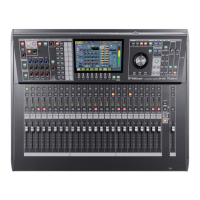
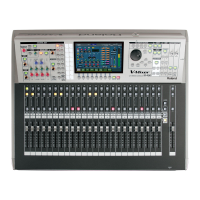
Part Names and Functions
32
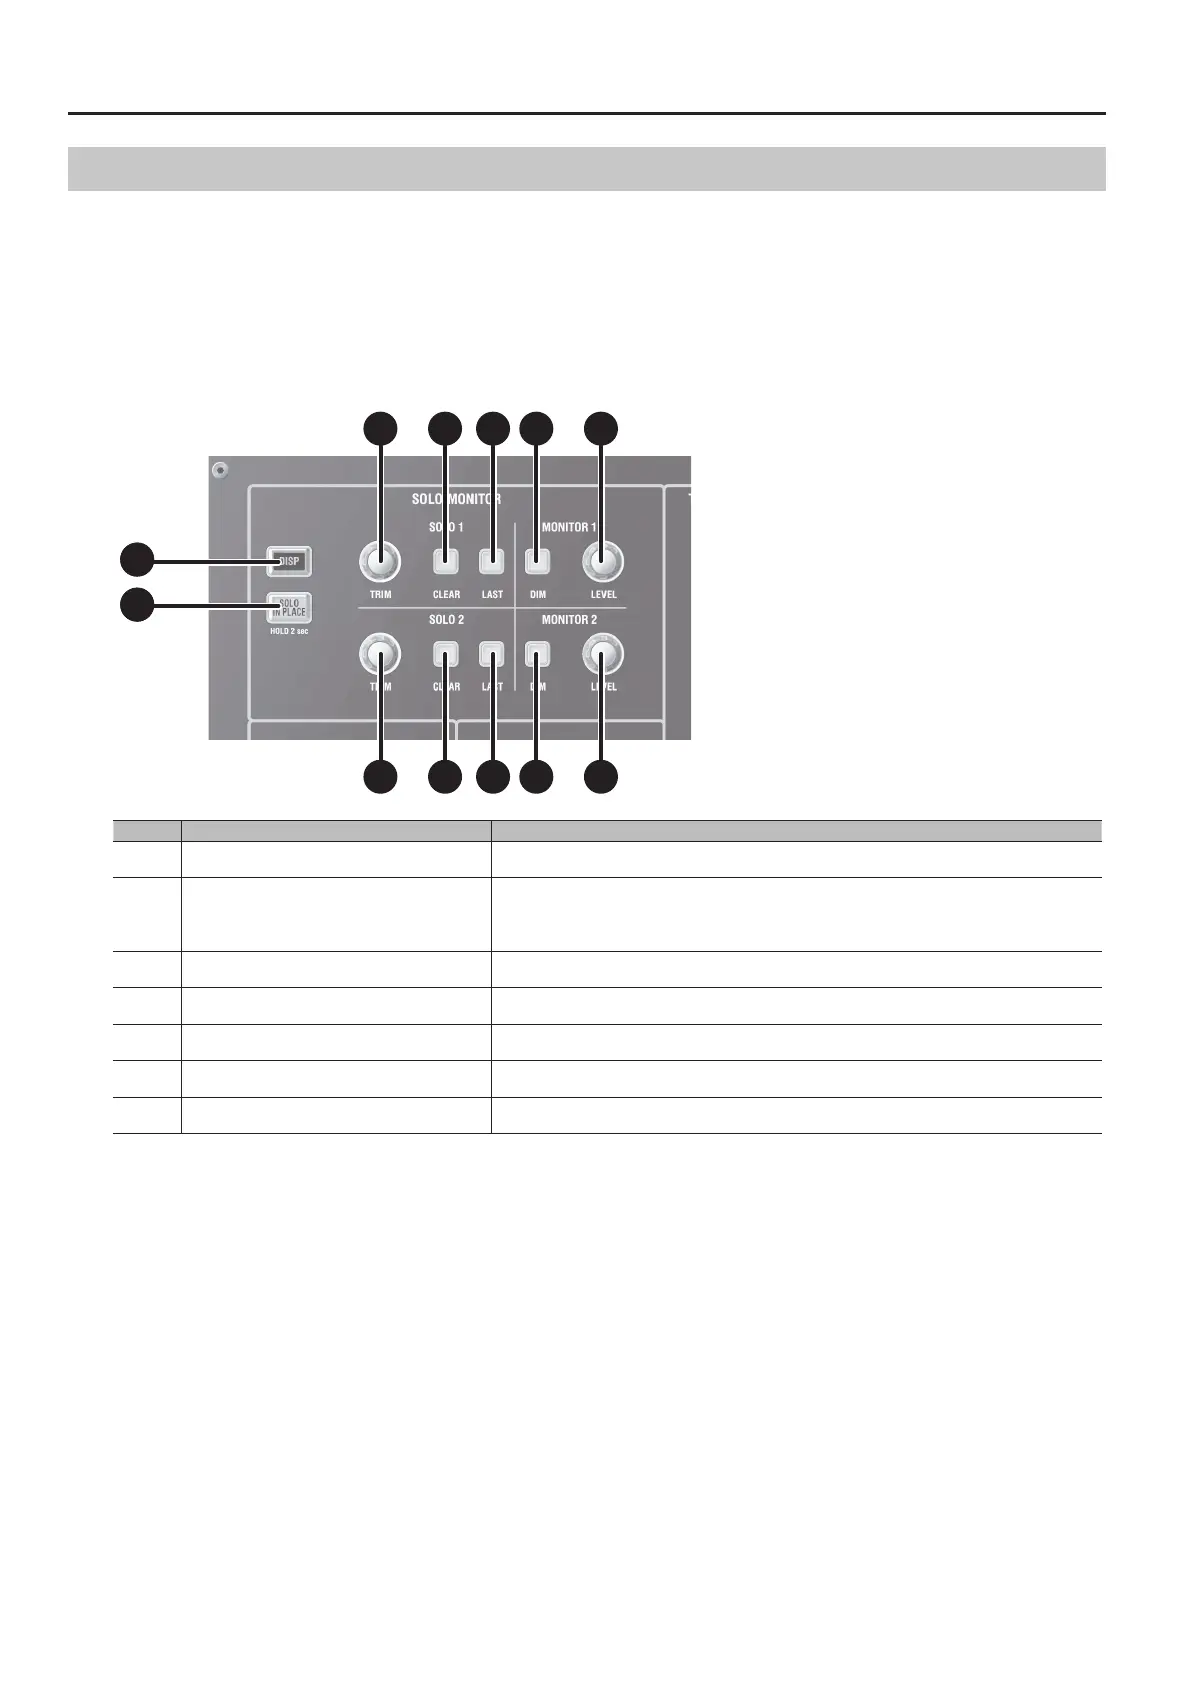
Monitor Section
This section is for working with monitor functions. This makes it possible to keep important parameters at the top panel at all times.
This unit is provided with two monitor systems.
The available selections for MONITOR 1 are 5.1, STEREO, and NONE (no assignment), and the available selections for MONITOR 2 are STEREO and
NONE (no assignment).
The unit is also provided with two solo systems. These are SOLO 1 for MONITOR 1 and SOLO 2 for MONITOR 2.
The input channel or output bus selected using [SOLO] on the top panel is sent to the monitor.
For details, refer to the "Monitor" section in the Reference Manual (PDF).
1 1
2 2
3
3
4
4
5
5
6
6
7
7
Number Name Description
1 [DISP] button This displays the MONITOR window.
2 [SOLO IN PLACE] button
This turns Solo in Place on and o. To turn on Solo in Place, press and hold this button for 2 seconds. It
ashes when on.
* When Solo in Place is on, a solo signal is sent to the output buses. Note that input channels where
solo is turned o are not output.
3 SOLO 1 / SOLO 2 [TRIM] knob This adjusts the level of SOLO 1 or 2.
4 SOLO 1 / SOLO 2 [CLEAR] button This clears SOLO 1 or 2. It ashes when solo is on.
5 SOLO 1 / SOLO 2 [LAST] button This turns the LAST mode on and o for SOLO 1 or 2.
6 MONITOR 1 / MONITOR 2 [DIM] button This turns the dimmer on and o for MONITOR 1 or 2.
7 MONITOR 1 / MONITOR 2 [LEVEL] button This adjusts the level of MONITOR 1 or 2.
 Loading...