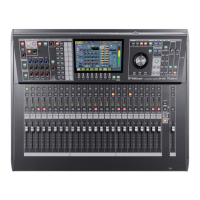
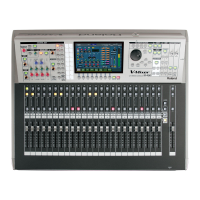
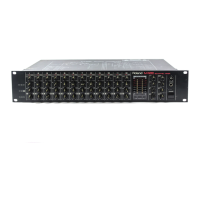
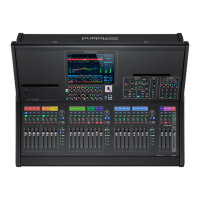
Overview of Operations
57
7. Select the output destination for TALK 1 to TALK 3.
8. Press one of the [TALK 1] through [TALK 3] buttons in the
talkback section.
Talkback is sent to the selected output bus.
Memo
The way in which talkback is turned on and o diers
depending on how you press the [TALK 1] through [TALK 3]
buttons.
When you release the button quickly after pressing it, it operates
as a latch to turn talkback on or o with each press.
When held depressed for a longer interval before release, it
operates as a momentary switch that turns on talkback only
while held down.
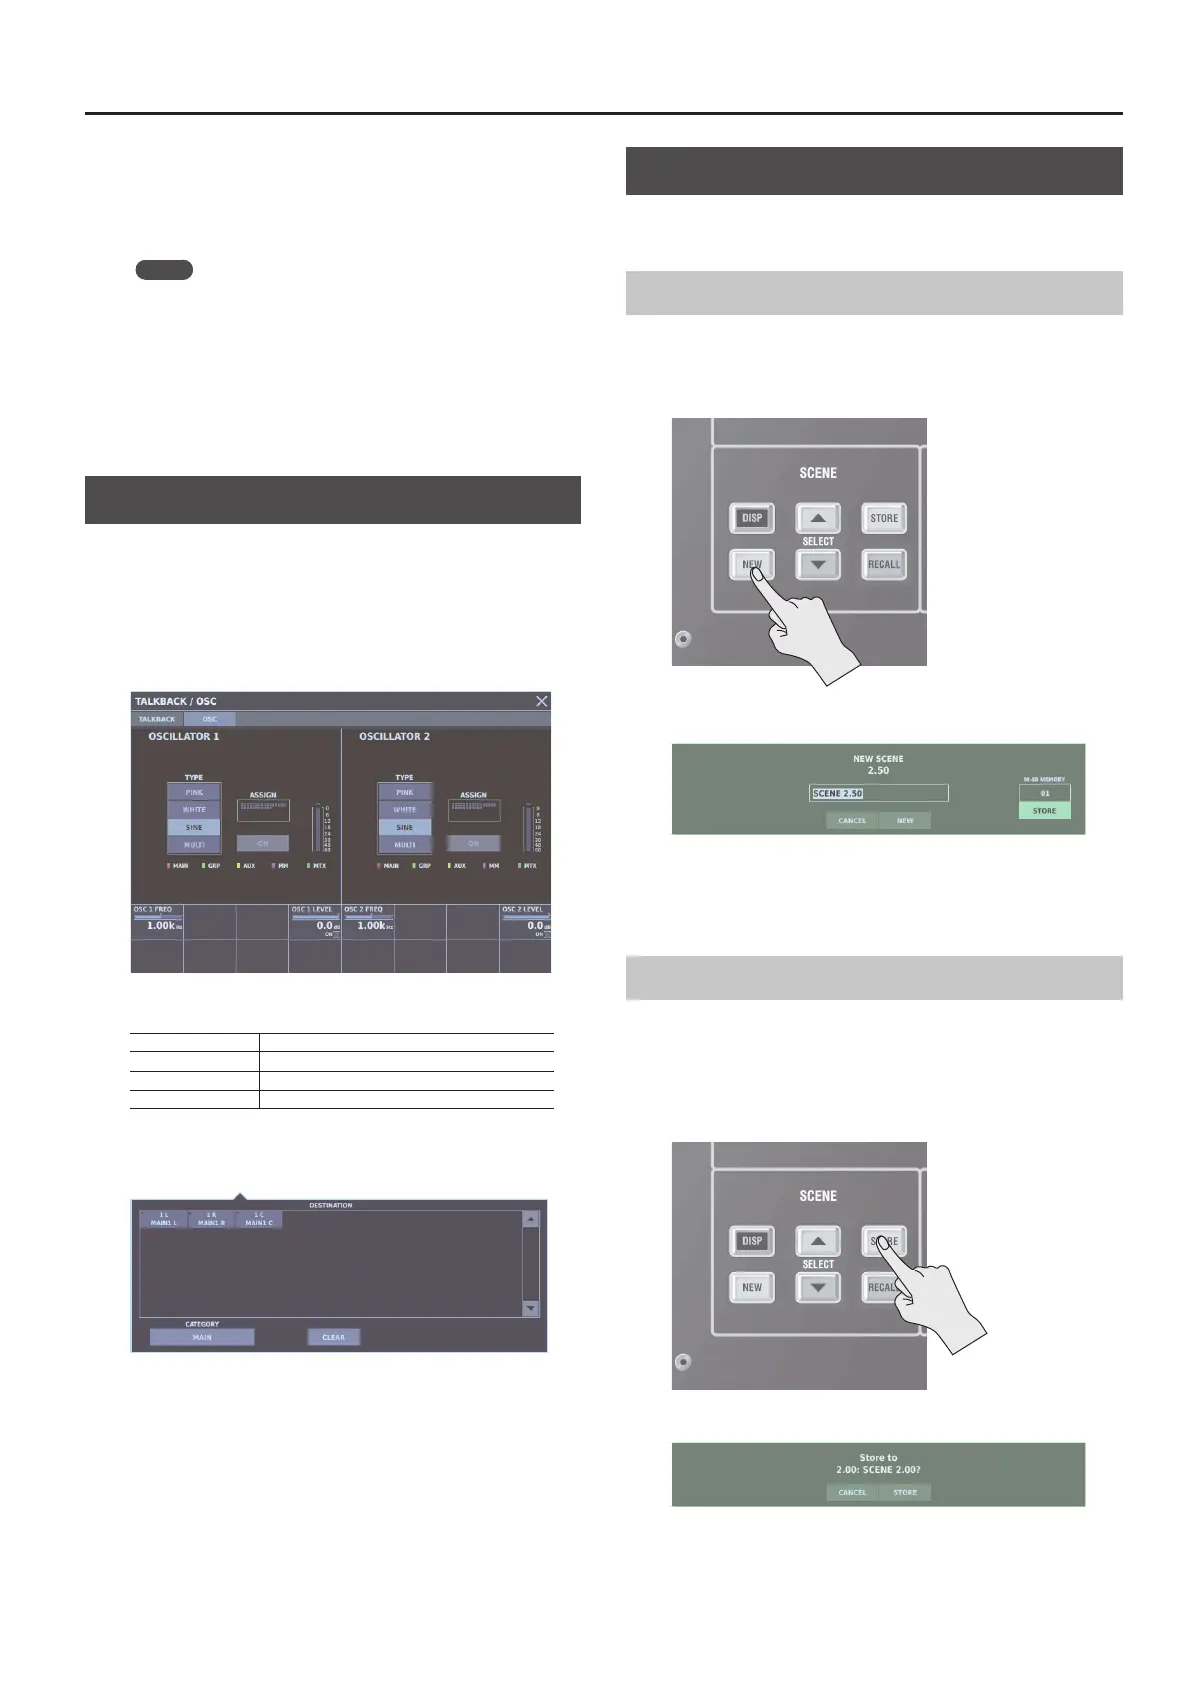
Using the Oscillators
1. Go to the talkback section on the top panel and press the
[DISP] button.
The TALKBACK/OSC window appears.
2. Tap the <OSC tab>.
The TALKBACK/OSC window OSC tab appears.
3. Select OSCILLATOR TYPE.
PINK Pink noise
WHITE White noise
SINE Sine wave
MULTI 31-band multi-sine wave
4. Tap <ASSIGN>.
The DESTINATION popover appears.
5. Select the output destination for the oscillator.
6. Tap <ON>.
The oscillator signal is sent to the selected output bus.
Scene memory
Scene memory is a function that lets you store and recall mixing
parameters as “scenes.”
Creating New Scenes and Adding Scenes
This adds a new scene following the currently selected scene.
1. Go to the scene section on the top panel and press the
[NEW] button.
A popup for setting the scene name is displayed.
2. Specify the scene name, then press the [NEW] button.
A new scene is add immediately following the currently selected
scene.
Storing a Scene (by Overwriting)
1. Go to the scene section on the top panel and press the
[SELECT H] or [SELECT I] button to select the number of
the scene you want to store.
2. Press the [STORE] button.
A popup prompting you to conrm the operation is displayed.
3. Press the [STORE] button.
The scene is stored.
 Loading...