21
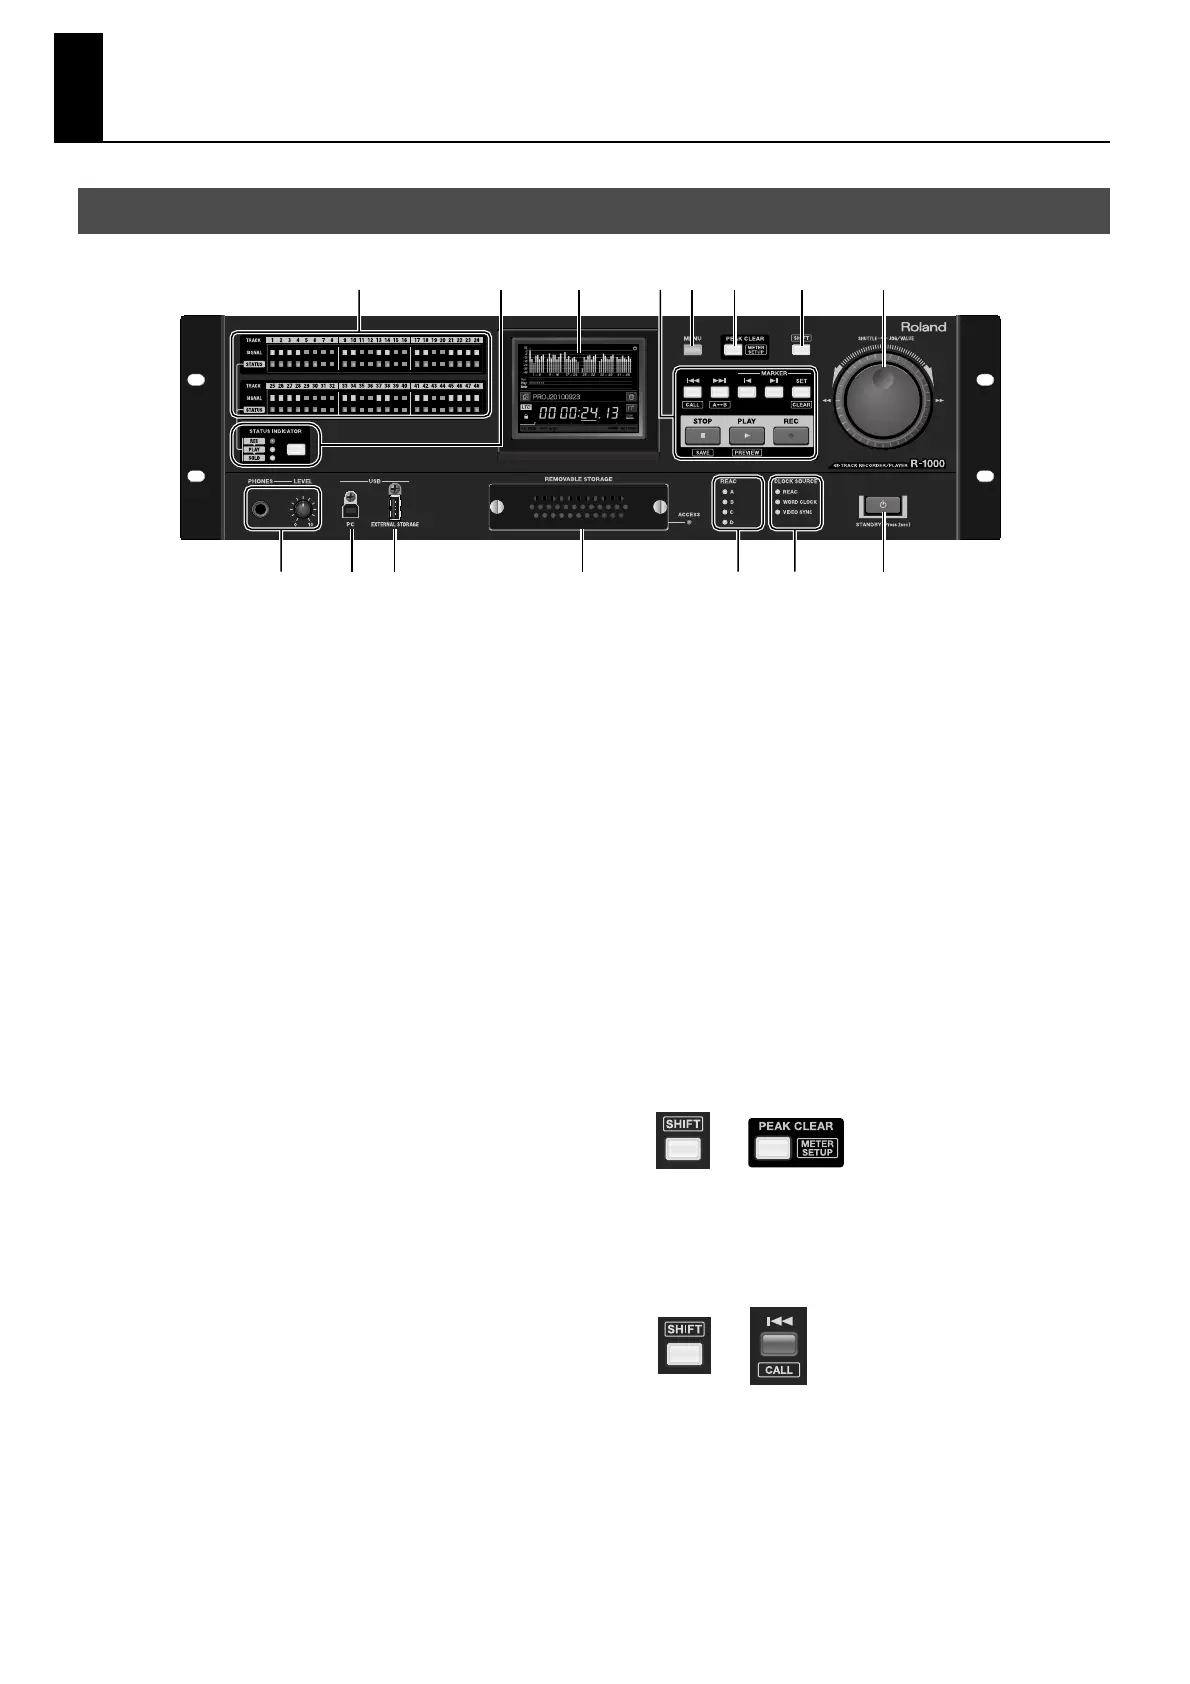
Part Names and Functions
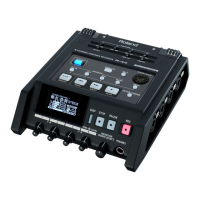
fig.front-panel.eps
1. SIGNAL/STATUS Indicators
The SIGNAL indicators show whether signals are present on
the respective tracks.
The STATUS indicators show whether the tracks are for
recording, playback or solo use.
2. STATUS INDICATOR Button
Operating the STATUS INDICATOR button lets you select
from the below for the display of the STATUS indicators.
• REC
This indicates tracks selected for recording. The indicator for the
selected track lights up red (p. 42).
• PLAY
This indicates a track selected for playback. The indicator for the
selected track lights up green (p. 51).
• SOLO
This indicates a track selected for solo playback. The indicator for
the selected track lights up yellow (p. 52).
3. Touch-panel Display
This displays recording or playback levels and recording
times for the respective tracks. You can also use the touch
panel to make various settings on the R-1000.
* When you start the unit for the first time, the calendar/clock
setting screen is displayed. Follow the steps in the separate
“Adjusting the Internal Calendar/Clock” document to set the date
and time. On the second and subsequent startups, the home
screen (p. 65) is displayed.
4. Recording/Playback Control Buttons (p. 49, p. 53)
In addition to recording and playback, you can use these to
set markers and the location for repeat playback.
5. MENU Button (p. 69)
Pressing this makes the button light up and displays the
menu for the R-1000 on the touch-panel display. For
information on menu items, refer to “Menu Operations and
Menu List” (p. 71).
6. PEAK CLEAR Button
Pressing this lets you clear the peak indication on the level
meter.
7. SHIFT Button
Holding down the SHIFT button and pressing one of the
following buttons to changes the function of the pressed
button.
• METER SETUP (p. 48)
Hold down the [SHIFT] button and press this call up setting screen
for the level meter. Pressing this button without holding down the
[SHIFT] button clears the peak indication on the level meter.
fig.meter-setup-button.eps
• CALL (p. 54)
Hold down the [SHIFT] button and press this makes the current
position to return to the location where playback was started.
Pressing this button without holding down the [SHIFT] button
returns the current position to the beginning of the song.
fig.call-button.eps
Front Panel
1
3
4
5
6 7 8
910 12 13 14 15
2
11
+
+
 Loading...