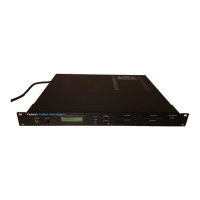
44
Performing Multi-track Recording
You can manually set which channel is assigned to which track.
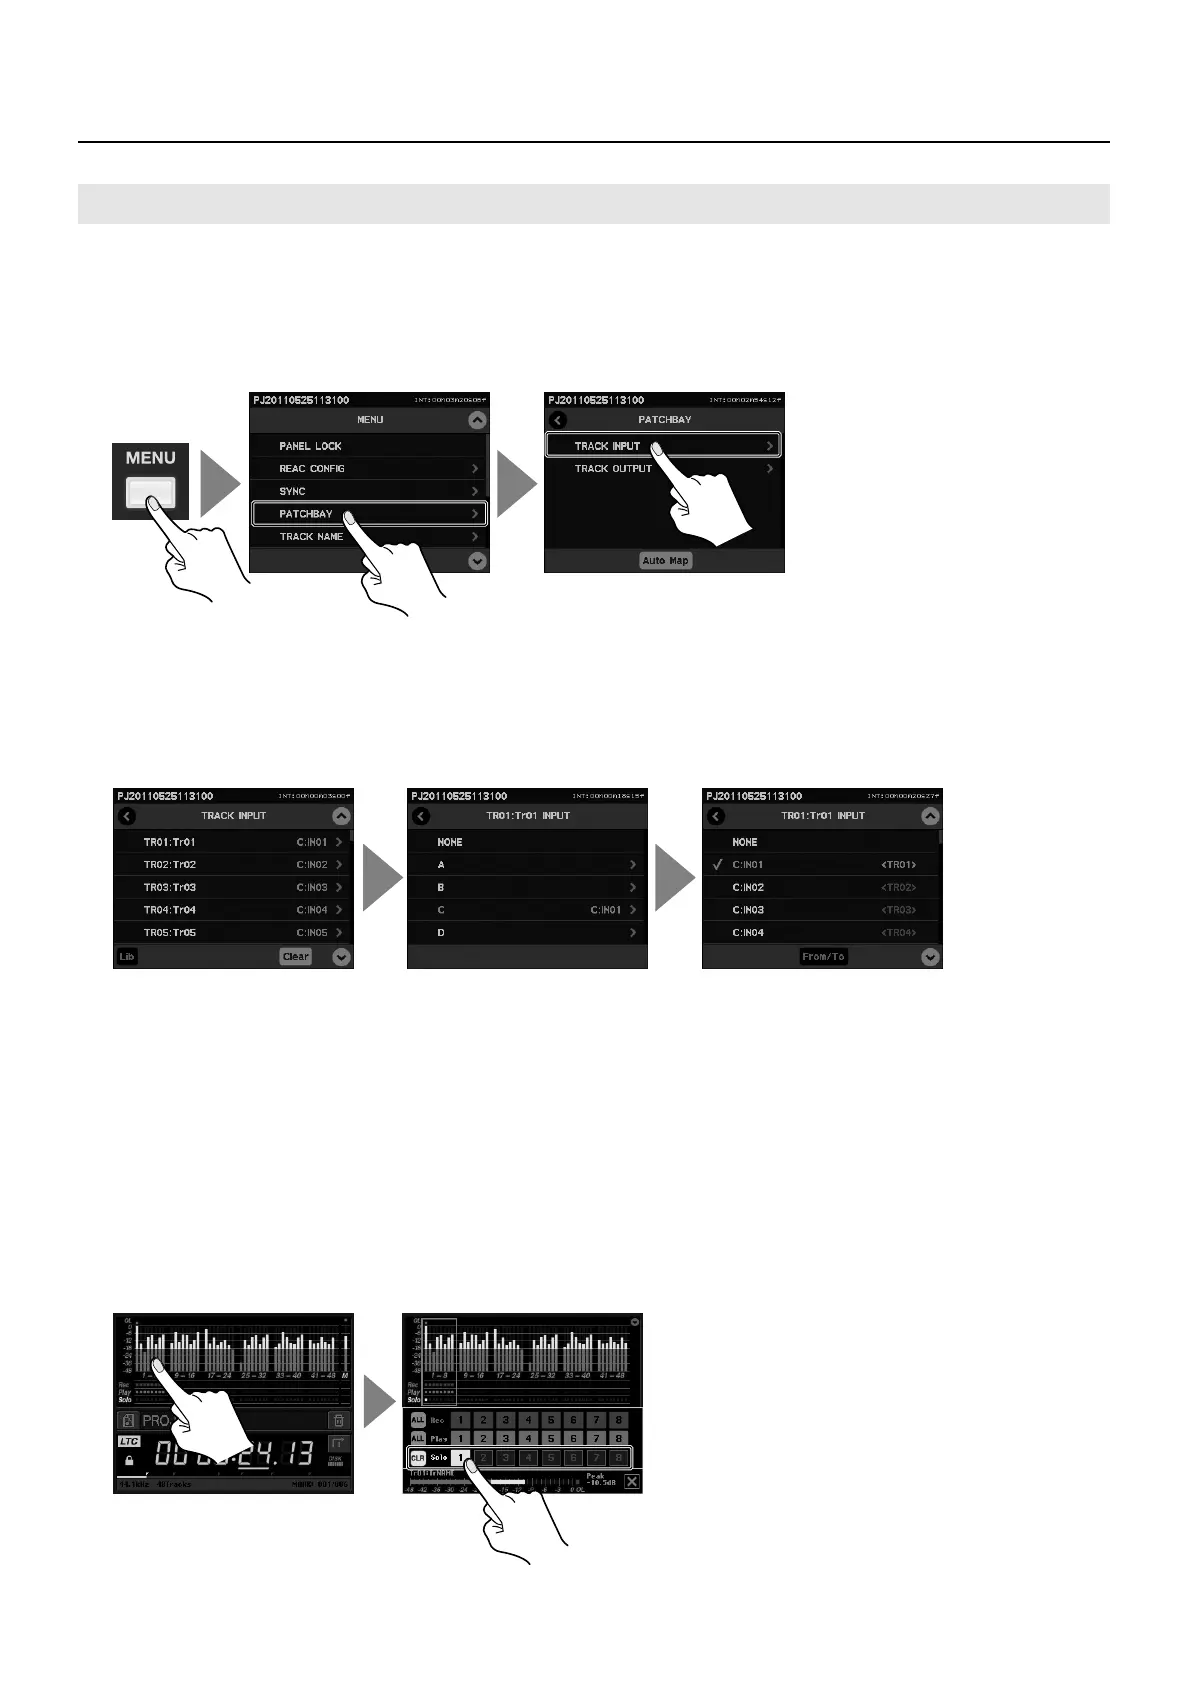
1. Display the Patchbay.
Press the [MENU] button to display the menu screen, then select [PATCHBAY]. To open the patchbay for recording, select [TRACK
INPUT].
fig.open-patchbay.eps
2. Assign the input channels to the recording tracks.
To assign input channels to recording tracks, follow the steps below.
• Select the track (TR01 through TR48).
• Select the REAC port (A through D) where the source device is connected.
• Select the channel for the source device connected to the selected REAC port.
fig.assign-channel.eps
* Touching [Clear] sends you to the assignment clearing screen. (p. 45)
* Touching [Lib] sends you to the save to Library screen. (p. 47)
* Touching [From/To] makes the display change to the screen for sequentially assigning multiple channels to multiple tracks. (p. 46)
3. Go back to the home screen.
Press the [MENU] button to return to the home screen.
4. Confirm the input-channel audio on a monitor.
The level meter on the R-1000 is divided into groups of eight tracks. Touch the area of the level meter containing the track you
want to confirm. Selecting a track at the [Solo] area outputs the audio on the channel to the monitor outputs and headphones.
* The selection made at [Solo] does not affect the output to the REAC device.
* You can choose whether to output only a single track with [Solo] or to add more tracks and output them together. Refer to “Menu List” (p. 71).
fig.solo-listen.eps
Selecting a Recording Track Manually
 Loading...