Chapter 6 Editing Without Using the Built-in Hard Disk (Two-VTR Editing)
Chapter 6 Editing Without Using the Built-in Hard Disk (Two-VTR Editing) 6-9
6-2 Special Automatic Editing Methods
This section describes the following automatic editing
methods:
•Quick editing
•Continuous editing
•Standalone editing
6-2-1 Quick Editing
After selecting the edit mode, you can save on editing
time by setting the edit points and executing the edit at
the same time.
For quick editing, use the following procedure.
1 When operating the player, press the PLAYER
button, turning it on, and when operating the
recorder, press the RECORDER button, turning it
on, then stop the tapes on both the player and the
recorder at the positions you wish to make the
respective IN points.
2 Press the AUTO EDIT button.
Editing starts.
3 Watching the editing on the monitor, at the
position you wish to make the OUT point, hold
down the ENTRY button and press the OUT
button.
Editing ends.
The point at which you started the editing becomes
the IN point, and the point at which you ended the
editing becomes the OUT point.
If you want to preview
In step 1, after setting the recorder or player IN point,
press the PREVIEW/REVIEW button.
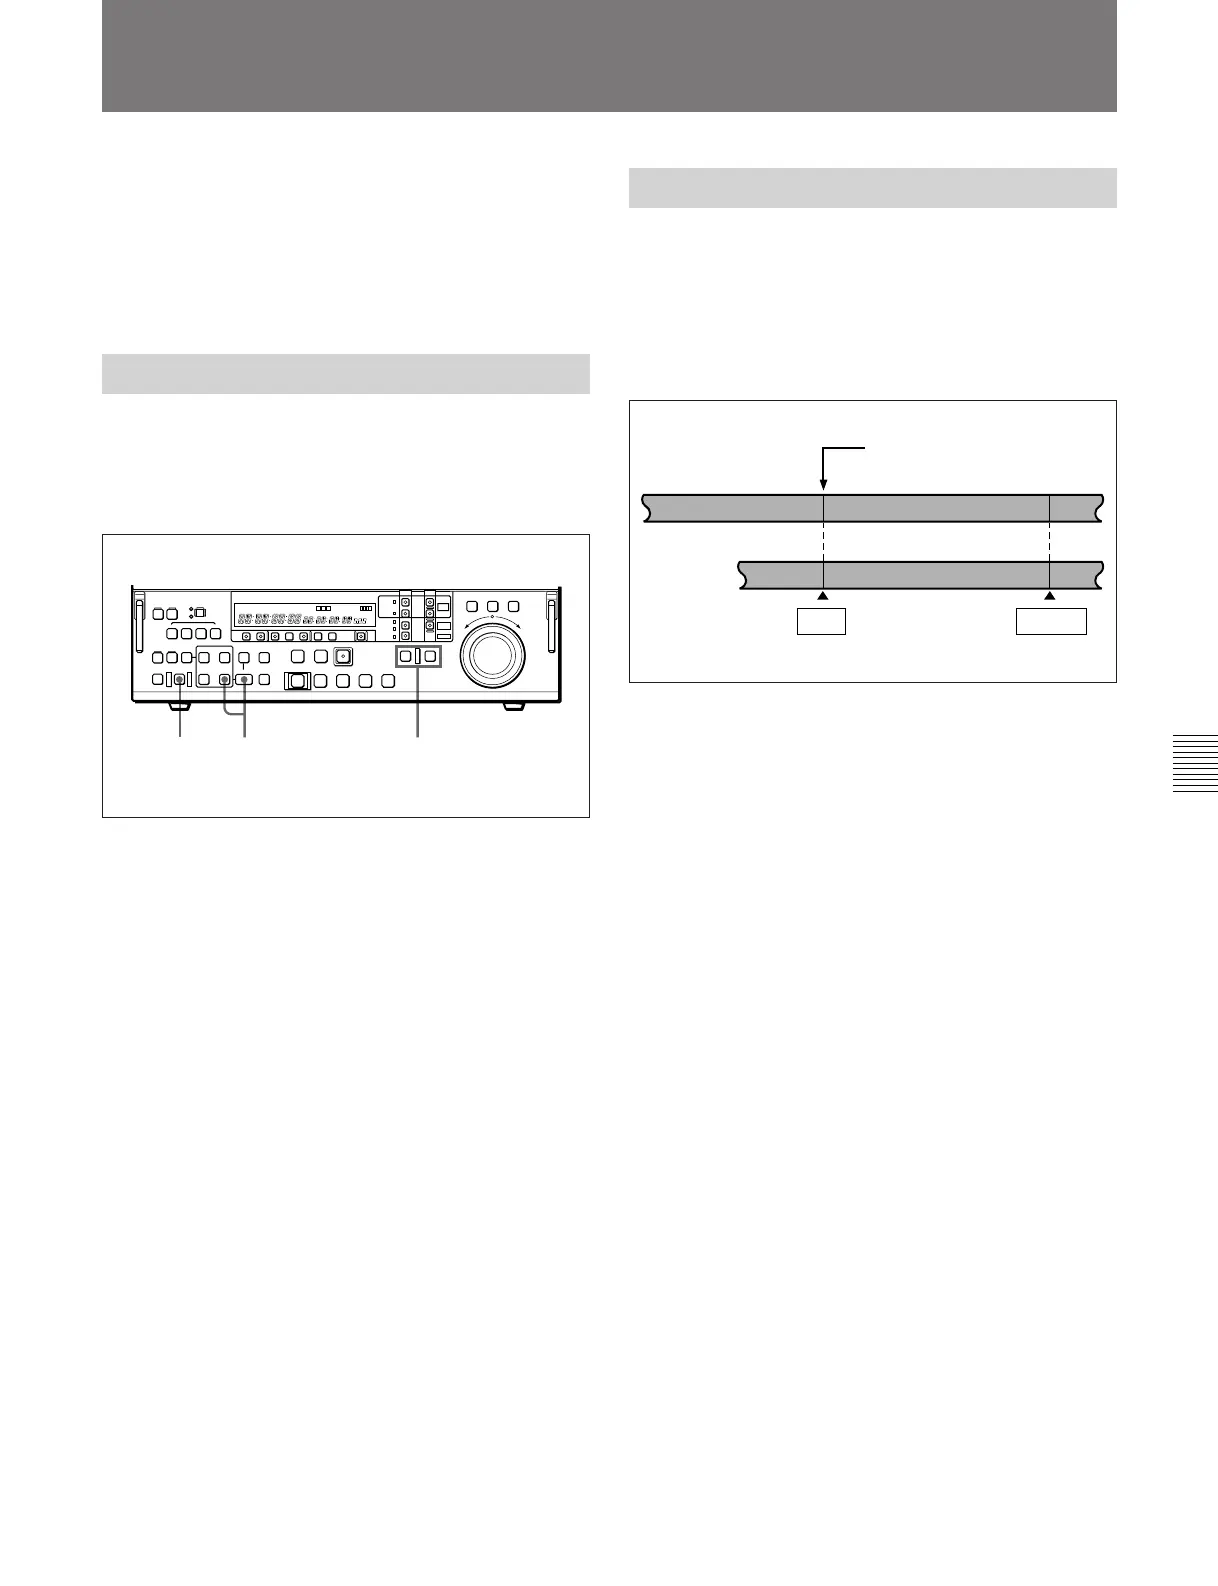
6-2-2 Continuous Editing
After an automatic editing operation, the recorder
automatically returns to the OUT point. For the
second and subsequent editing operations, you can
continue editing by simply specifying the IN and OUT
points on the player. In this case the current OUT
point on the recorder becomes the new IN point.
After automatic editing of one edit segment, to carry
out continuous editing use the following procedure.
1 Set the player IN and OUT points.
On the recorder the OUT point for the previous
edit becomes the new IN point.
2 Press the PREVIEW/REVIEW button to carry out
a preview.
3 Press the AUTO EDIT button.
This executes the edit.
When the editing operation is completed, the
recorder stops at the OUT point, and the player
stops 2 seconds after the OUT point.
By repeating this process, you can carry out
continuous editing.
2 13
Recorder
Previous OUT point =
next IN point
Previous editing segment
Next editing segment
Player
OUT point
IN point
 Loading...