2 with a USB-connected computer and an audio
application (DAW):
1. Capturing a full mix of your performance
2. Processing vocals from your DAW
3. Recording dry vocal and guitar tracks
We assume you are familiar with configuring your audio
application for input and output and that you understand
connection of VoiceLive 2’s inputs and outputs.
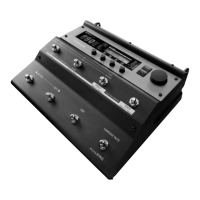
Method 1 - Capturing a full mix of your performance:
Set VoiceLive 2’s I/O parameters as such:
DIGITAL IN: USB: STEREO
DIGITAL OUT: FULL MIX
Connect your mic and headphones to VoiceLive2 and
pick a preset you like. VoiceLive 2 will send the fully
processed sound to your DAW and you’ll be able to
monitor through your headphones or the analog audio
outputs of VoiceLive 2. In order to set VoiceLive 2’s
Connecting VoiceLive 2 To A Computer
31
After the wizard finishes, connect your VoiceLive 2 and
start VoiceSupport, located in the Applications folder.
The first time you open VoiceSupport it may take a
while to load as it must download all of the newest
content.
When the application finishes loading it should display
“VoiceLive 2” in the top right corner and a connection
icon, indicating that connected was successful. If it
says “Not Connected”, check that the USB cable is
properly attached and then click the blue connection
button. Check the FAQs and Troubleshooting section
if this is unsuccessful. Also, VoiceSupport is updated
periodically so check that your version number (shown
on VoiceSupport’s HOME page) is current with the
version shown on the TC-Helicon website. If a newer
version is available, you can download it from our
website.
VoiceLive 2 And Digital Audio
Here are a few common methods of using VoiceLive
 Loading...