AInstallation
D
Ref. DCD01/3067 - UC500_en_D
23/27
4. Connection of the marking head to the CCU
Connect the marking head and the CCU via their connection cable. Firmly insert the plugs, and tighten the locking
rings. Check that the connection is appropriate.
5. Power supply connection
• Plug the CCU to the power supply using the cable provided.
• Place the switch in the "I" position (On).
The machine is operational.
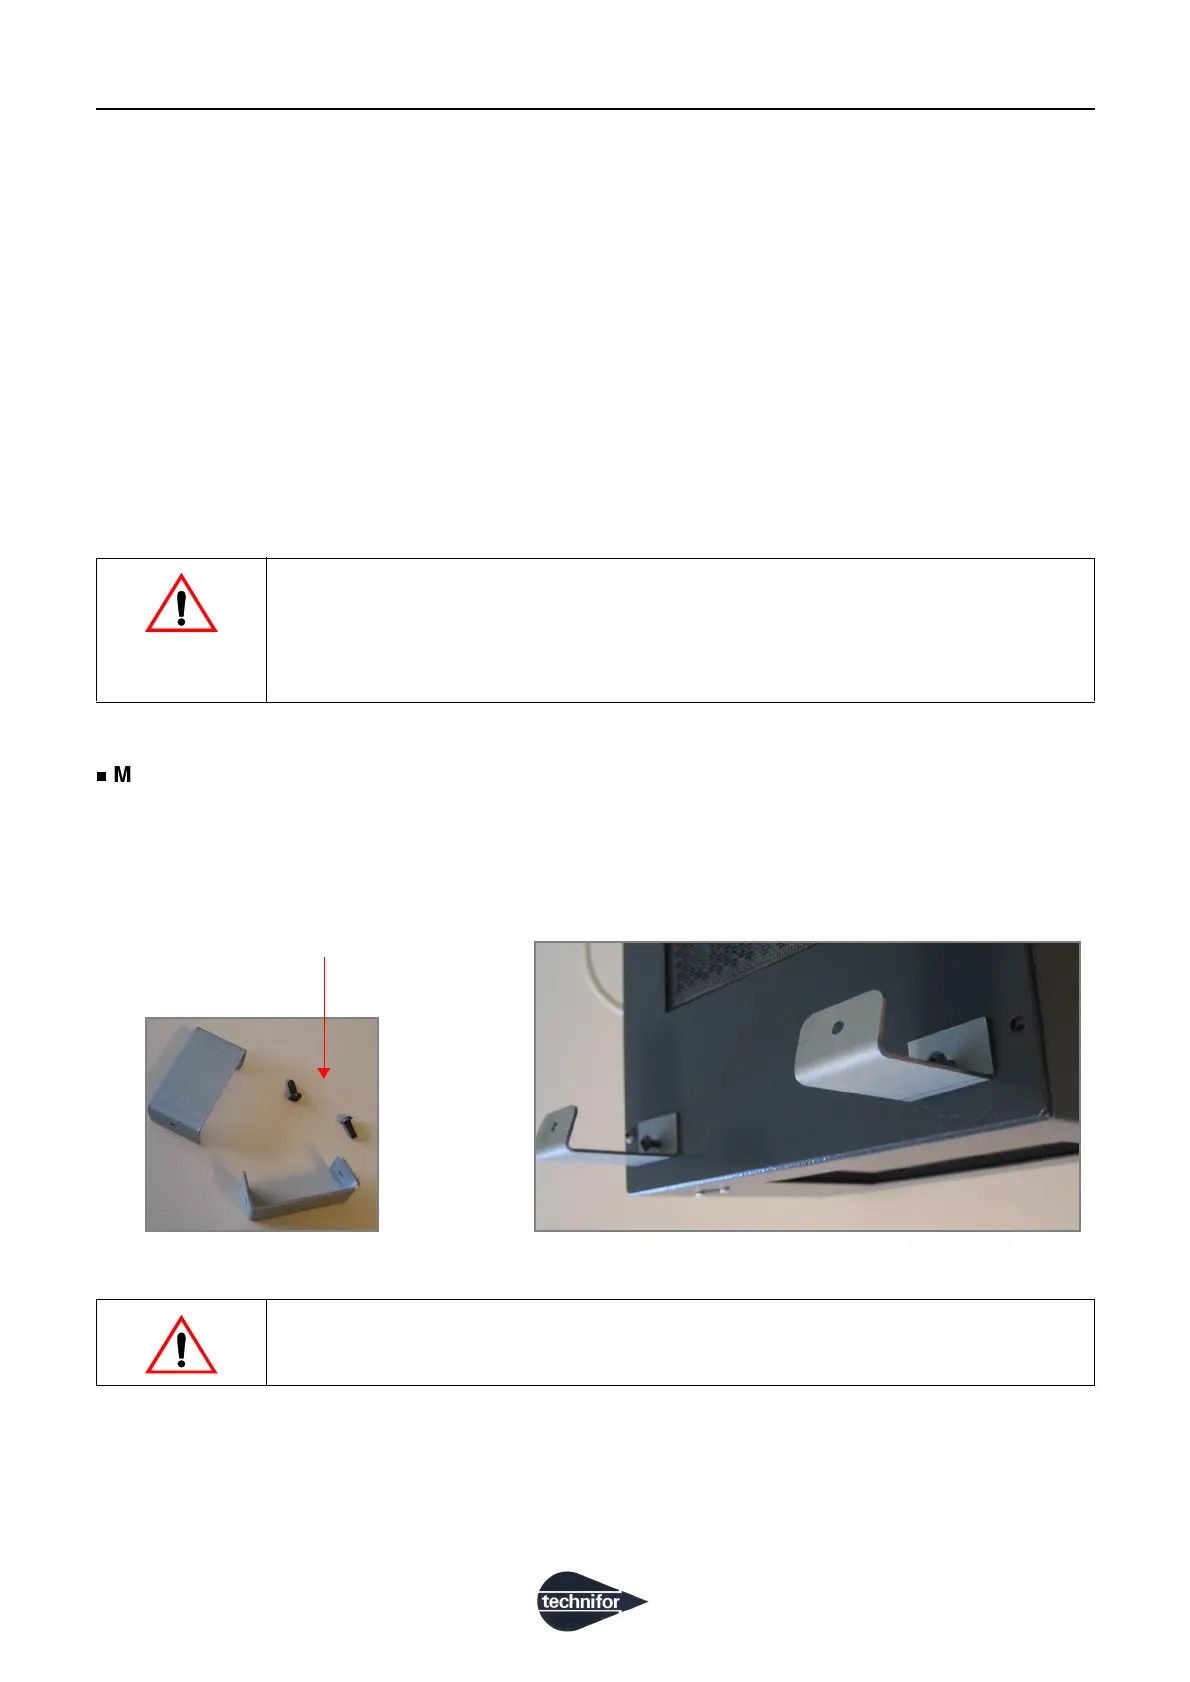
6. Assembling the accessories
Mounting the supporting feet
(Case of the CCU installed on a workbench)
Screw the supporting feet to the underside of the CCU, and check that they are secure.
If the CCU is placed on a table or a workbench, imperatively mount the feet before the
power up.
The feet provide clearance for the air passages under the CCU.
Imperatively use the screws provided.
In case it is installed in a cabinet, the inside temperature should not exceed 45
0
C
(113
0
F).
Imperatively use the screws provided.
 Loading...