2007.03.07 Flow2 stairlift Tab 04: Install, adjust and release
www.ThyssenKruppAccessibility.nl 19
Assembly
3.5 Preparing the drive unit for use
1. Remove the handle:
- Remove the four M8 nuts.
- Remove the cables from the service module with a pair of pointed nose pliers.
- Pull the cable out.
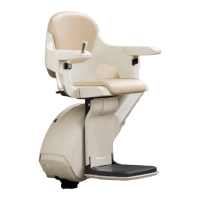
2. Use a spirit level to check whether the chair flange is horizontal.
3. Select mode 4 if correction is required.
- Press button [E] briefly. The current setting is shown in the display.
- Set the flange horizontal with the [D] and [I] buttons (from -99 to 99).
- Press button [E] for a long time to save the new setting.
4. Repeat this step for the three axes of the seat. The locking pin on the flange must point straight
forwards. Choose mode 5 if correction is necessary.
5. Switch the drive unit to mode 0 by turning the mode switch.
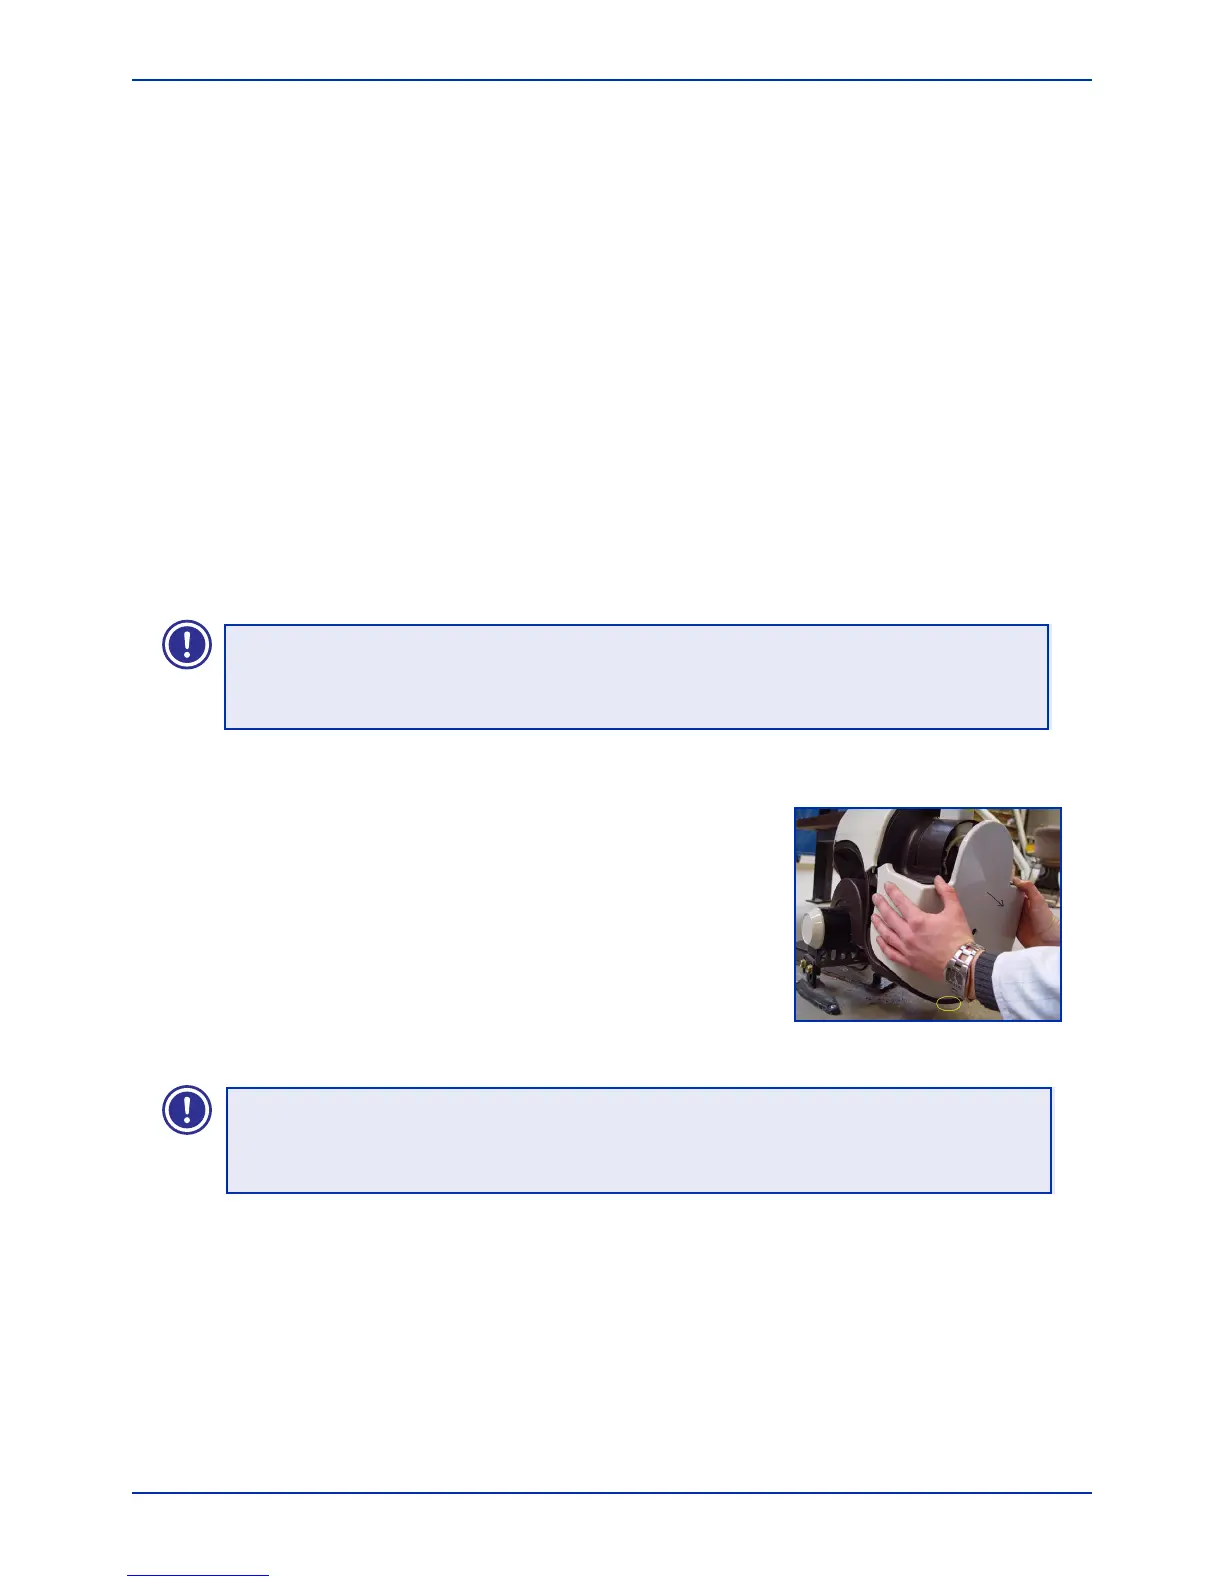
6. Fit the service cover.
- Position the underside of the service cover in the drive unit
(1).
- Push the cover against the drive unit (2).
7. Switch the lift off and then on again by operating the red main
switch.
TIP
Steps 3 and 4 can easily be checked by pressing the [E] button in mode 3.
Fig. 3-16 Fit the service cover
1
TIP
The drive unit is now in operating position. This means that the display is switched off.
 Loading...