Note: A fuel stabilizer/conditioner is most
effecti v e when mix ed with fresh g asoline . T o
minimize the c hance of v ar nish de posits in the fuel
system, use fuel stabilizer at all times .
Filling the Fuel Tank
1. P ark the traction unit on a lev el surface , lo w er
the loader ar ms , and stop the engine .
2. R emo v e the k ey and allo w the engine to cool.
3. Clean around the fuel tank cap and remo v e it.
4. Add unleaded g asoline to the fuel tank, until
the lev el is just belo w the bottom of the filler
nec k.
Important: T his space in the tank allo ws
gasoline to expand. Do not fill the fuel
tank completel y full.
5. Install the fuel tank cap securely .
6. Wipe up any g asoline that ma y ha v e spilled.
Checking the Engine Oil
Level
1. P ark the traction unit on a lev el surface , lo w er
the loader ar ms , and stop the engine .
2. R emo v e the k ey and allo w the engine to cool.
3. Open the hood.
4. Clean around the oil dipstic k ( Figure 9 ).
Figure 9
1. Oil dipstick 2. Metal end
5. Pull out the dipstic k and wipe the metal end
clean ( Figure 9 ).
6. Slide the dipstic k fully into the dipstic k tube
( Figure 9 ).
7. Pull the dipstic k out and look at the metal end.
8. If the oil lev el is lo w , clean around the oil filler
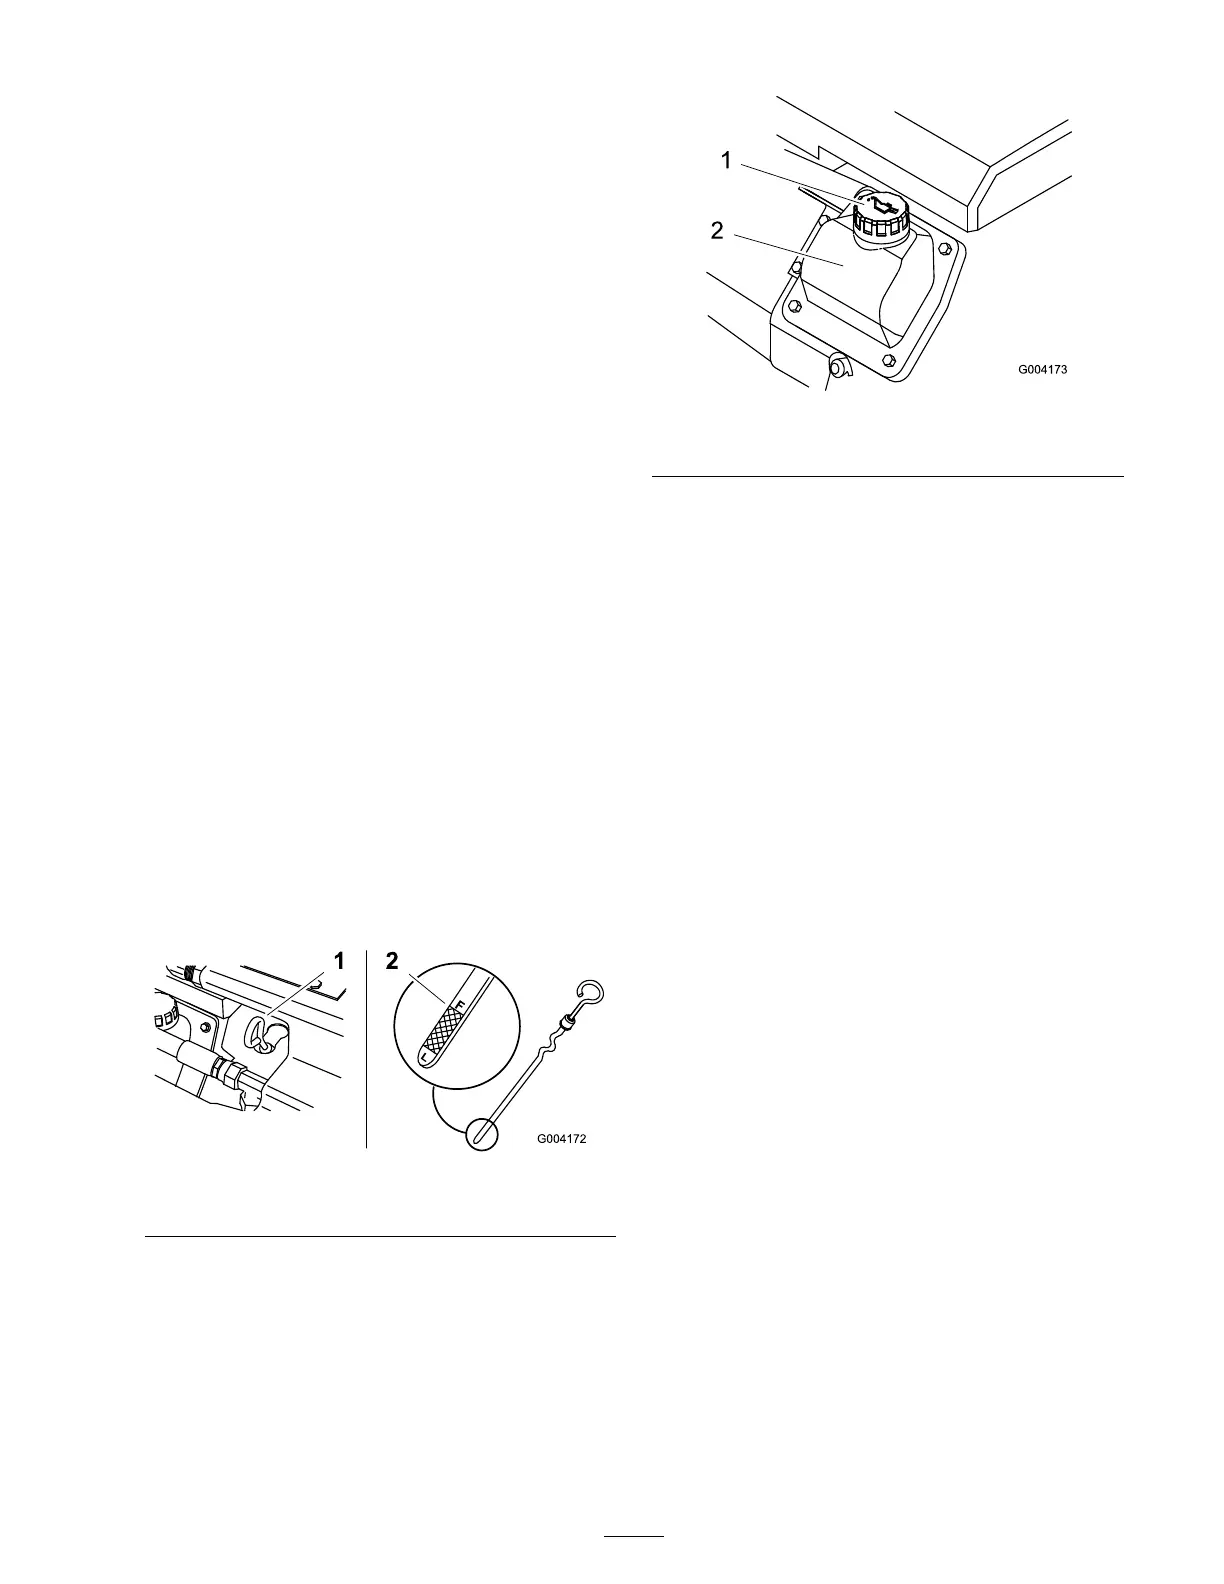
cap and remo v e the cap ( Figure 10 ).
Figure 10
1. Filler cap 2. Valve cover
9. Slo wly pour only enough oil into the v alv e
co v er to raise the lev el to the F (full) mark.
Important: Do not o v erfill the crankcase
with oil because the engine may be
dama ged.
10. R e place the filler cap and dipstic k.
11. Close the hood.
Checking the Hydraulic
Fluid Level
Chec k the h y draulic fluid lev el before the engine is
first star ted and after ev er y 25 operating hours .
Hy draulic T ank Capacity: 12 US g allons (45.4 l)
Use 10W -30 deterg ent, diesel engine oil (API
ser vice CH-4 or higher).
1. R emo v e the attac hment, if one is installed;
refer to R emo ving an Attac hment.
2. P ark the traction unit on a lev el surface ,
lo w er the loader ar ms , and fully retract the tilt
cylinder .
3. Stop the engine , remo v e the k ey , and allo w the
engine to cool.
4. Open the hood.
5. Clean the area around the filler nec k of the
h y draulic tank ( Figure 11 ).
6. R emo v e the cap from the filler nec k and c hec k
the fluid lev el on the dipstic k ( Figure 11 ).
T he fluid lev el should be betw een the marks
on the dipstic k.
19
 Loading...


