5. W hen the oil has drained completely , re place
the plug .
Note: Dispose of the used oil at a cer tified
recycling center .
6. R emo v e the oil fill cap and slo wly pour
appro ximately 80% of the specified amount of
oil in through the v alv e co v er .
7. Chec k the oil lev el; refer to Chec king the
Engine Oil Lev el in Operation , pag e 18 .
8. Slo wly add additional oil to bring the lev el to
the F (full) mark on the dipstic k.
9. R e place the fill cap .
Changing the Oil Filter
R e place the oil filter ev er y 200 hours or ev er y
other oil c hang e .
Note: Chang e the oil filter more frequently when
operating conditions are extremely hot, dusty , or
sandy .
1. Drain the oil from the engine; refer to
Changing the Oil.
2. Place a shallo w pan or rag under the filter to
catc h oil.
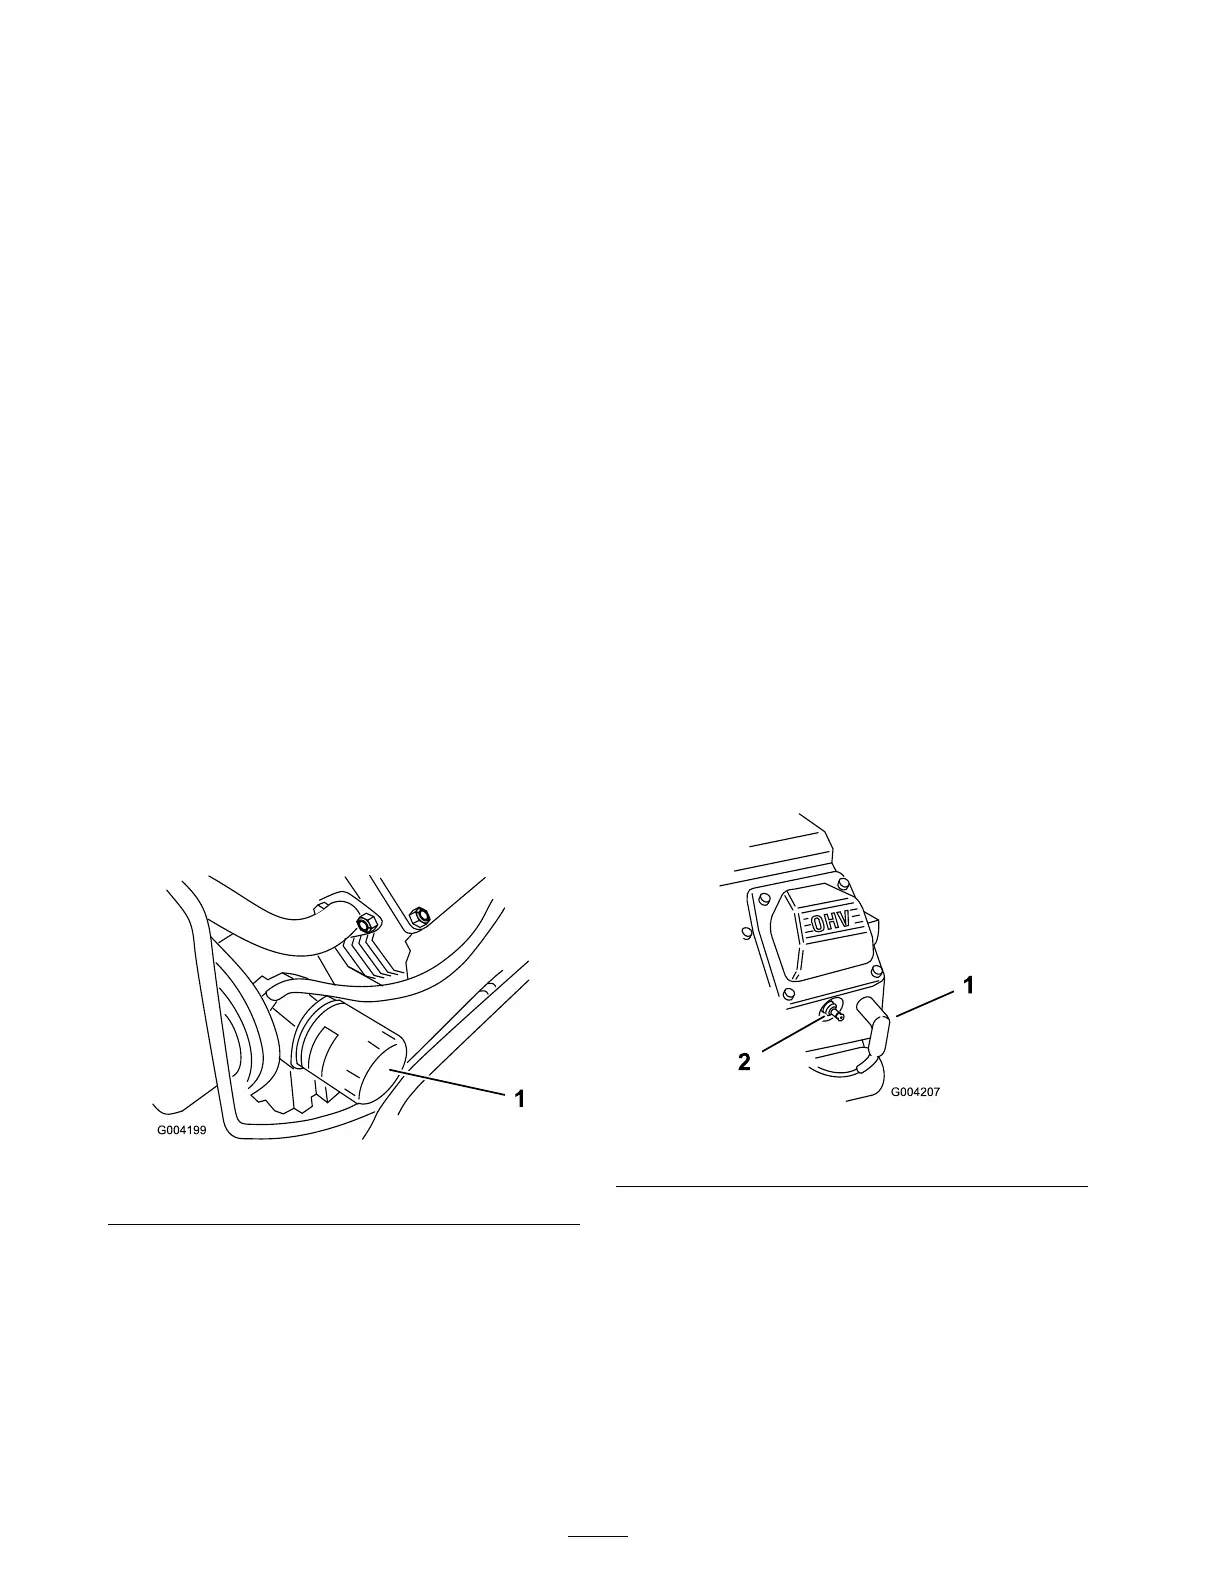
3. R emo v e the old filter ( Figure 30 ) and wipe the
surface of the filter adapter g ask et.
Figure 30
1. Oil lter
4. P our new oil of the proper type through the
center hole of the filter . Stop pouring when
the oil reac hes the bottom of the threads .
5. Allo w a min ute or tw o for the oil to be
absorbed b y filter material, then pour off the
ex cess oil.
6. Apply a thin coat of new oil to the r ubber
g ask et on the re placement filter .
7. Install the re placement oil filter to the filter
adapter . T ur n the oil filter cloc kwise until the
r ubber g ask et contacts the filter adapter , then
tighten the filter an additional 1/2 tur n.
8. Fill the crankcase with the proper type of new
oil; refer to Changing the Oil.
Servicing the Spark Plugs
Chec k the spark plugs after ev er y 200 operating
hours . Ensure that the air g ap betw een the center
and side electrodes is cor rect before installing eac h
spark plug . Use a spark plug wrenc h for remo ving
and installing the spark plugs and a g apping
tool/feeler g aug e to c hec k and adjust the air g ap .
Install new spark plugs if necessar y .
T ype: Champion Premium Gold 2071, R C12Y C ,
or equi v alent. Air Gap: 0.030 inc h (0.76 mm)
Removing the Spark Plugs
1. Lo w er the loader ar ms , stop the engine , and
remo v e the k ey .
2. Open the hood.
3. Pull the wires off of the spark plugs ( Figure 31 ).
Figure 31
1. Spark plug wire 2. Spark plug
4. Clean around the spark plugs .
5. R emo v e both spark plugs and metal w ashers .
Checking the Spark Plugs
1. Look at the center of both spark plugs
( Figure 32 ). If y ou see light bro wn or g ra y on
the insulator , the engine is operating properly .
A blac k coating on the insulator usually means
the air cleaner is dir ty .
30
 Loading...


