Figure 48
1. Hydraulic lter
5. R emo v e the old filter ( Figure 48 ) and wipe the
surface of the filter adapter g ask et clean.
6. Apply a thin coat h y draulic fluid to the r ubber
g ask et on the re placement filter .
7. Install the re placement h y draulic filter onto the
filter adapter ( Figure 48 ). Tighten it cloc kwise
until the r ubber g ask et contacts the filter
adapter , then tighten the filter an additional
3/4 tur n.
8. Clean up any spilled fluid.
9. Star t the engine and let it r un for about tw o
min utes to purg e air from the system.
10. Stop the engine and c hec k for leaks .
Hy draulic fluid escaping under pr essur e
can penetrate skin and cause injur y .
F luid injected into the skin must be
surgicall y r emo v ed within a few hour s by
a doctor f amiliar with this f or m of injur y
or gang r ene may r esult.
• K eep y our body and hands a w ay fr om
pin hole leaks or nozzles that eject
high pr essur e h y draulic fluid.
• Use cardboard or paper to find
h y draulic leaks, nev er use y our hands.
11. Chec k the fluid lev el in the h y draulic tank (refer
to Chec king the Hy draulic Fluid in Operation ,
pag e 18 ) and add fluid to raise the lev el to mark
on dipstic k. Do not o v er fill the tank.
12. Close the rear access co v er .
Changing the Hydraulic
Fluid
Chang e the h y draulic fluid after ev er y 400
operating hours or yearly .
1. P osition the traction unit on a lev el surface .
2. Open the hood.
3. Install the cylinder loc k, stop the engine , and
remo v e the k ey .
4. Allo w the traction unit to cool completely .
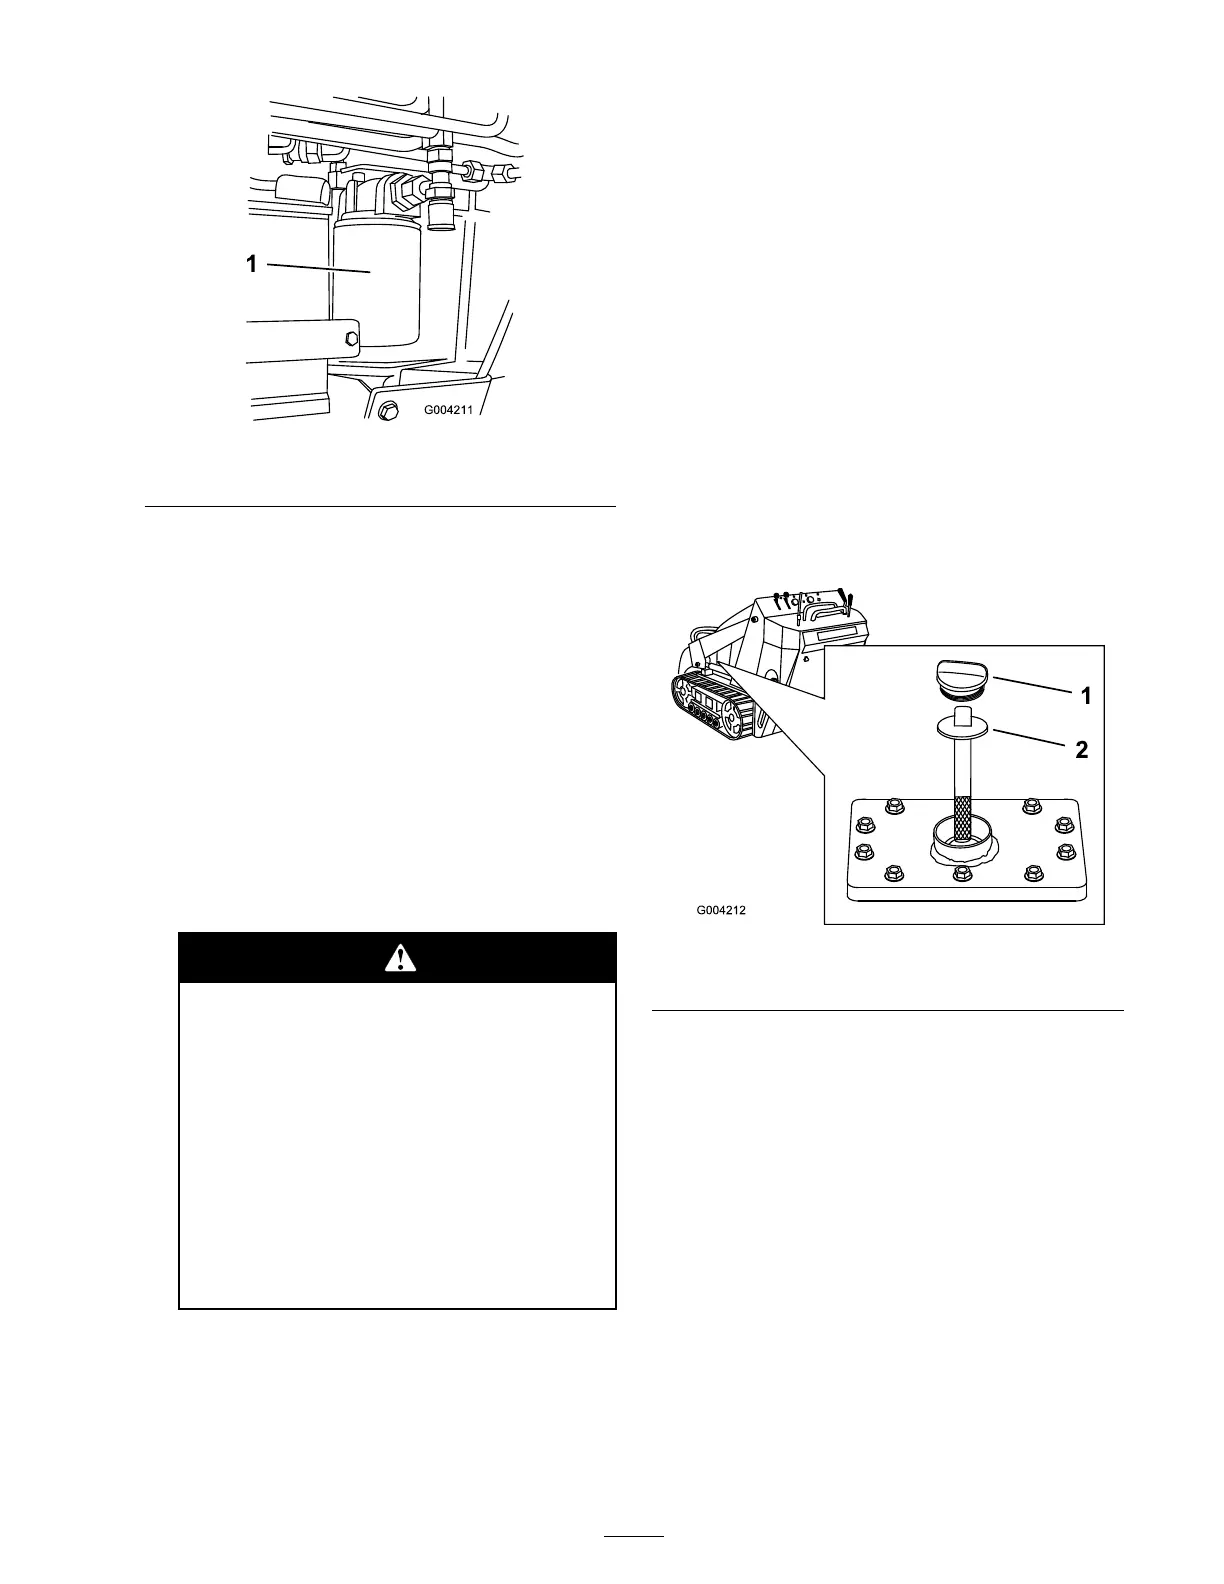
5. R emo v e the h y draulic tank cap and dipstic k
( Figure 49 ).
Note: T he filler cap is behind the front
screen. If y ou w ant to impro v e y our access to
it, remo v e the screen.
Figure 49
1. Filler neck cap 2. Dip stick
6. Place a larg e drain pain (capable of holding 15
US g allons) under the drain plug on the front
of the traction unit ( Figure 50 ).
Note: T he drain plug is located behind the
front w eight, under the m uffler .
39
 Loading...


