 Loading...
Do you have a question about the TP-Link TL-WDR4300 and is the answer not in the manual?
| Color | black |
|---|---|
| Frequency Band | other |
| QoS Traffic Prioritization | yes |
| Ethernet Standard | 10/100/1000 |
| Wireless Standard | n |
| Gigabit Ethernet Speed | yes |
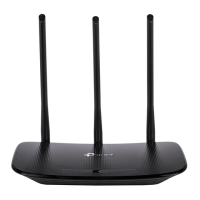
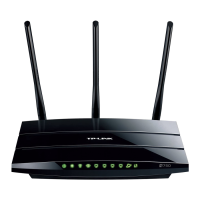
| Antennas | 3 |
| Parental Control | yes |
| Firewall | spi |
| Data Encryption | yes |
| Encryption Type | wpa2-psk, wep, wpa, wpa2, wpa-psk |
| Security Features | wps (wi-fi protected setup) |
| Ports | usb |
| WAN Ports | 1 |
| System Requirements | pc: windows 98 se, nt, 2000, xp, vista or 7; mac os; netware; unix; linux |
| Height | 9.6 inches |
|---|---|
| Width | 6.4 inches |
Describes the integrated features and capabilities of the router.
Lists the key features and specifications of the router.
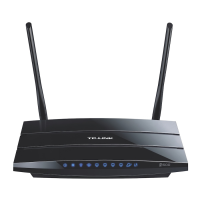
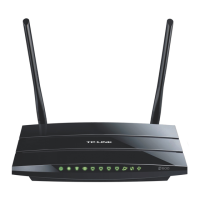
Details the physical layout of the router's front and rear panels.
Lists the necessary hardware and software for router setup.
Provides step-by-step instructions for physically connecting the router.
Explains how to configure TCP/IP settings for PC connection to the router.
Walks through the basic configuration steps using the router's web interface.
Covers logging into the router and monitoring its current status.
Manages WAN and LAN parameters for network connectivity.
Configures wireless settings for both 2.4GHz and 5GHz bands.
Manages DHCP services and USB device configurations.
Covers port forwarding, DMZ, UPnP, and essential security features.
Provides system utilities for time, diagnostics, firmware, and password management.
Guides on setting up internet access and configuring for applications like Netmeeting.