Ubee Interactive Setting Up and Connecting the DDW36C
Ubee DDW36C Advanced Wireless Gateway MSO Operations Guide • October 2111 13
For MAC OS X, 10.2, and higher: Firefox 1.07 and higher, Safari 1.x and higher.
6. Connect the power cable included in the product package to the back of the cable
modem and plug the other end into the power outlet.
7. Connect the network cable included in the product package to your computer’s
Ethernet port. Connect the other end to the ETHERNET 1, 2, 3, or 4 port on the back
panel of the DDW36C.
8. Connect a coaxial cable from the CABLE port on the back of the device to the cable
wall outlet, or to a cable splitter connected to the wall outlet.
9. Validate the network connection using the device LEDs to confirm operations.
The 2.4G and/or 5G LED must be flashing or solidly lit.
The POWER, US, DS, and ONLINE LEDs are solidly lit.
Refer to Understanding LED Behavior on page 5 for more information.
2.1.1 Wall Mount Installation
You can mount the DDW36C on a wall using a mounting kit, which is provided by the
service provider installation technician.
The mounting kit includes:
(2) mounting brackets
(2) new housing screws
In addition to the mounting kit, you will also need:
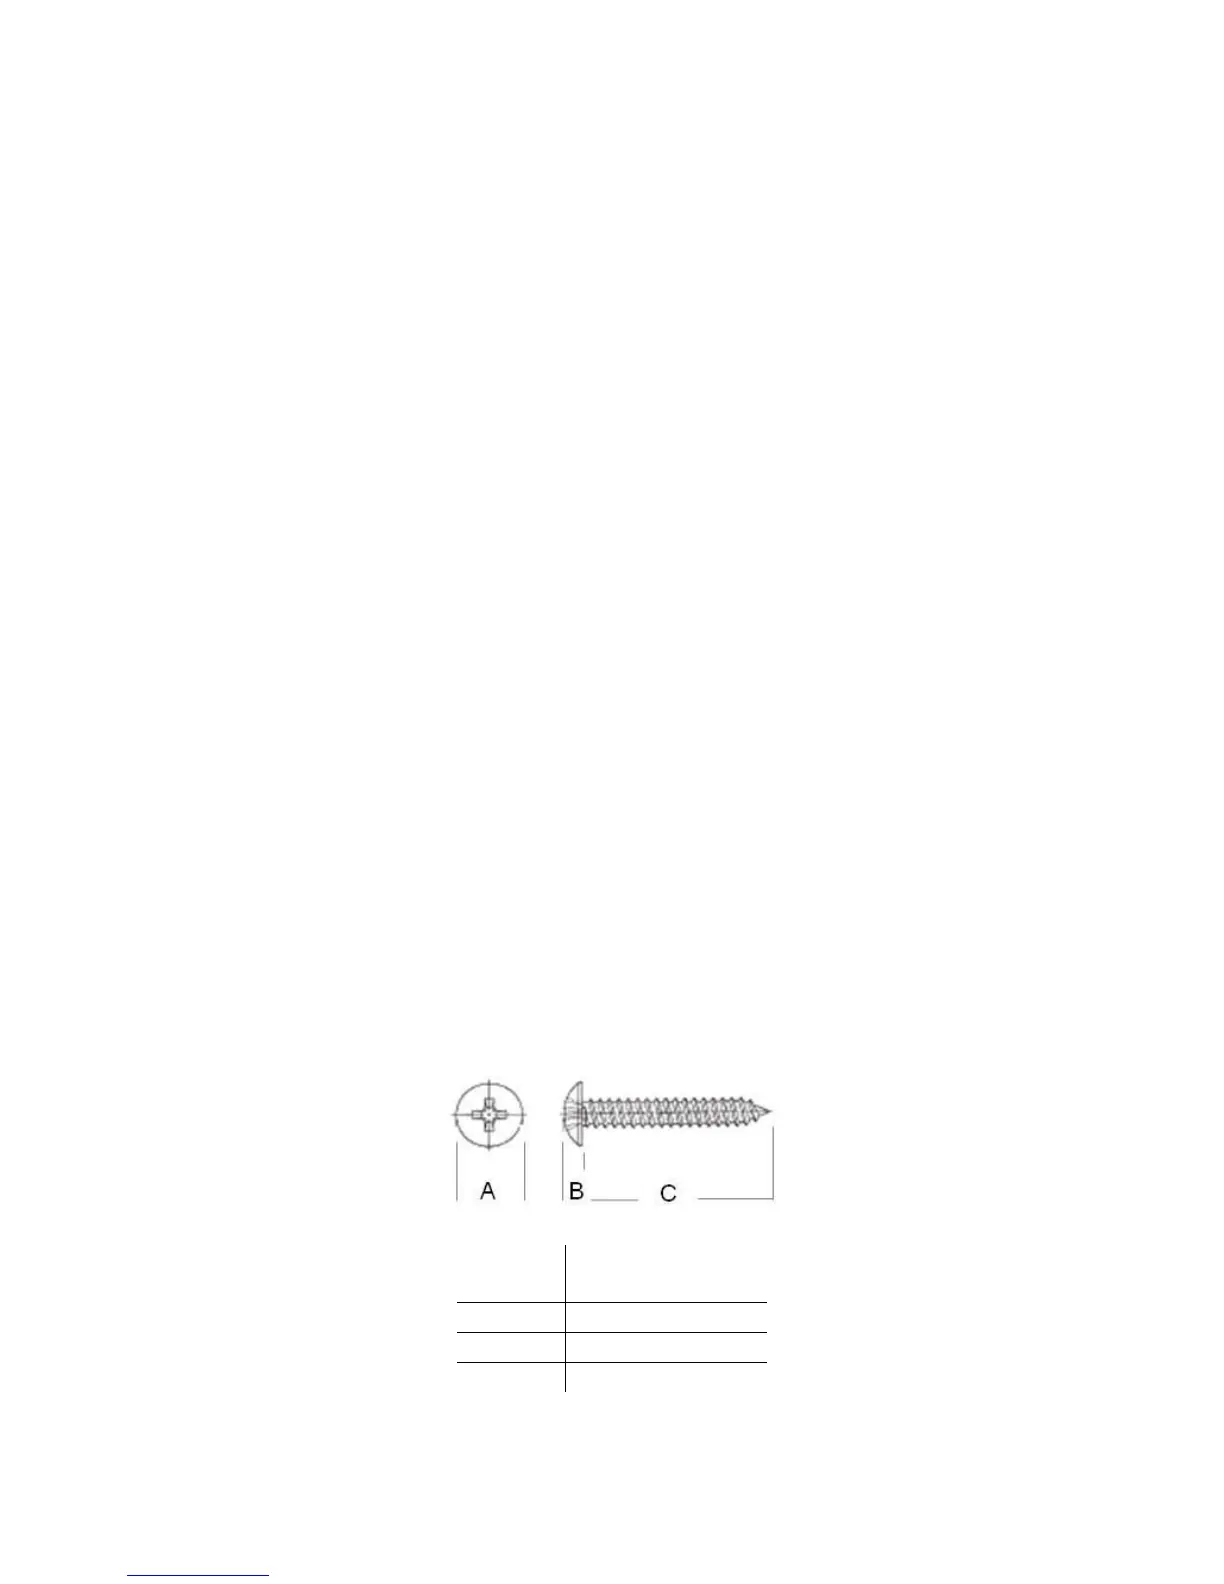
(2) round or pan head screws for attaching the brackets to the wall (see figure
below)
(1) Torx T10 screwdriver for modem housing screws
(1) screwdriver for the round or pan head screws
Label
Size In Millimeters
(mm)
A 5.5 - 9.0
B 1.5 +/- 0.34
C 19.0 +/- 1.2
Round or Pan Head Screws:
 Loading...