2
Preparation before Use
2-11
Setting Date and Time
Follow the steps below to set the local date and time at the place of installation.
When you send an E-mail using the transmission function, the date and time as set here will be printed in the header
of the E-mail message. Set the date, time and time difference from GMT of the region where the machine is used.
NOTE: Be sure to set the time difference before setting the date and time.
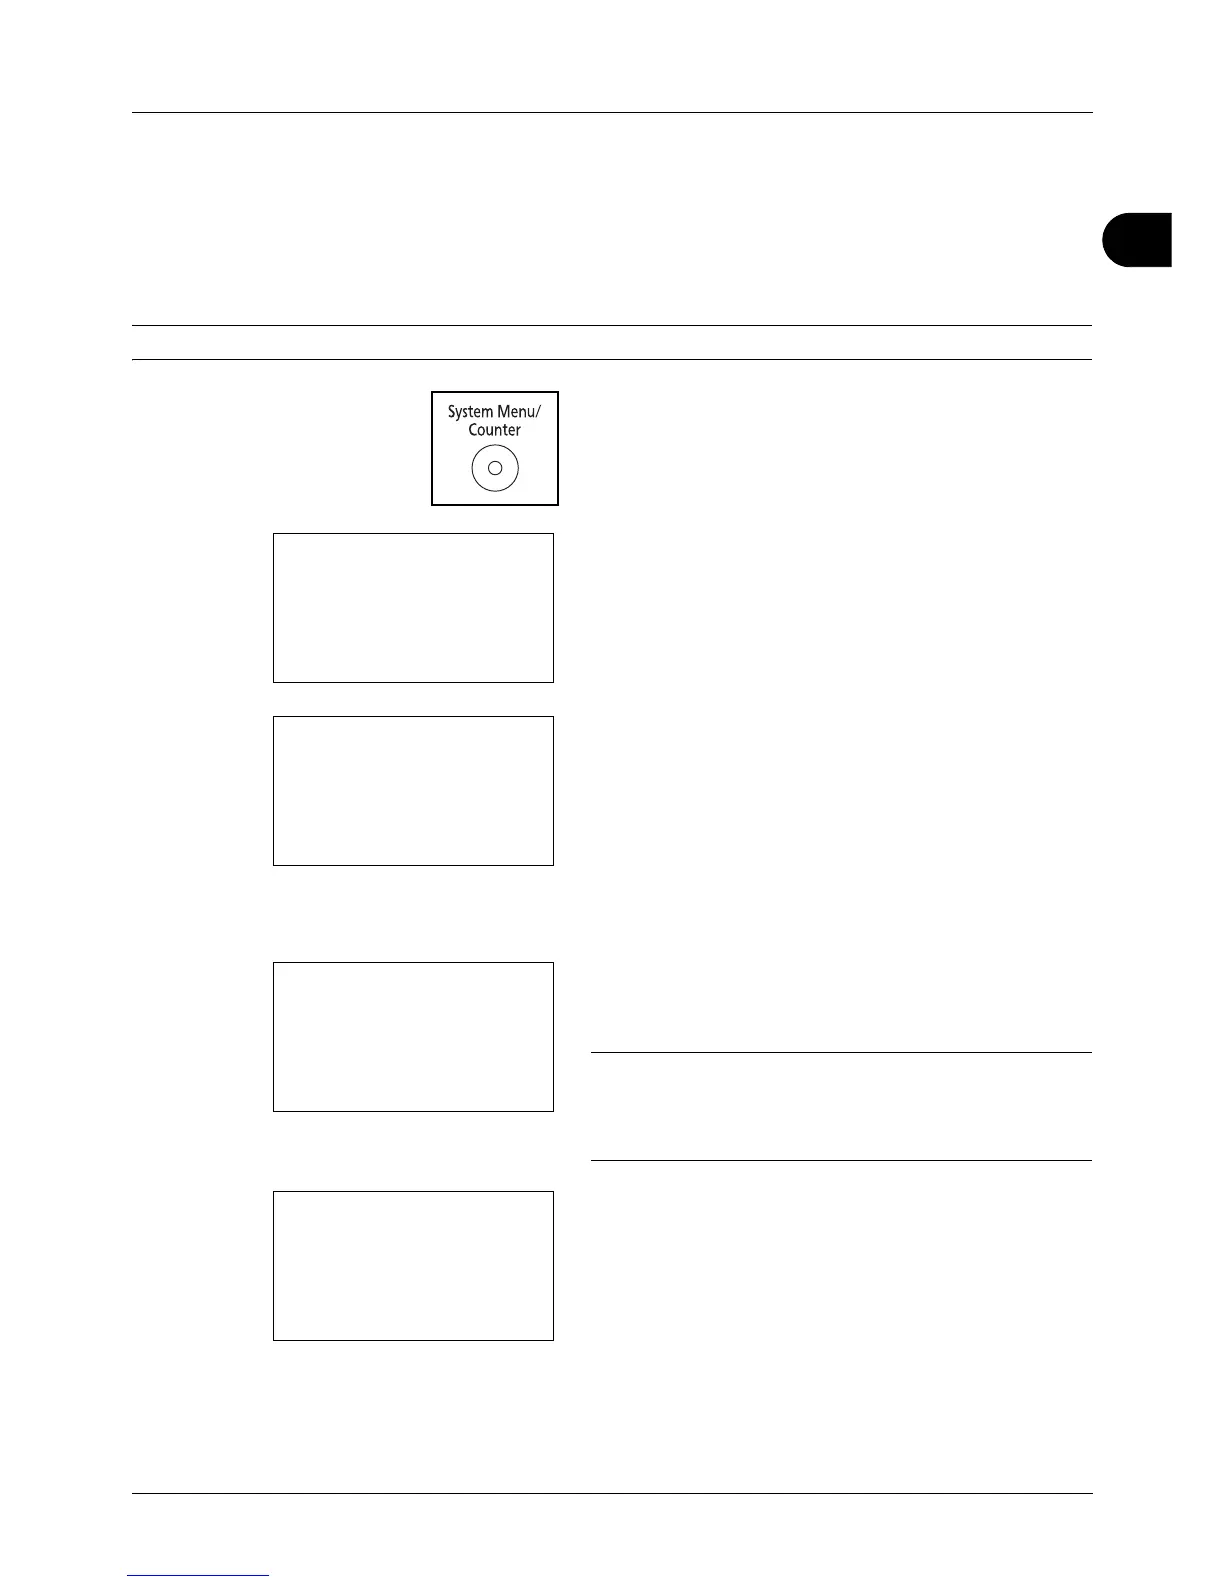
1 Press the System Menu/Counter key on the main unit
operation panel.
2 In the Sys. Menu/Count. menu, press the or key to
select [Common Settings].
3 Press the OK key. The Common Settings menu appears.
4 Press the or key to select [Date Setting], and press
the OK key.
5 A login screen will appear. Then, enter the user ID and
password with administrator privileges to log in, and
press [Login] (the Right Select key).
NOTE: The following administrator is registered in the
machine at the factory.
Login User Name: 30 ppm model:3000, 35 ppm model:3500
Login Password: 30 ppm model:3000, 35 ppm model:3500
6 The Date Setting menu appears.
7 Press the or key to select [Time Zone].
 Loading...