Using the Test Print option
Use the following procedure to select the various Advanced Stock Setup options for a
new stock entry from the Manage Stock Library window.
1. Logon as Administrator.
2. Perform one of the following:
a) Create a new stock entry (either from the Manage Stock Library window or from
the Tray Properties window), or
b) Copy an existing stock entry (either from the Manage Stock Library window or
from the Tray Properties window), or
c) Modify an existing stock entry (from the Manage Stock Library window) by
selecting the Properties button.
3. From either the New Stock Setup or Stock Properties window, select/modify the
attributes as required, including entering a new stock name.
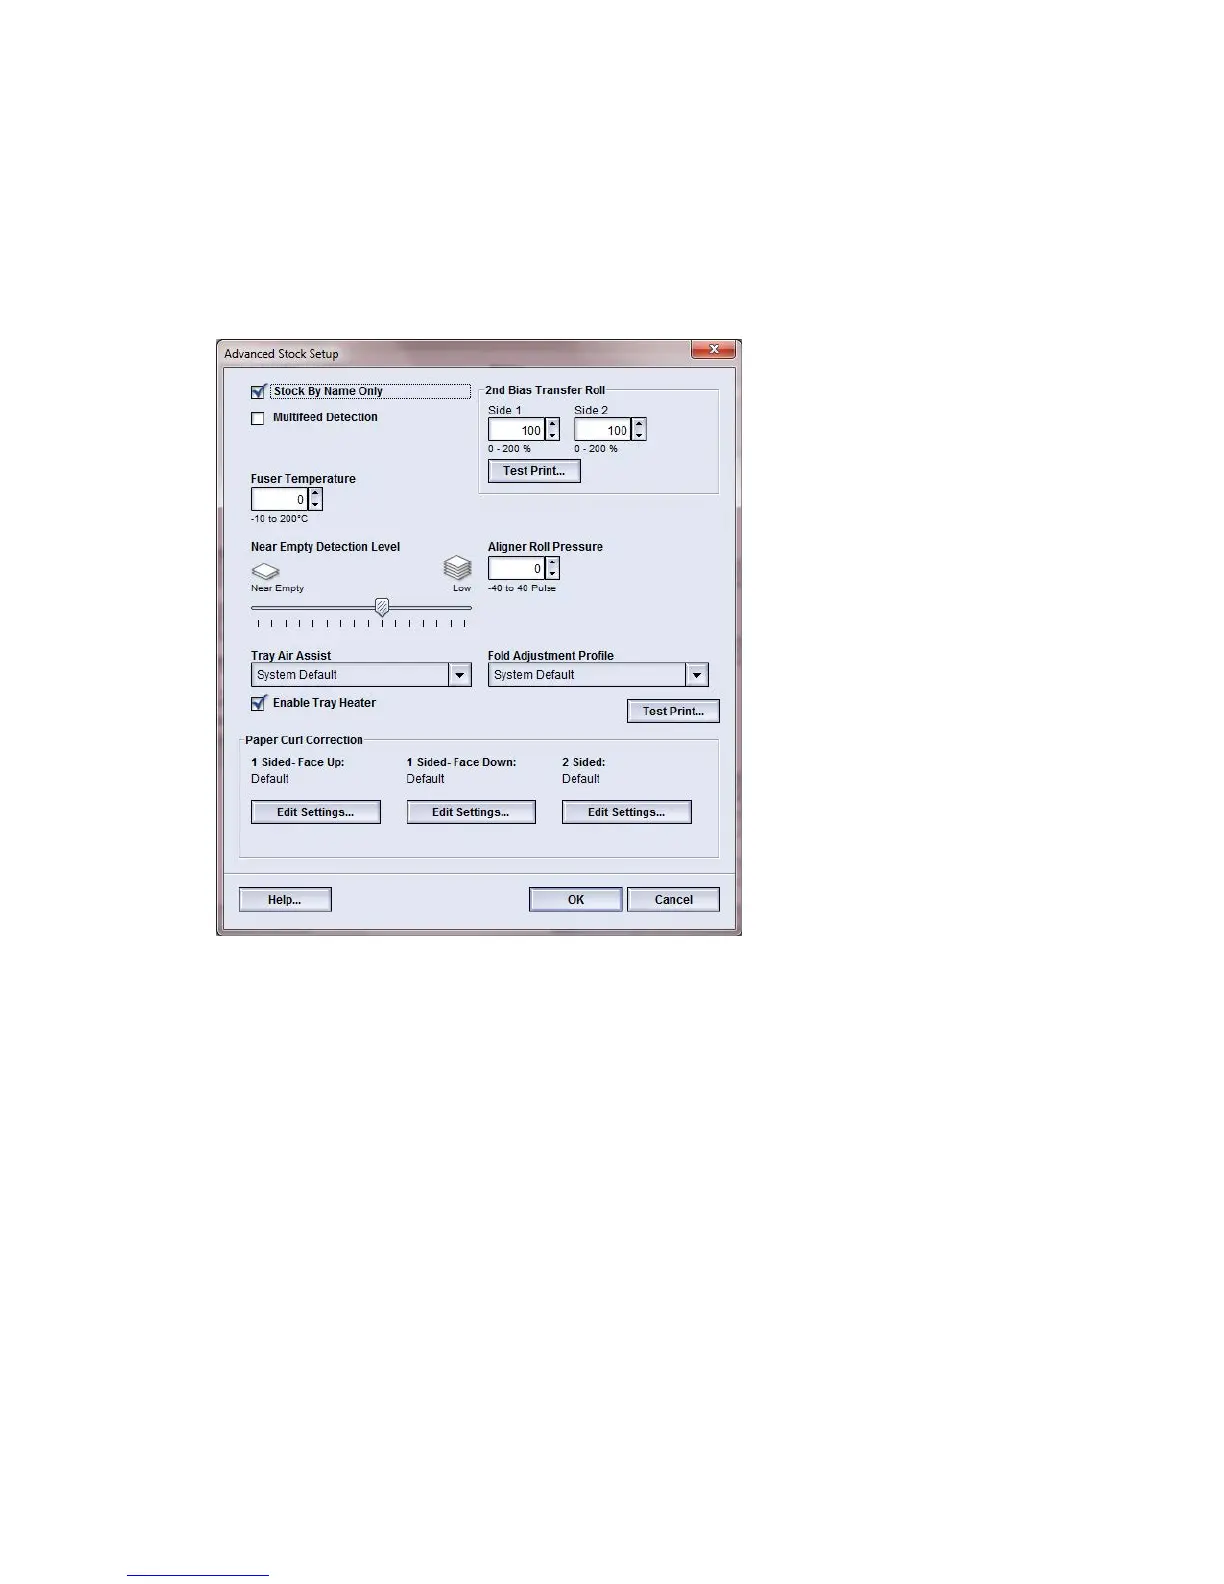
4. Select the Advanced Setup button.
The Advanced Stock Setup window opens.
5. Select the Test Print button.
The test print window for that specific stock opens.
Xerox
®
Color 800/1000 Press
3-2
System Administration Guide
Test Print option

 Loading...