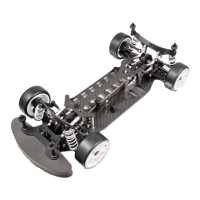
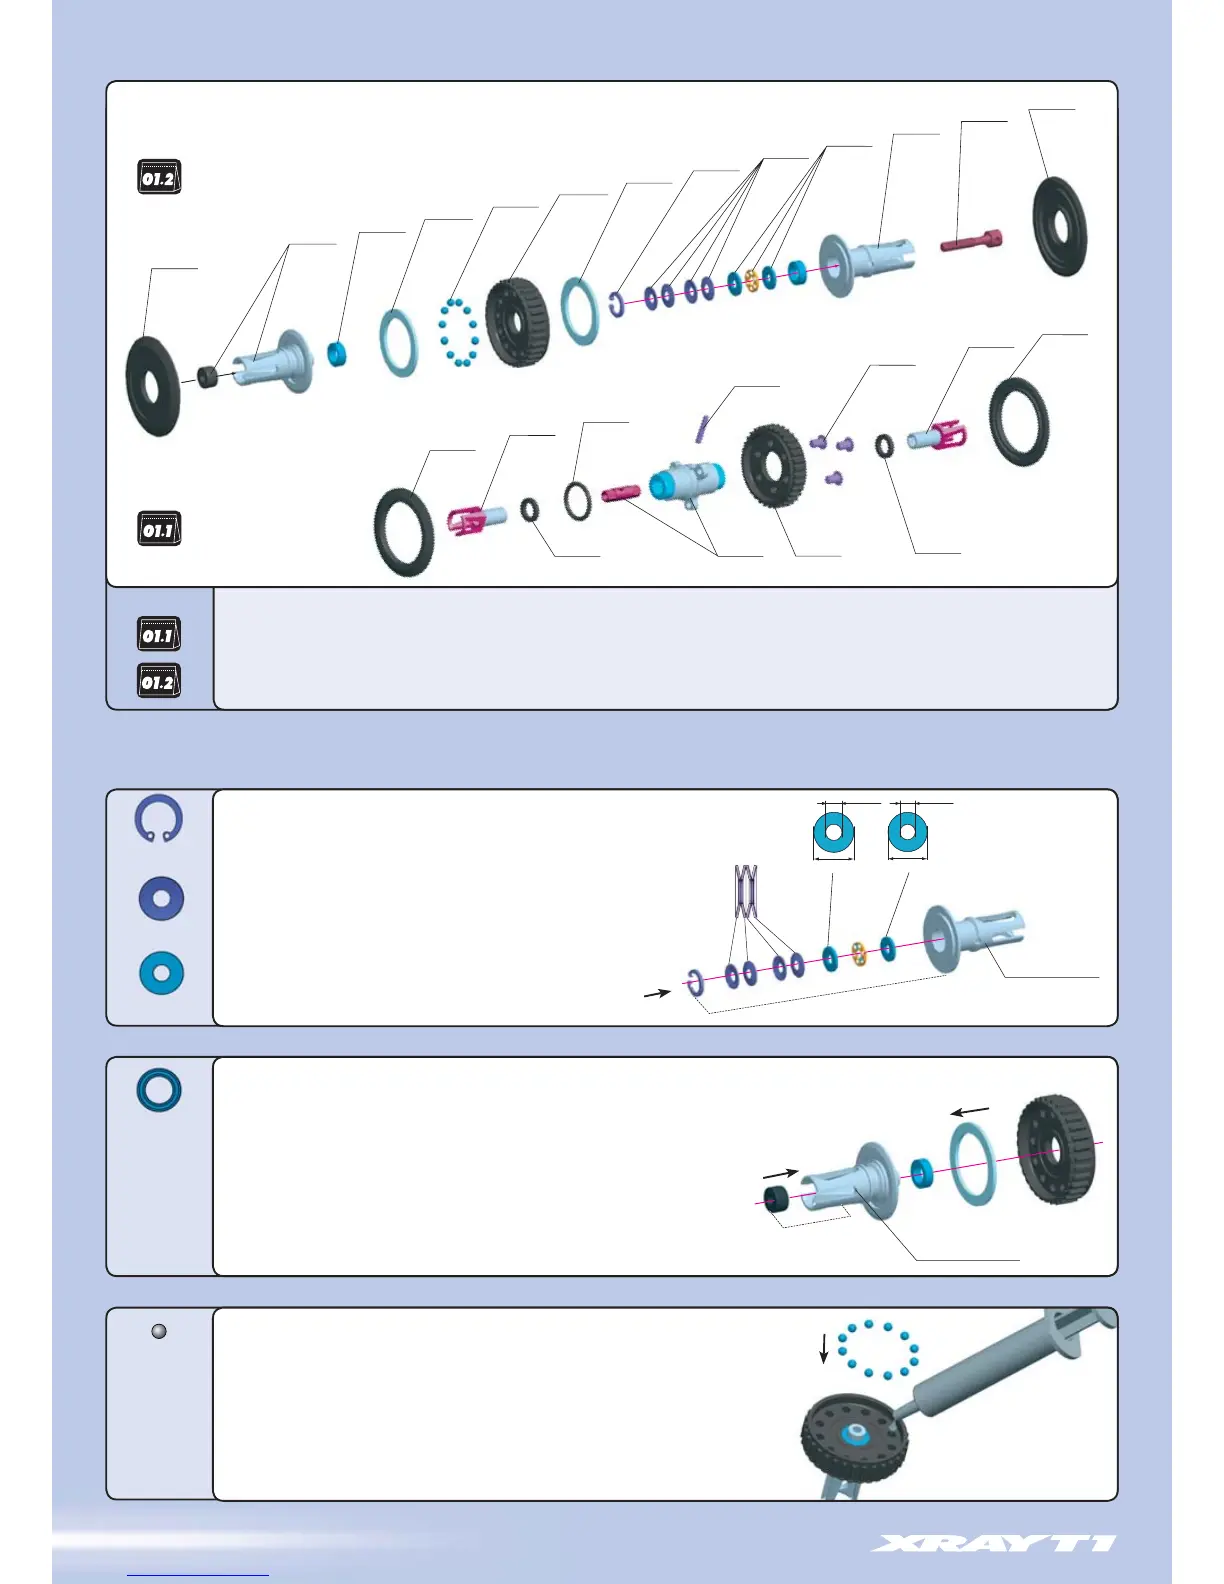
FRONT MULTI-DIFF
NOT INCLUDED IN US KITS
30 5002 BALL DIFF. WITH LABYRINTH COVERS™ - (FACTORY KIT)
30 5040 SCREW FOR EXTERNAL DIFF ADJUSTMENT - SPRING STEEL
30 5050 DIFF PULLEY 34T WITH LABYRINTH DUST COVERS
30 5082 DIFF WASHER 17x23x1 (2)
30 5102 XRAY MULTI-DIFF™ T1FK'05
30 5131 INNER DRIVESHAFT ADAPTER - T1FK'05 - SPRING STEEL (2)
30 5150 TIMING BELT PULLEY 34T
30 9319 UNIVERSAL SET OF PLASTIC SHIMS
90 2305 HEX SCREW SH M3x5 (10)
93 0120 CARBIDE BALL 2.4 MM FOR BALL DIFFERENTIAL (12)
93 0138 CARBIDE BALL-BEARING AXIAL F3-8 3 x 8 x 3.5
93 0508 BALL-BEARING MR85ZZ 5x8x2.5 (2)
96 3030 CONE WASHER ST 3x8x0.5 (10)
96 6080 CH-CLIP 8 (10)
97 0100 O-RING 10x1.5 (10)
98 1212 PIN 2x11.8 (10)
1. BALL DIFFERENTIAL & FRONT MULTI-DIFF
™
The ball differential is pre-assembled at the factory.
Follow these steps if you need to clean or rebuild the short diff shaft assembly.
1. If you need to replace the diff locknut, push it out from the opposite side with the tip of a
wrench. Insert a new one into the short diff shaft.
2. Place a #930508 (BB 5x8) ball-bearing on the short center stub of the short diff shaft.
3. Put a very thin coat of grease on the side of a #305082 diff washer,
and place it on the short diff shaft. The washer should seat centered
on the short diff shaft, and the layer of grease will hold it in place.
4. Press the #305050 diff pulley onto the ball-bearing.
The ball differential is preassembled at the factory.
Follow these steps if you need to clean or rebuild the diff pulley or diff balls.
1. Apply a little bit of grease into each of the 12 holes in the diff pulley.
2. Place the twelve #930120 carbide diff balls into the diff pulley holes.
The ball differential is pre-assembled at the factory.
Follow these steps if you need to clean or rebuild the long diff shaft assembly.
LONG DIFF SHAFT
SHORT DIFF SHAFT
1. Insert the smaller of the two thrust washers into the long diff shaft.
2. Apply grease to the balls in the thrust ball cage; coat each side.
Insert the thrust ball cage into the long diff shaft.
3. Place the larger thrust washer into the long diff shaft.
4. Insert four cone washers as shown in the detail image.
5. Insert a #966080 (C 8) clip into the groove inside the
long diff shaft. Use snap-ring pliers for easy assembly.
Properly functioning differentials and axles are extremely important to the performance of the car. It is imperative they operate smoothly after
assembly or rebuilding, and after every run. The T1FK'05 uses an adjustable ball differential and a Front Multi-Diff™ (non-US kits only). The ball
differential is pre-assembled at the factory; follow the procedures in this section if you need to clean or rebuild the ball differential.
BAG
 Loading...