19
Name, Function and Connection
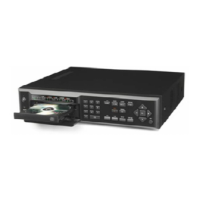
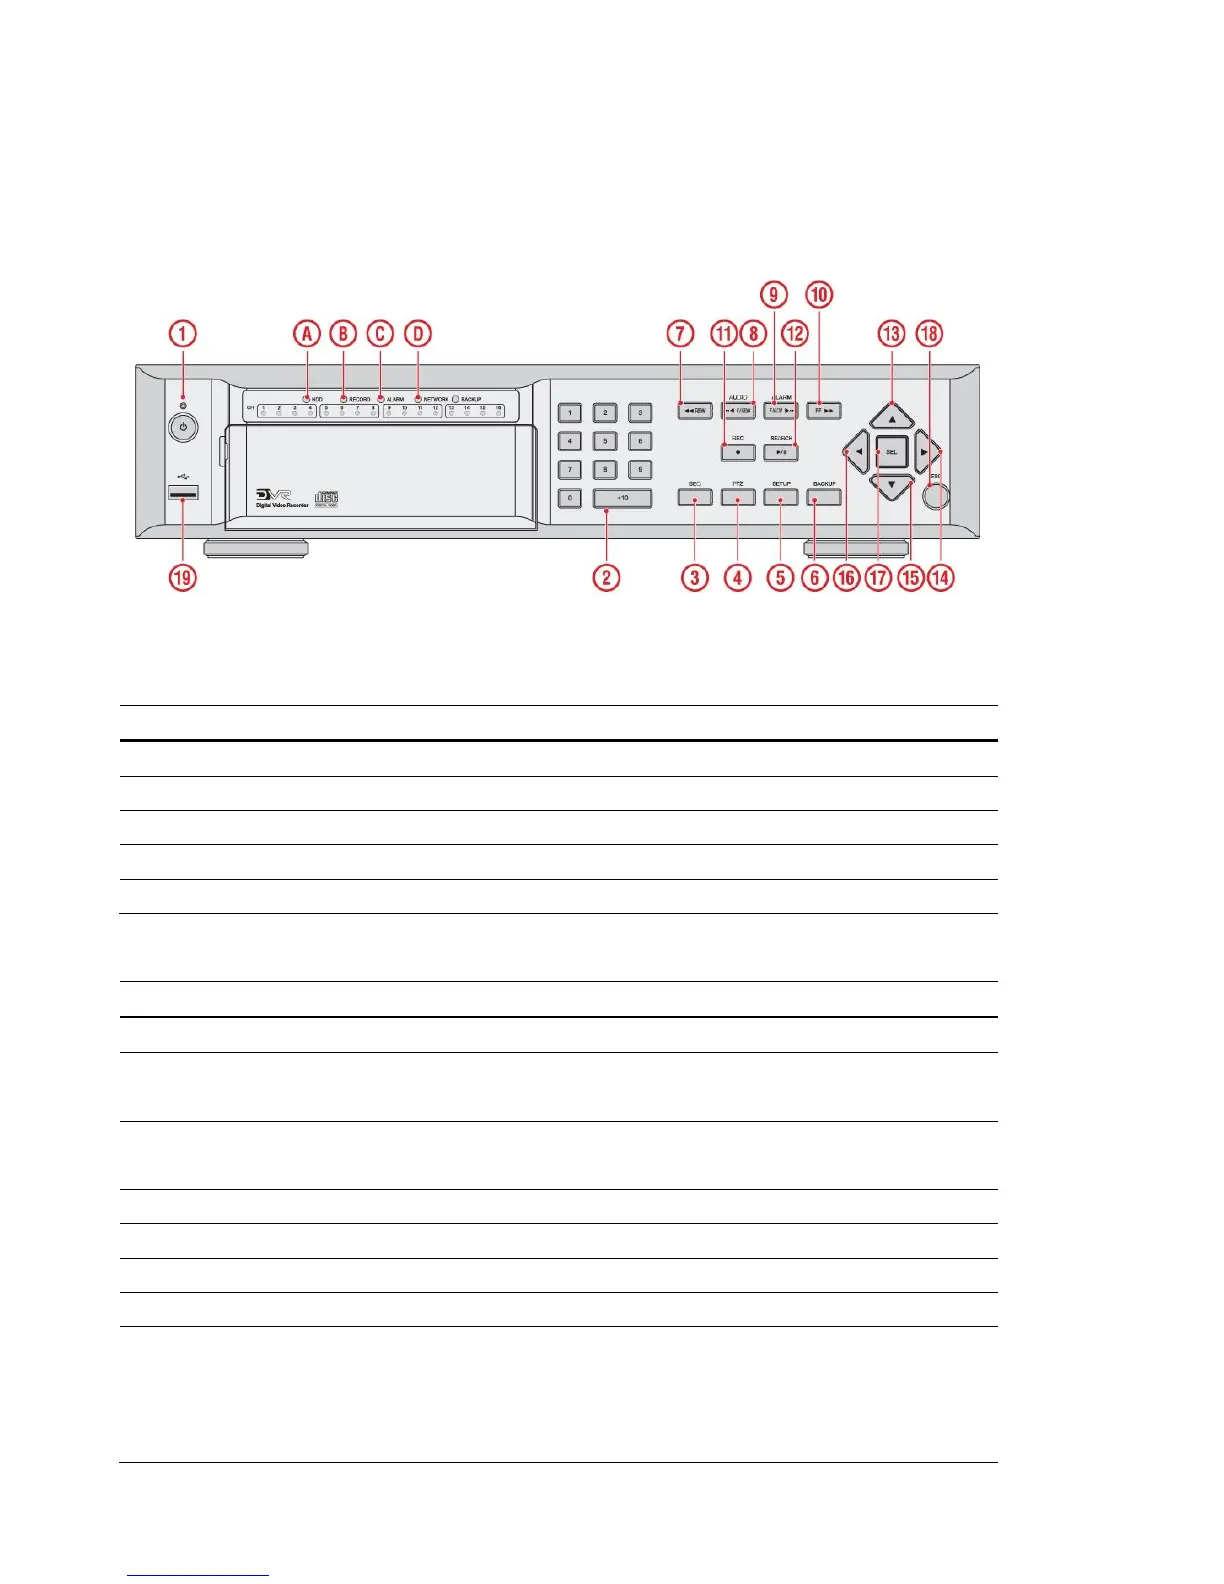
1-1. Front Panel
The following information will help you to operate the front panel controls.
Figure 1.1.1. Front panel
Table1.1.1. Indication lamps
NO.
Name Description
A HDD Indicating that the system is accessing the hard disk.
B RECORD Indicating that the system is recording video data.
C ALARM Indicating that when sensor(s) is/are triggered or motion is detected.
D NETWORK
Indicating that when Network client connects through the network.
E BACKUP Indicating that USB or CDRW storage device is stored images or video.
Table 1.1.2. Front panel buttons
NO Name Description
1 POWER POWER ON/ OFF
2 NUMBER Channel keys. For channel 10, press the 0 key. For channel 11, press
the +10 and 1 key. For channel 16, press the +10 and 6 key.
3 SEQ Enable/disable the automatic sequence of display of channels in full
screen, quad, 9-split display mode.
4 PTZ Press to control Pan/Tilt/Zoom operations.
5 SETUP Press to enter SETUP menu.
6 BACKUP Press to capture video in jpeg format in live or playback mode.
7 REW Press to rewind the footage in playback mode.
8 AUDIO
Press to select audio mode such as SINGLE, MIX and MUTE.
MUTE- All of 4 channels.
SINGLE- Highlighted channel only.
MIX- All of 4 channels.
 Loading...