236
Chapter 6 RECORDING Mode
METER Function
METER Function
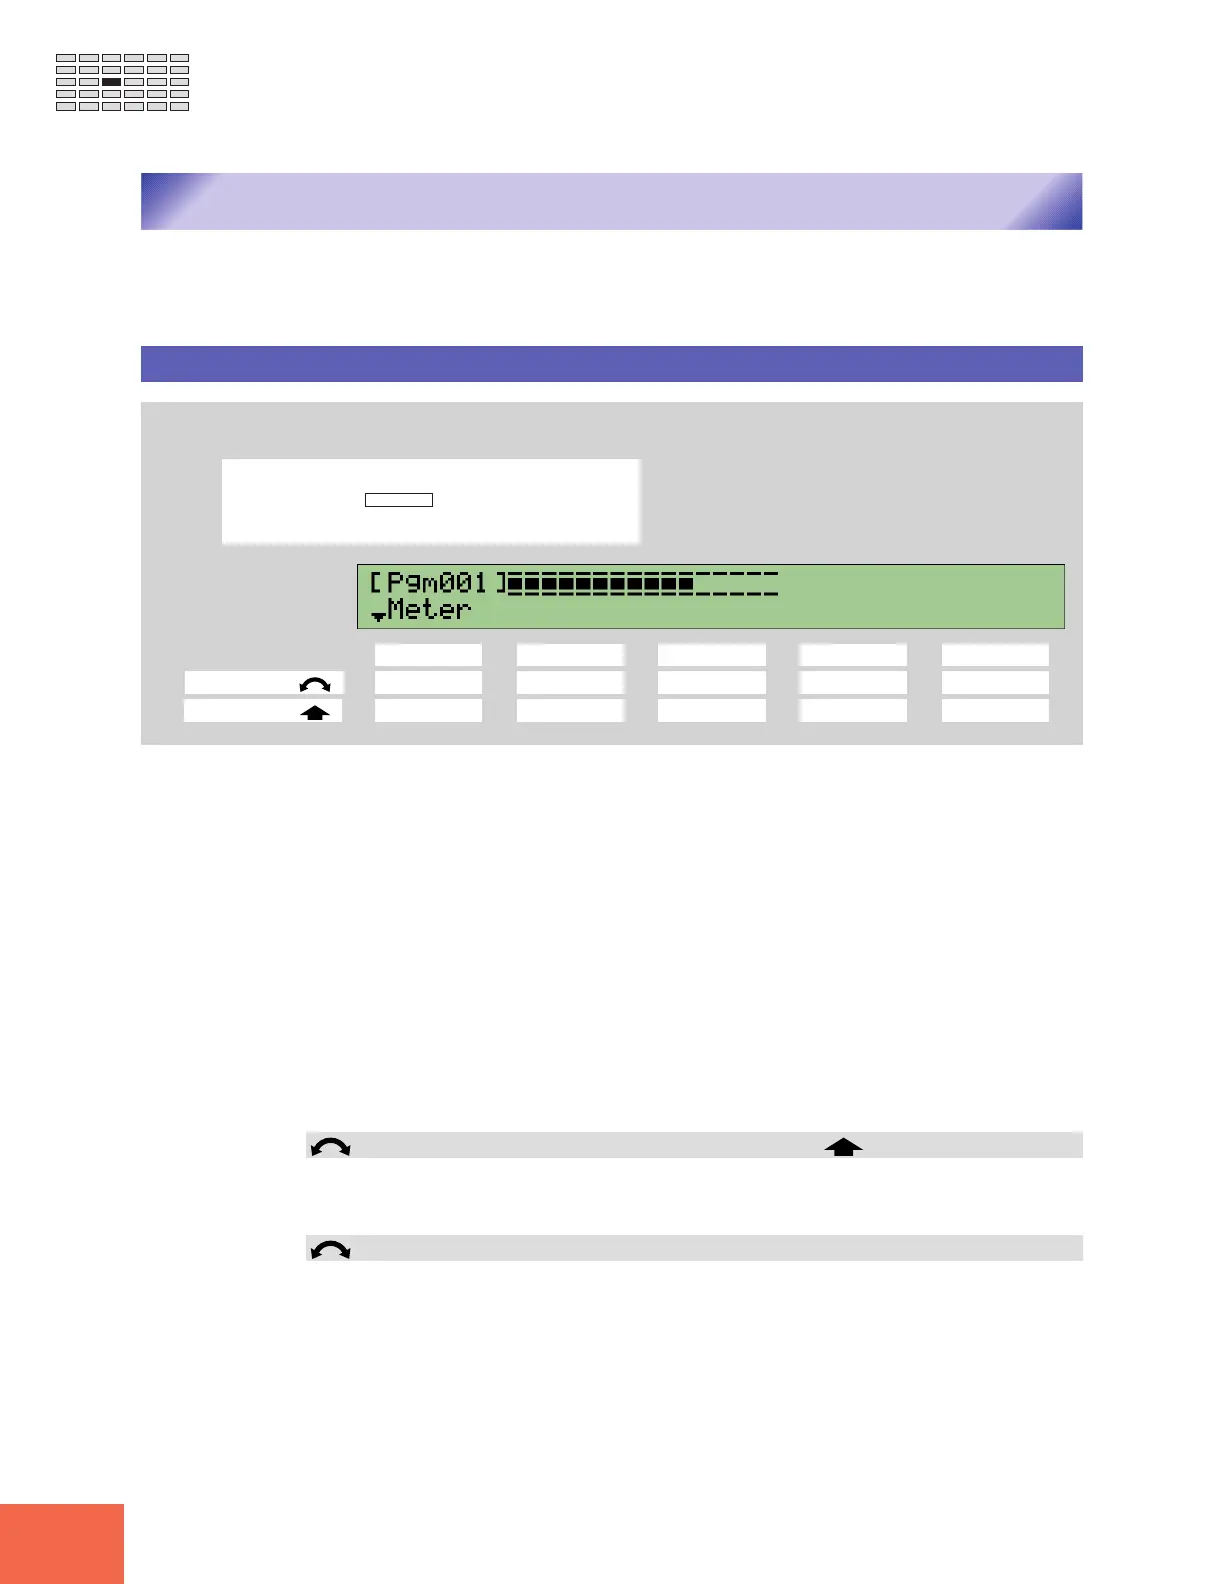
You use the METER function to check the input level, and to set the trigger levels used
to start and stop recording.
METER - Meter
PROGRAM
TRIM / LOOP
RECORD
PROGRAM
TOTAL EQ
PLAY
EDIT
REC
DISK
UTILITY
SAMPLE
MAP / OUT
SETUP
SAMPLE
PANEL PLAY
EASY EDIT
FILTER
METER
SEQUENCE
SEQUENCE
EFFECT
EG
EFFECT
VOLUME
MASTER
SETUP
LFO
EXT CTRL
DISK
SYSTEM
CONTROL
MIDI / CTRL
MONITOR
IMPORT
MIDI
Turn Knob 1 to select Meter.
Knob 1 Knob 2 Knob 3 Knob 4 Knob 5
Turn action ✔ ---✔
Push action ✔ ----
• Use the displayed level meter to check the input level before beginning recording. If
you are recording the A3000’s own output signal (if Input = STOut on the SETUP
function’s RecData page [☞227]), then you can use Knob 5 to adjust the level.
• You can use the monitor feature to listen to the sound of the signal while this page
remains on the display. Use the MONITOR function (☞243) to switch monitoring on
or off, and to select the output destination for the monitor signal.
• If you are recording an analog signal, adjust the front panel’s REC VOL knob so that
maximum input level reaches (but does not exceed) the [C] mark that appears to the
right of the meter. The [C] mark indicates the “clip” level. Note that it is not possible
to adjust the input level if you are recording a digital signal.
• If you have selected DIGITAL or OPTICAL as your input source (☞227) but the A3000
is unable to receive the signal (because the cable is not connected, or because the
A3000 does not recognize the incoming frequency), the A3000 displays the following
message to indicate that it requires valid input: “DIG or OPT signal input is required.”
Knob 1 Change Page Select P/S
• Turn the knob to switch between the function’s Meter and TrgLvl pages.
• Push the knob to move to the Program/Sample Selection screen. (☞95)
Knob 2 RecLevel = -12,...,+12
Sets the recording level used when recording the A3000’s own output signal (resampling).
This adjustment is available only if Input is set to STOut. (☞227)