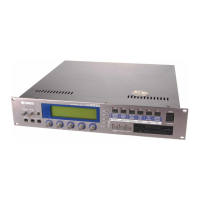
Connecting the Audio Inputs
25
Chapter 1 Setting Up
Chapter 1
Connecting the Audio Inputs
This section explains how to connect the A3000 to a microphone, cassette recorder, or
other sound source.
Important
• Be sure that power to the A3000 and to peripheral devices is OFF before making these
connections. Connecting devices while power is ON may result in damage to amps or
speakers.
• Digital I/O connections are available only if the optional AIEB1 board is installed.
• To select the input to be used for recording, use the Input parameter on the RecData
page (☞227).
Connecting to Analog Input
The following illustrations show how to connect to an analog input source, such as a
microphone, analog tape recorder, or analog synthesizer.
For monaural input
INPUT
LR
A3000 Front PanelTape recorder, synth, etc.
OUTPUT
INPUT
LR
A3000 Front PanelMicrophone, etc.

 Loading...