Next Step
45
Chapter 2 Trying It Out
Chapter 2
Next Step
In this section we record two more samples, a continuous eeeee sound and a continuous ohhhh
sound. We will then assign a name, an original key, and a key range to each of these samples.
Finally, we will try out the split keyboard feature.
More Recording
We begin by recording an eeeee and an ohhhh sample.
Procedure
1.
Select REC mode, SETUP function.
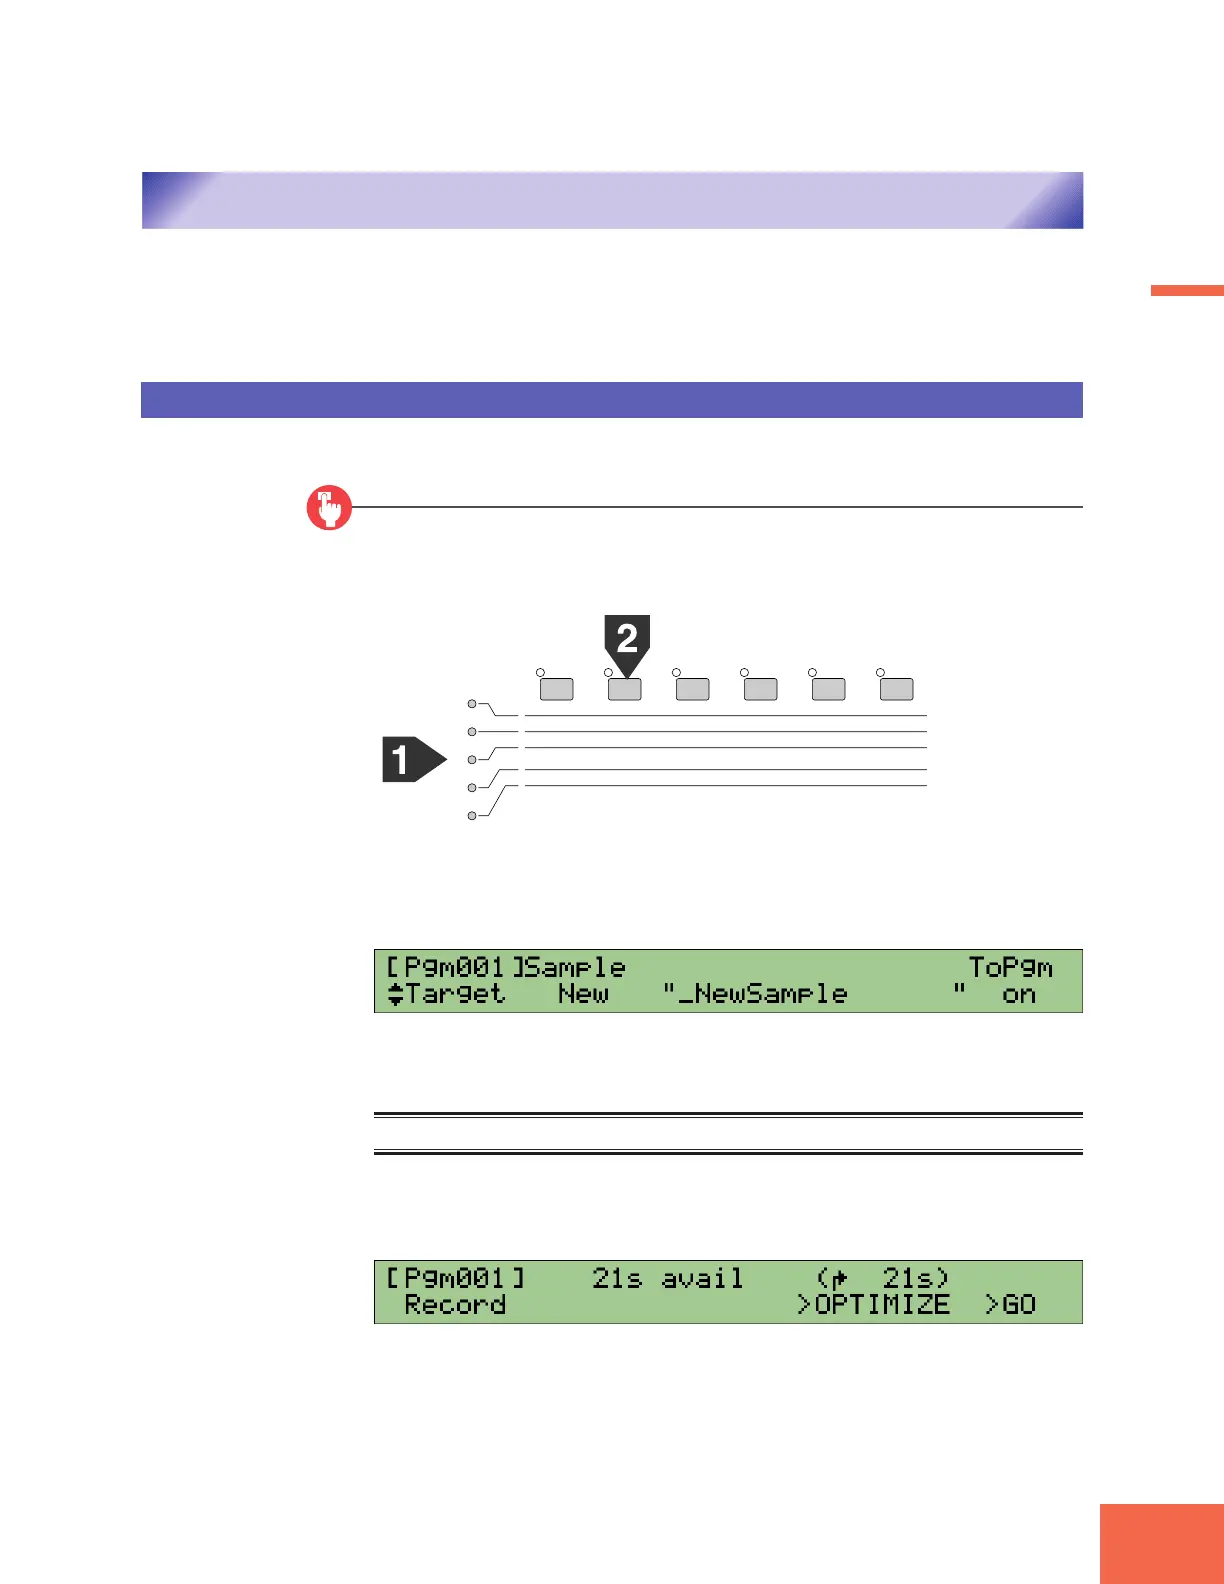
Press the RECORD mode button (REC button), and then press the second function key.
2.
Turn Knob 1 to select the Target page.
▼The screen should now look like this.
3.
Turn Knob 2 to set Sample to New+.
Memo
Select New+ when you want to record two or more new samples in succession.
4.
Press the first (leftmost) function key.
▼The Record screen appears.
PLAY
EDIT
REC
DISK
UTILITY
PROGRAM
TRIM / LOOP
RECORD
PROGRAM
TOTAL EQ
SAMPLE
MAP / OUT
SETUP
SAMPLE
PANEL PLAY
EASY EDIT
FILTER
METER
SEQUENCE
SEQUENCE
EFFECT
EG
EFFECT
VOLUME
MASTER
SETUP
LFO
EXT CTRL
DISK
SYSTEM
CONTROL
MIDI / CTRL
MONITOR
IMPORT
MIDI

 Loading...