101510 Rev. AG Page 3–
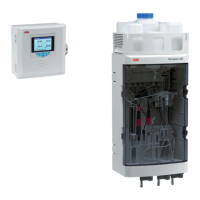
3.11 Shelf Installation
If the installation calls for the NGC shelf mounting kit, use this procedure to mount
the shelf. Otherwise, continue to the next applicable instructions. Before
beginning, review the procedure and the materials required for installation.
3.11.1 Materials
• 4 ea. ¼” x 20 1” SST hex head machine screws
• NGC mounting shelf with flange
• 1 ea. 2” mounting pipe. Length dependent upon final overall NGC desired
height.
• 1 ea. 2” pipe with flange (optional)
• 1 ea. 2” pipe coupling (optional)
3.11.2 Instructions
1) Locate the wall position where the NGC is to be mounted. The shelf should
be positioned high enough on the wall so all components are accessible to
service personnel. The shelf should be installed in close proximity to the
installed sample probe.
2) Mount the shelf to the wall, being careful to keep level, using four ¼ x 20, 1-inch
SST hex head machine screws in each of the four shelf mounting holes. Refer to
Figure 3-20
.
3) Screw one end of the 2” mounting pipe into the flange on the mounting plate until
wrench-tight.
4) If the configuration includes the optional pipe with flange, screw the 2” pipe
coupling onto the top of the mounting pipe.
5) Screw the optional mounting pipe with flange into the top of the pipe coupling.
Continue to the NGC Installation instructions. The method of
installation must be consistent with the customer’s company
policy.

 Loading...