10
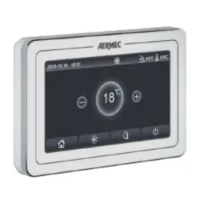
4.5 SET THE PRIORITY BETWEEN HEATING AND DOMESTIC
HOT WATER PRODUCTION (HEAT+HOT WATER)
Heat + hot water
Hot water
Heat
OK Cancel
After accessing the “Heat+hot water” function, you can select “Heat” to force the
unit to rst of all satisfy the system terminal side; by selecting “Hot water”, priority
is given to domestic hot water production. Select the priority, then press “OK” to
conrm.
Note:
1. If the compatible Aermec accessory tank for this model (refer to the installation
manual for more information) is not installed and correctly set, this function
will not be available;
2. If the relative function is activated (paragraph "8.3Activating/deactivating the
memory (On/o memory)p.25"), the value of this parameter will be stored
in the memory and automatically reset after any possible voltage failure;
3. The default value for this parameter is: “Heat“.
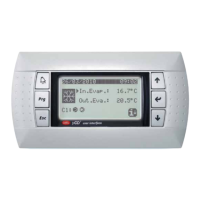
4.6 SETTING THE NOISE REDUCTION FUNCTION (QUIET
MODE)
00 00
01 01
02 02
23 59
22 58
Quiet mode
Quiet mode: Timer
Start Timer: 00:00
End Timer: 00:00
After accessing the “Quiet mode” function by clicking on the label, you can change
the value to be assigned to the function. The possible values are:
— “On” = Function active;
— “O” = Function not active;
— “Clock timer” = Function active but in accordance with the time settings pro-
vided;
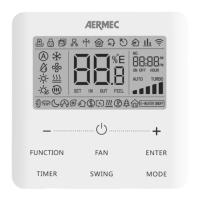
If you select “Clock timer”, two keys will appear. Use them to set the start and end
of the “Quiet mode” activation period. To set the values, press the time label in
question and set the hours and minutes by sliding the value up or down with your
ngertip (the value highlighted in blue in the middle of the selection window), as
shown in the gure:
00 00
01 01
02 02
23 59
22 58
Quiet mode
Quiet mode: Timer
Start Timer: 00:00
End Timer: 00:00
Note:
1. Every time you press on the label, the value will change. Once you have select-
ed the required value, press the icon to save and implement the setting;
2. The function can still be set if the unit is O, but it will only be implemented if
the unit is activated;
3. When the function is set to “On”, it will automatically be set to “O” if the unit
is switched o manually, whereas the setting will remain valid until the end of
the selected period if the function value is set to “Clock timer”;
4. If the relative function is activated (paragraph "8.3Activating/deactivating the
memory (On/o memory)p.25"), the value of this parameter will be stored
in the memory and automatically reset after any possible voltage failure;
5. The default value for this parameter is: “O“.
4.7 SETTING THE AUTOMATIC SETTING COMPENSATION
ON THE BASIS OF EXTERNAL AIR (WEATHER DEPEND)
1 2
3 4
Weather depend (1/3)
Weather depend: O
Upper AT Heat: 25°C
Lower AT Heat: -20°C
Upper WT Heat: 55°C
Lower WT Heat: 40°C
After accessing the “Weather depend” function, you can set all the parameters relat-
ed to osetting work set-points in accordance with variations in outside air temper-
ature. The following keys are used to navigate this menu:
1. Move back to the previous page;
2. Move on to the next page;
3. Go back to the higher level menu;
4. Go back to the main page (Home).
To activate this function, click on the “Weather depend“ label (the rst item on the
rst page of the function). Select “On” and then conrm with “OK”.
Weather depend
On
O
OK Cancel
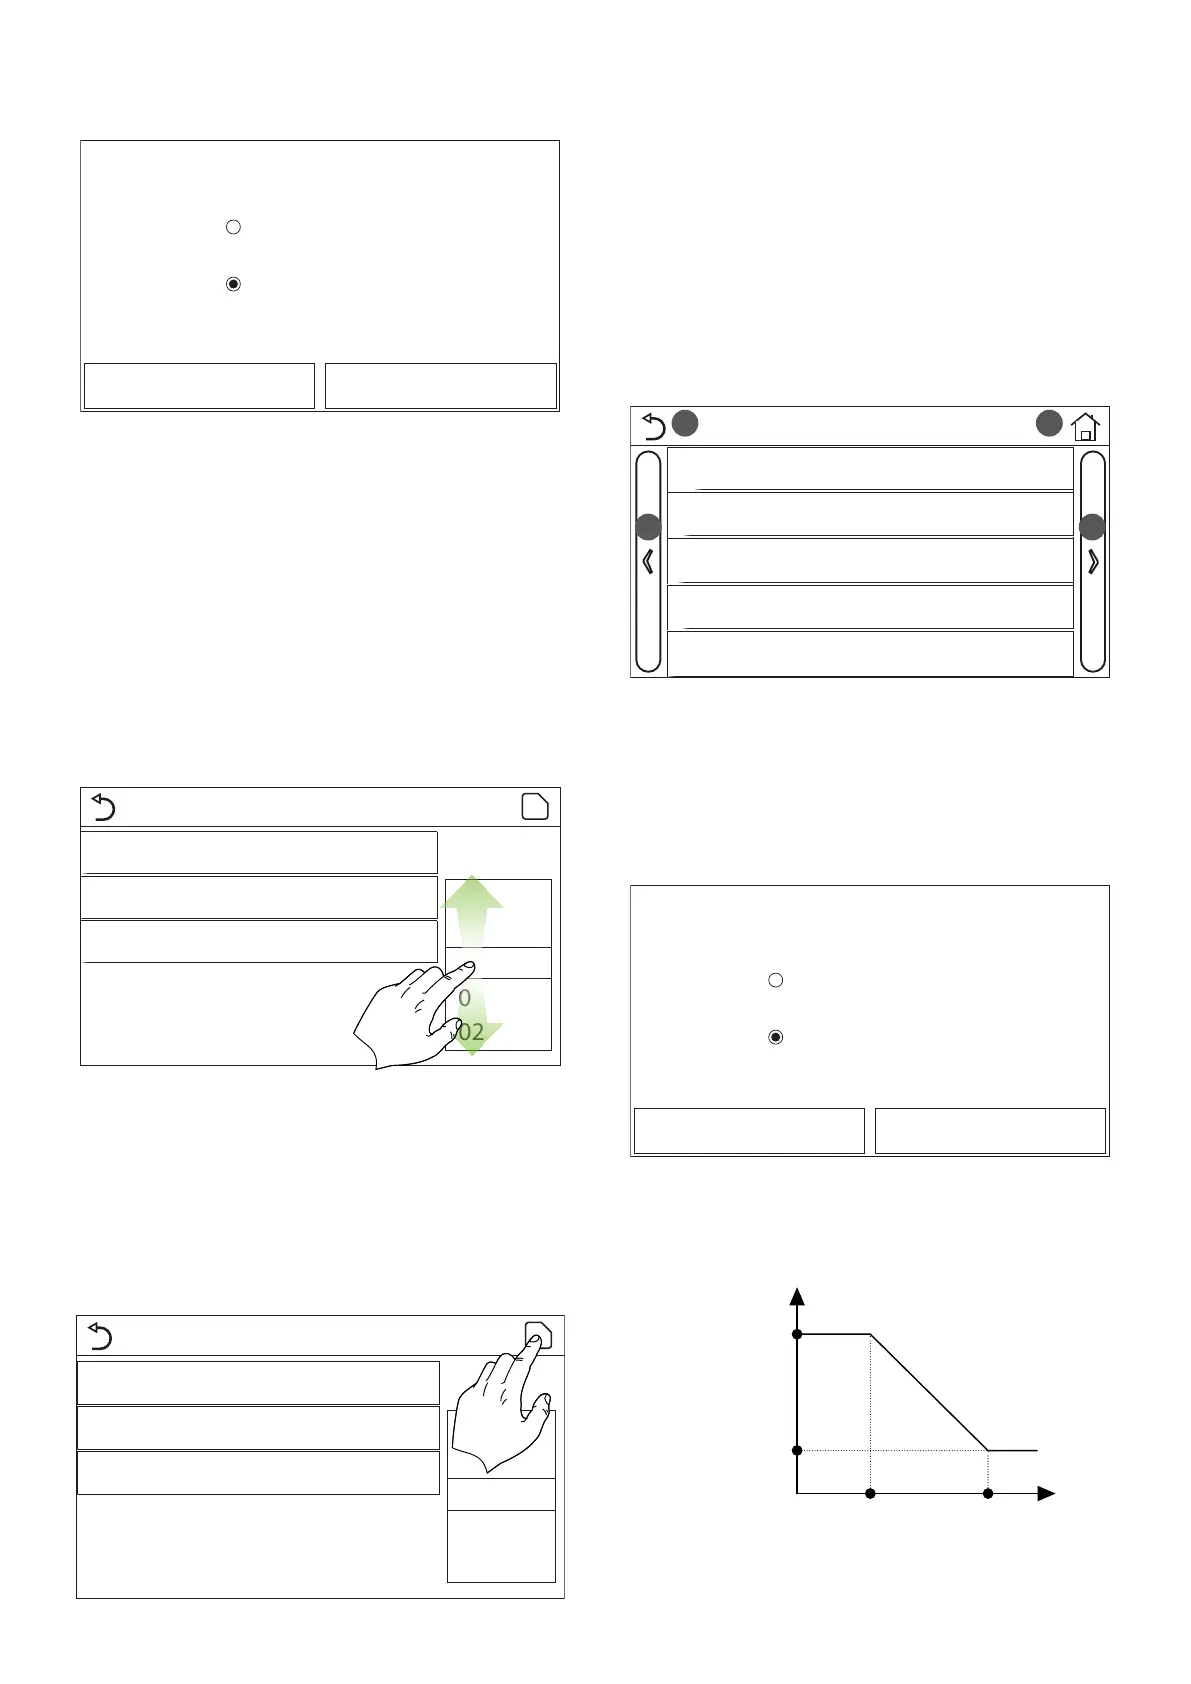
Subsequently, the values for the various parameters that make up climatic curves
will be set; these parameters represent the curves that the system will use to
change the set automatically on the delivery temperature or the ambient air tem-
perature (if an air-based control has been set, using the specic accessory air probe)
to both hot and cold:
Lower AT
Upper AT
Upper WT
Upper RT
Lower WT
Lower RT
To set values for each parameter to create the climatic curves, click on the label of
the parameter in question and set the desired value using the "+" or "-" keys to en-
 Loading...