40 Rockwell Automation Publication 750COM-UM009A-EN-P - May 2017
Chapter 2 Configure the Interface
11. From the File menu, choose Save to save the Relation List.
Setting the Data Rate
By default, the interface is set to autodetect, so it automatically detects the data
rate and duplex setting that is used on the network. If you must set a specific
data rate and duplex setting, use the 0:314 - [Net Rate Cfg 1] and 0:316 -
[Net Rate Cfg 2] values. These values determine the Ethernet data rate and
duplex settings that the interface uses to communicate. For definitions of data
rate and duplex, see the Glossary
.
1. Verify that the Ethernet cable is connected to Ethernet port 1 or port 2
to change the data rate or duplex setting. Port 1 is the connector closest
to the front edge of the control board.
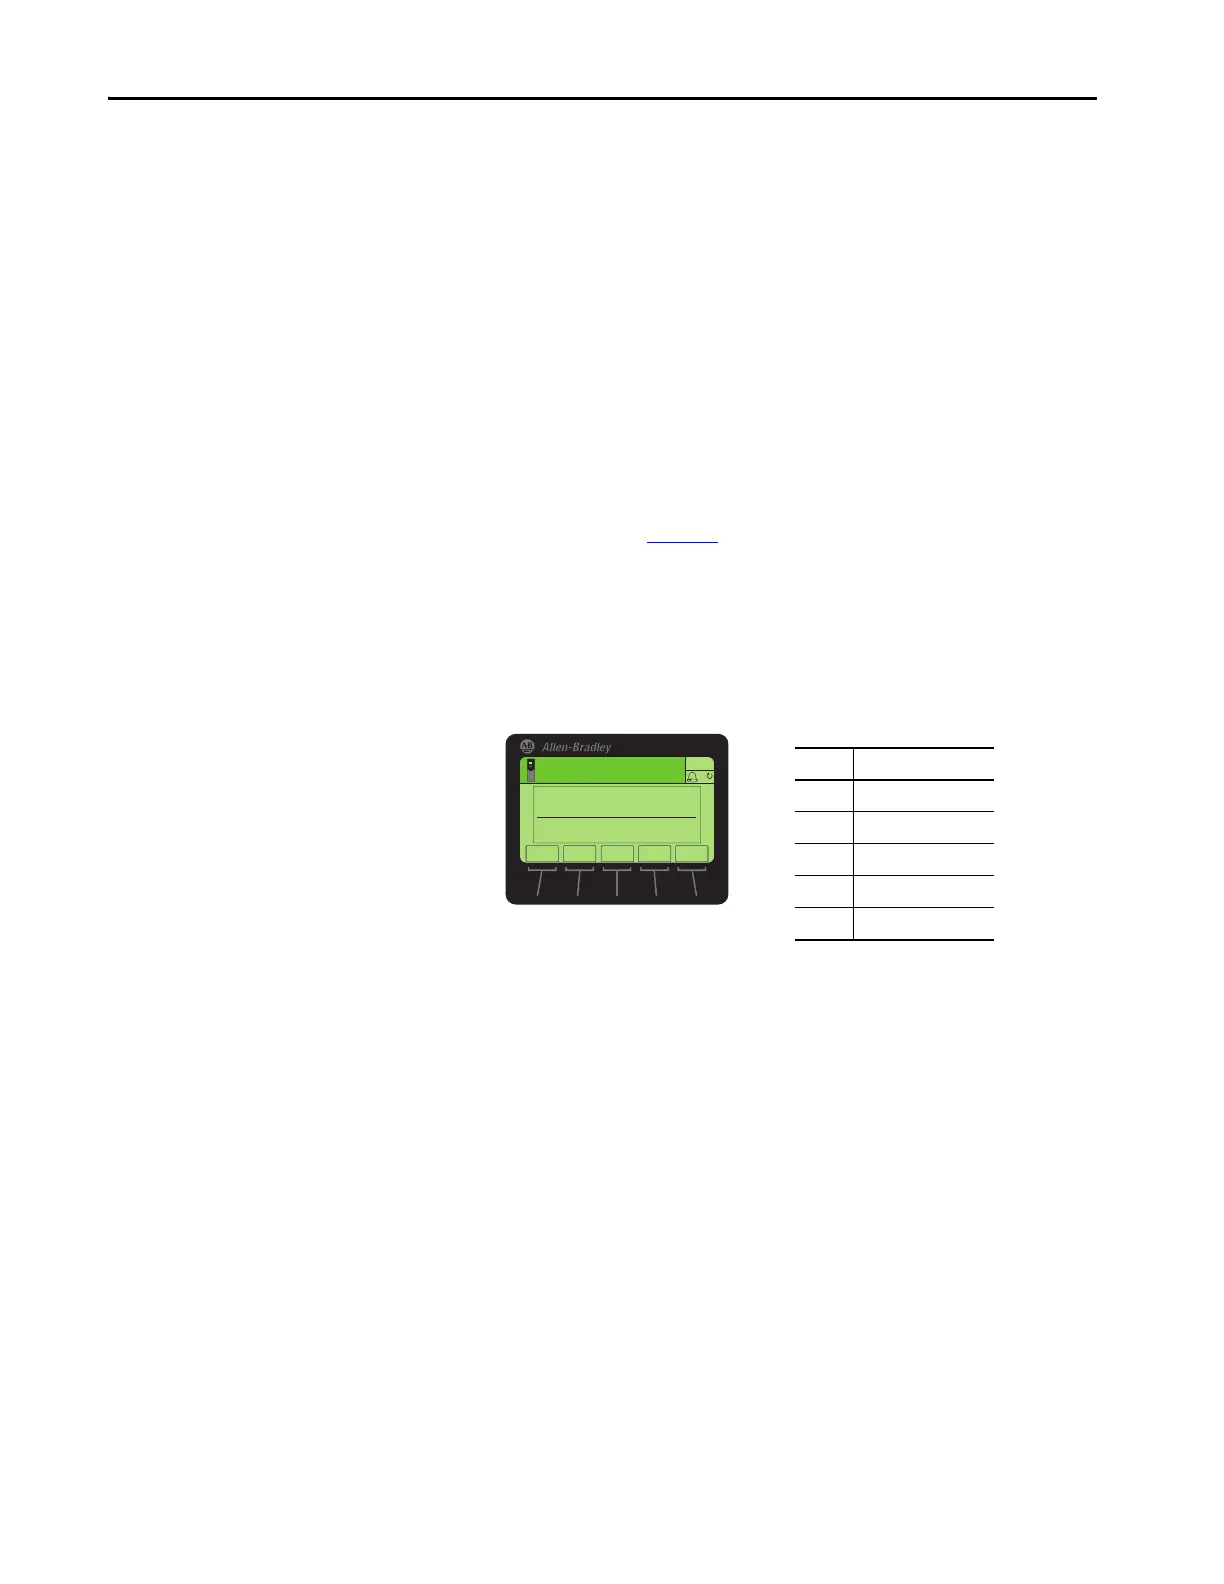
2. Set the value of 0:314 - [Net Rate Cfg 1] or 0:316 - [Net Rate Cfg 2]
to the data rate at which your network is operating.
3. Reset the interface by cycling power to the drive or by using the Reset
Device function of the HIM located in the DIAGNOSTIC folder for
the drive.
TIP To enable BOOTP or DHCP for an interface that has had BOOTP/DHCP
disabled, first select the interface in the Relation List. Then, depending on
the type of server, click Enable BOOTP or Enable DHCP and, lastly, reset
the interface or power cycle the drive.
TIP Auto detection of the data rate and duplex works only if the device (usually
a switch) on the other end of the cable is also set to detect the rate/duplex.
If one device is using fixed data rate/duplex, the other device must use the
same fixed settings.
Value Data Rate
0 Autodetect (default)
1 10 Mbps Full
2 10 Mbps Half
3 100 Mbps Full
4 100 Mbps Half
ESC
ENTER
Stopped
0.00 Hz
AUTO
F
Edit Net Rate Cfg 1
Autodetect 0
0<<4
▲▼
 Loading...