2-6 Chapter 2: BIOS setup
To update the BIOS using EZ Flash 2:
1. Visit the ASUS website (www.asus.com) to download the latest BIOS
le for the motherboard.
2. Save the BIOS le to a oppy disk, then restart the system.
3. You can launch the EZ Flash 2 by two methods.
(1) Insert the oppy disk/USB ash disk that contains the BIOS le to
the oppy disk drive or the USB port.
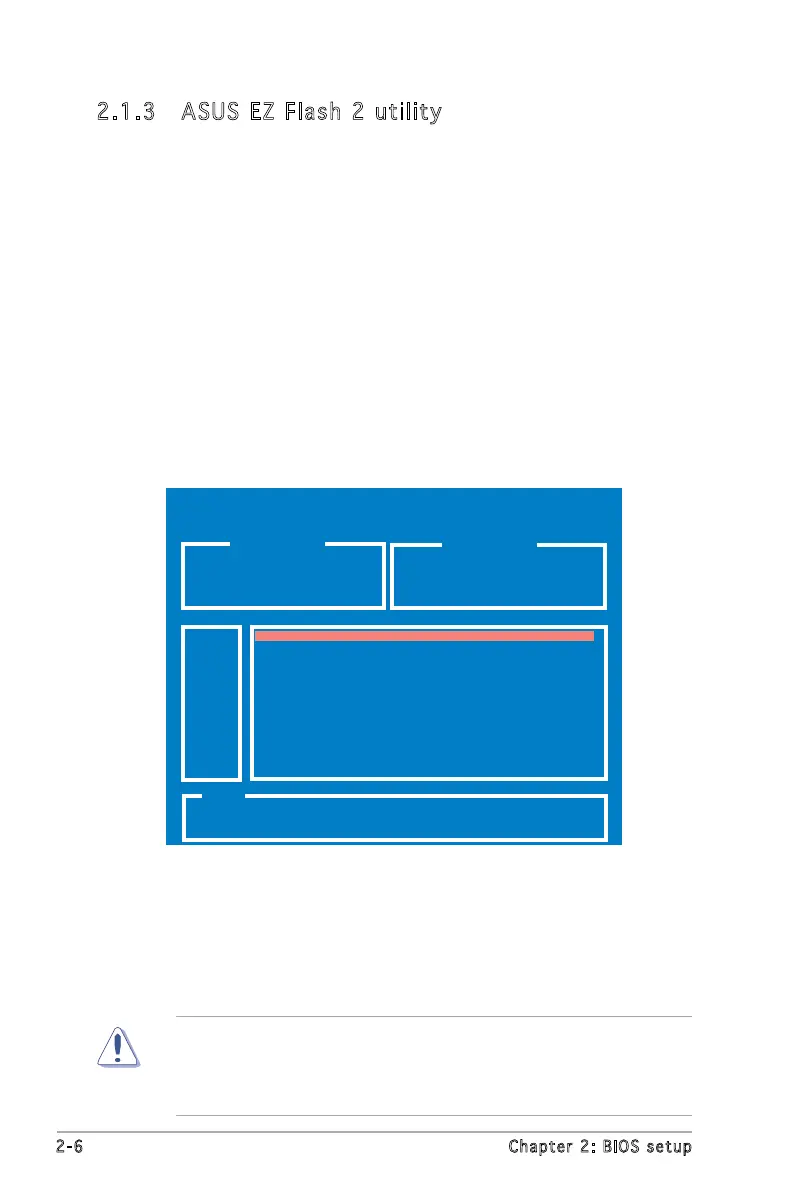
2.1.3 ASUS EZ Flash 2 utility
The ASUS EZ Flash 2 feature allows you to update the BIOS without
having to go through the long process of booting from a oppy disk and
using a DOS-based utility. The EZ Flash utility is built-in the BIOS chip so
it is accessible by pressing <Alt> + <F2> during the Power-On Self Tests
(POST).
• This function can support devices such as USB ash disk, hard disk,
or oppy disk with FAT32/16/12 format only.
• Do not shut down or reset the system while updating the BIOS to
prevent system boot failure!
ASUSTek EZ Flash 2 BIOS ROM Utility B312
Current ROM Update ROM
BOARD: M2N-VMDH
VER: 0122
DATE: 04/24/2006
BOARD: Unknown
VER: Unknown
DATE: Unknown
PATH: C:\M2NVMDH
A:
C:
[Enter] Select [S] Save [ESC]Exit
[Tab]Switch [Up/Down/Home/End] Move
WIN98E <DIR>
NETTERM <DIR>
DRIVERS <DIR>
RECYCLED <DIR>
WUTEMP <DIR>
NEWFOL~1 <DIR>
INSTALL <DIR>
TEST-REB <DIR>
MSDOWNLD.TMP <DIR>
Note
(2) Enter BIOS setup program. Go to the Tools menu to select EZ
Flash 2 and press <Enter> to enable it.
You can switch between drives by pressing <Tab> before the
correct le is found. Then press <Enter>.
4. When the correct BIOS le is found, EZ Flash 2 performs the BIOS
update process and automatically reboots the system when down.
Press <Alt> + <F2> during POST to display the following.
FLASH TYPE: Winbond W39V080A 4Mb LPC
WIN98E <DIR>
 Loading...